


A perfectly chilled lemonade with tiny droplets running down the glass. A freshly brewed coffee with rich crema catching the morning light. A sparkling soda frozen mid-pour. Great beverage photography doesn't just show a drink. It makes people crave it. From cold brew to craft beer, kombucha, juice, wine, soft drinks, and premium spirits, your beverage photos need to captivate the customers.
If you are a beverage brand owner, a photographer, or just someone who wants to capture their drinks in a stunning way, scroll down and learn the best beverage photography tips, ideas, camera settings, and how you can use apps like Blend to turn one great product photo into an entire marketing campaign.
What is Beverage Photography?
Beverage photography is a specialised branch of product photography that focuses on making drinks look as appealing as possible. Unlike general product photography, beverages present unique challenges.
Glass bottles reflect everything around them, condensation disappears within minutes, ice melts quickly, and transparent liquids need careful lighting to show their true colour. That's why successful beverage product photography combines technical photography skills with food styling and creative storytelling.
You will find beverage photography everywhere. From ecommerce stores and restaurant menus to supermarket packaging, social media campaigns, and outdoor advertisements.
Essential Beverage Photography Equipment
Many beginners assume they need thousands of pounds worth of equipment before they can produce professional drink photos. In reality, lighting and styling have a much bigger impact than owning the latest camera. Here's what you should have:
- Camera: A mirrorless camera or DSLR gives you the greatest flexibility, but a modern smartphone can also produce excellent results when paired with good lighting.
- Lens: A 50mm lens is a versatile choice for beverage photography, offering natural-looking proportions. An 85mm lens works well for bottles and cans, while a macro lens is ideal for capturing details like bubbles, condensation and citrus textures.
- Tripod: A sturdy tripod keeps every shot sharp and your framing consistent, making it easier to adjust props, labels and lighting without changing the composition.
- Lighting: Soft natural window light works well for beginners. If you shoot regularly, consider investing in a large softbox or LED light for consistent results.
- Reflectors and foam boards: White foam boards, black cards and reflectors are inexpensive tools that help control reflections on glass bottles and shape light exactly where you need it.
- Styling props: Keep a small collection of glasses, ice cubes (or acrylic ice), fresh fruit, herbs, napkins and textured surfaces to create realistic lifestyle scenes.
RELATED READING: Footwear Photography: 15 Tips to Capture Shoe Photos That Sell
Camera Settings for Beverage Photography
There isn't a single camera setting that works for every drink, but these settings provide reliable starting points for different situations.
Shot Type | Shutter Speed | Aperture | ISO | Focus Point |
Bottle on a table | 1/160 sec | f/8 | 100 | Product label |
Can with condensation | 1/200 sec | f/7.1 | 100 | Front logo |
Drink pouring | 1/1000 sec | f/4 | 400 | Pour stream |
Splash photography | 1/1600 sec | f/5.6 | 640 | Front edge of bottle |
Coffee with steam | 1/250 sec | f/2.8 | 400 | Rim of the cup |
Close-up droplets | 1/200 sec | f/8 | 100 | Water droplets |
Don't treat these numbers as strict rules. They're simply dependable starting points that you can adjust depending on your lighting conditions and the look you are trying to achieve.
Beverage Photography Lighting: How to Light Every Type of Drink
Ask any experienced drink photographer what matters most, and they'll almost always mention lighting before cameras. Lighting determines whether your drink looks refreshing or lifeless. The secret is understanding that different beverages respond differently to light.
Beverage Type | Best Light Angle | Goal | Professional Tip |
Clear juices and spritzers | Backlighting | Show colour and transparency | Place a white card behind the bottle to bounce light through the liquid. |
Sparkling drinks | Backlighting | Highlight bubbles | Leave a gap between the bottle and the backdrop to let light wrap around the edges. |
Coffee and dark beverages | 45° side lighting | Reveal texture and foam | Position a silver reflector opposite the light to lift the darker side. |
Beer | Side lighting with gentle backlight | Enhance amber tones | Shoot slightly below eye level for a richer appearance. |
Matte cans | Large front-diffused light | Reduce glare | Diffuse window light with a white curtain or use a large softbox. |
Glass bottles | Soft side lighting | Control reflections | Rotate the bottle instead of moving the light source. |
RELATED READING: 31 Jewelry Photography Ideas That Make Your Products Look More Expensive
Beverage Photography Tips for Stunning Drink Photos
Once you have mastered your camera settings and lighting, these practical tips will help you take your beverage photography to the next level.
1. Style your drinks to tell a story
Don't place your bottle or glass on an empty table and call it a day. Instead, create a lifestyle scene that reflects how people would naturally enjoy the drink. For example, fresh orange juice looks inviting on a breakfast table with sliced citrus and a linen napkin.
A premium whisky pairs well with dark wood, crystal glassware and warm lighting, while a colourful smoothie feels at home in a bright kitchen surrounded by fresh fruit and herbs. If viewers notice the props before the drink, it's time to remove a few elements.
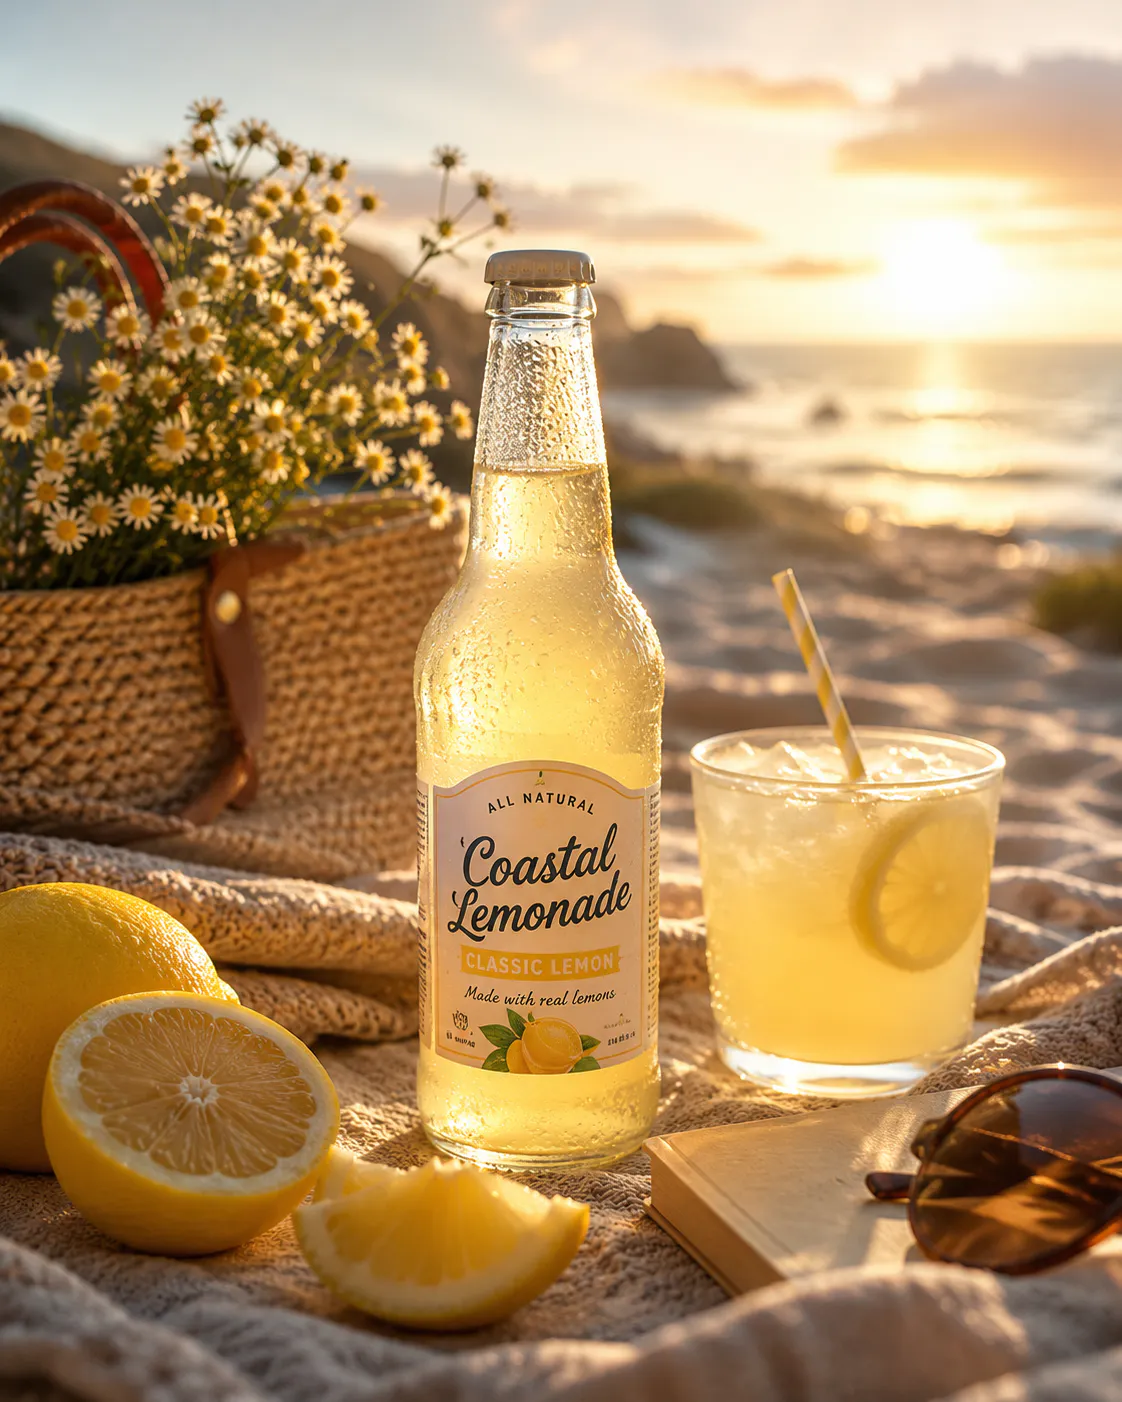
2. Make beverages look refreshingly cold
Nothing makes a drink more tempting than realistic condensation. Instead of relying on natural water droplets that disappear within minutes, spray the bottle with a mixture of glycerine and water. This creates long-lasting condensation that stays intact throughout the shoot.
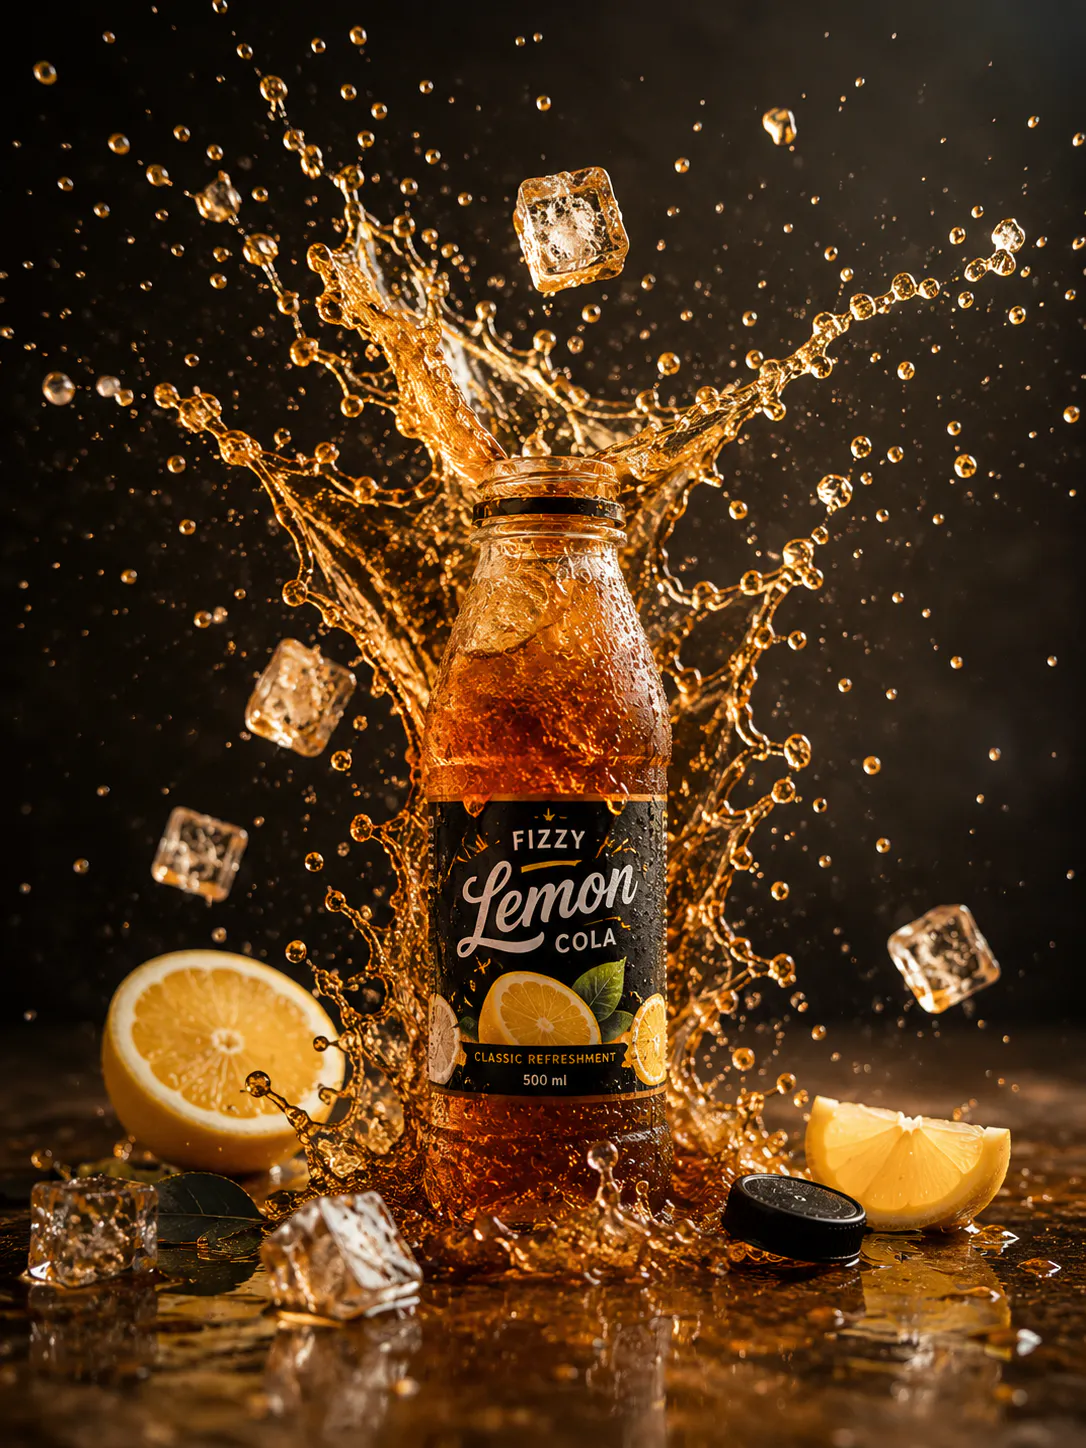
3. Freeze splashes with the right camera settings
Splash photography adds movement and excitement to beverage images, but timing alone isn't enough. Switch your camera to Manual mode, set the shutter speed to at least 1/1000 second, use an aperture around f/4, and enable high-speed continuous shooting.
Then drop an ice cube into the drink or pour the liquid while holding down the shutter button. Burst mode captures multiple frames in seconds, giving you a much better chance of freezing the perfect splash without motion blur.
4. Control reflections on bottles and glassware
Glass bottles and shiny cans reflect everything around them, from windows to your camera. Use a large diffused light source to soften reflections and position white or black foam boards around the product to shape the highlights. Rather than moving the light every time, try rotating the bottle slightly until the reflections look clean and balanced.
5. Choose backgrounds that complement the beverage
Your background should enhance the product without stealing attention. Go for colours that complement the drink instead of blending into it.
If you aren't able to find a good background for your product, then you can take a look at Blend's AI Background feature and create your desired image. All you have to do is pick from ready-made AI backgrounds, or generate a completely custom one using your own prompt.
6. Edit naturally for a professional finish
Editing should improve your photo without making it look artificial. Correct the white balance first, then remove dust, fingerprints, scratches and unwanted marks from the bottle. Adjust contrast slightly to add depth and sharpen the product label so every detail remains crisp.
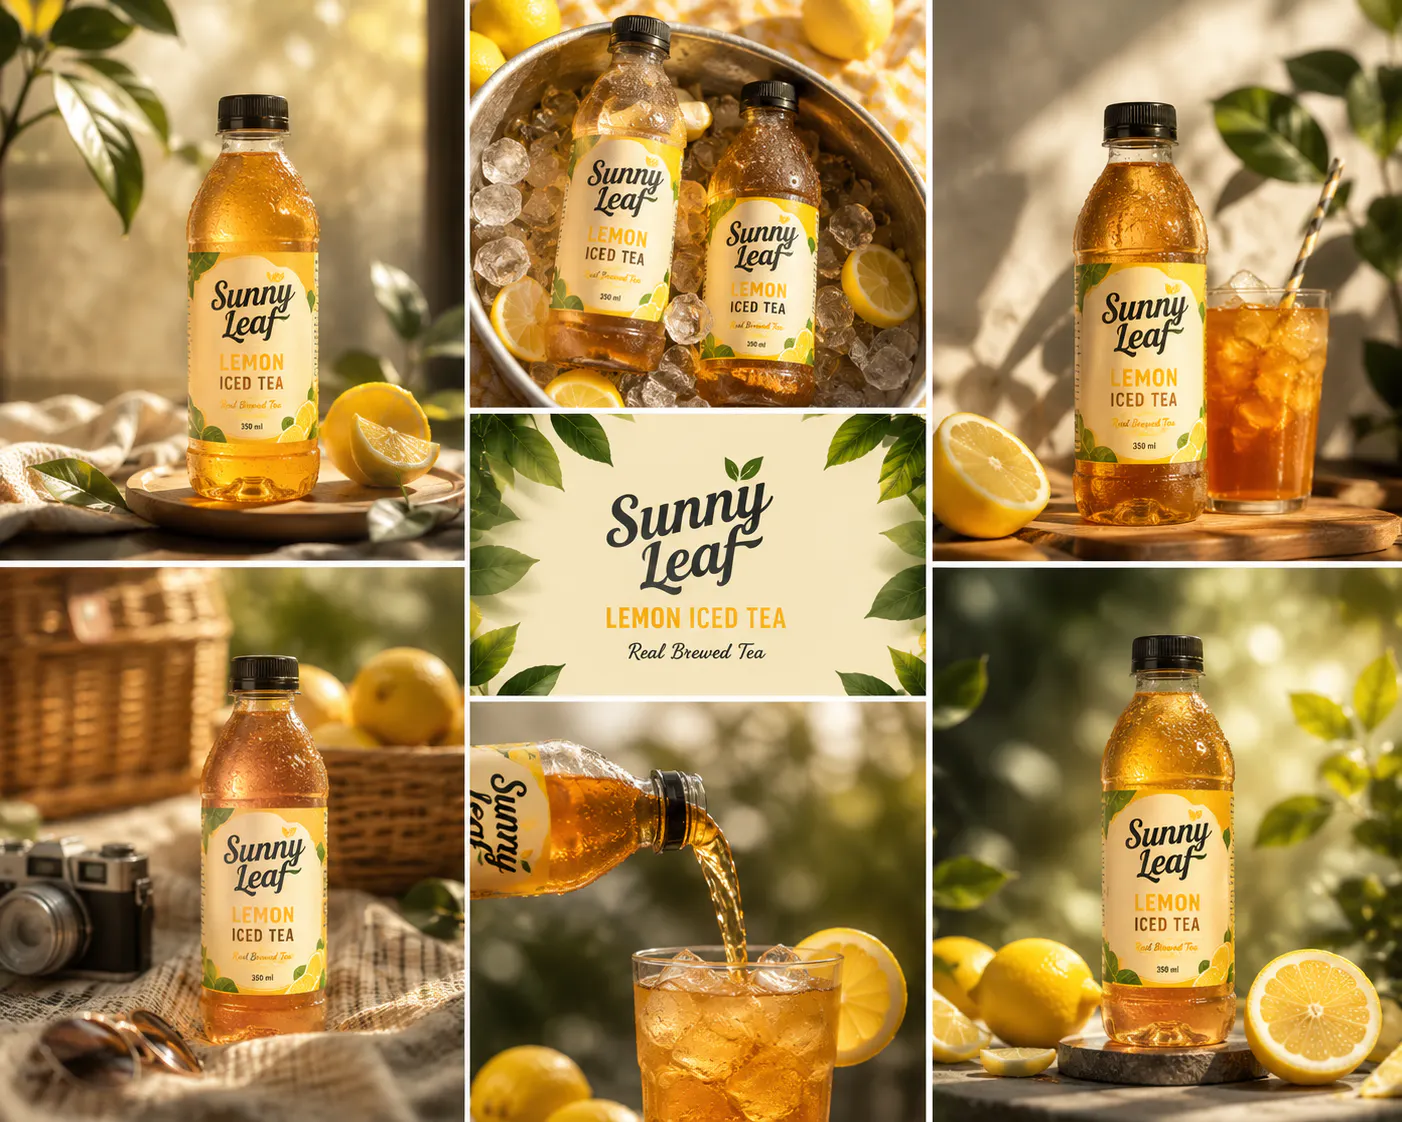
7. Shoot multiple angles for more versatile content
Don't stop after taking one photo. Capture your beverage from eye level, a 45-degree angle, overhead, and close-up. Take pictures from all possible angles.
8. Keep your branding consistent
If you are photographing multiple products, maintain the same lighting, editing style, and composition throughout your catalogue.
Beverage Photography Ideas to Inspire Your Next Shoot
If you are running out of creative ideas, don't change the product. Instead, change the story around it. A new setting, props, or colour palette can completely transform the look and feel of the same beverage.
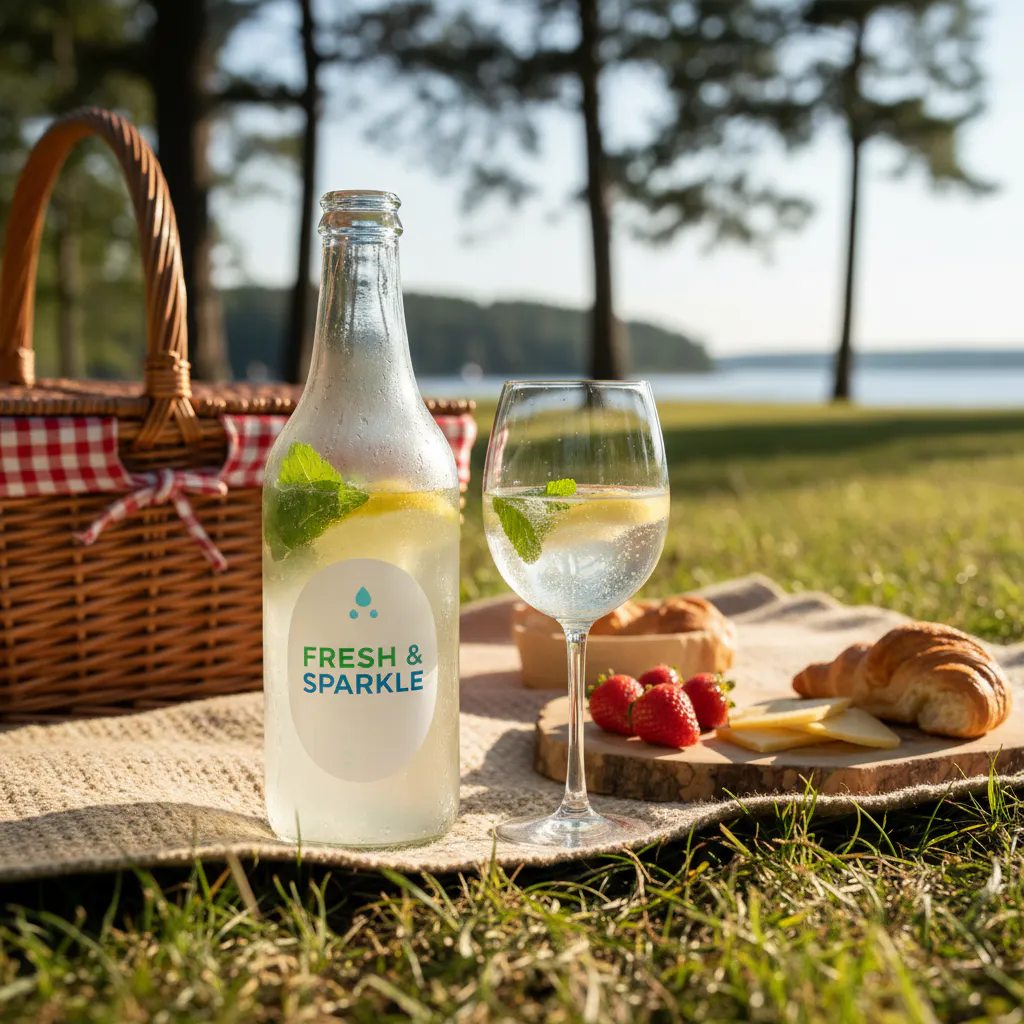
1. Create a summer picnic scene
Style sparkling lemonade or fruit juice on a rustic picnic blanket with fresh lemons, oranges, or berries. This bright, outdoor setup instantly gives your photos a fresh and refreshing summer feel.
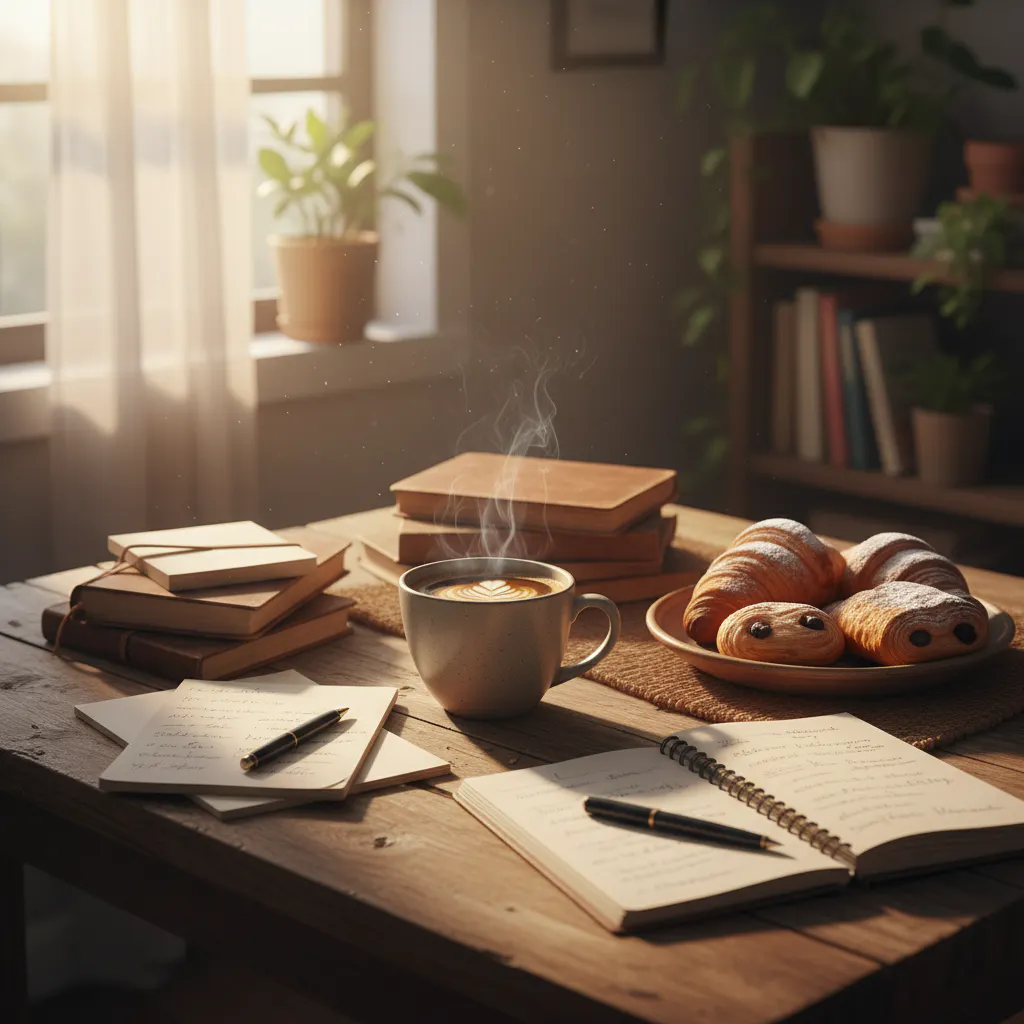
2. Build a cosy coffee setup
Photograph coffee during golden hour with notebooks, pastries, wooden textures, and soft window light. These elements create a warm, inviting atmosphere that's perfect for cafés, lifestyle brands and social media.
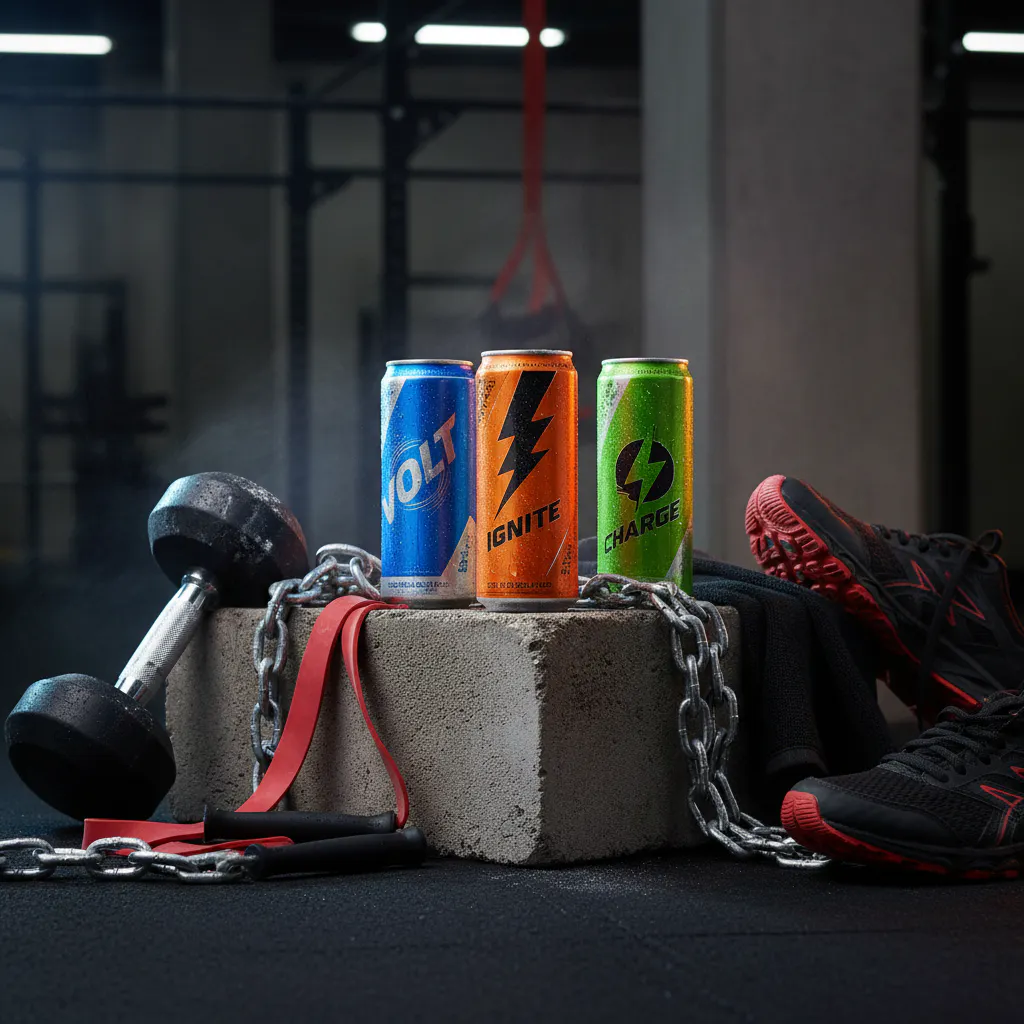
3. Go bold with energy drinks
Use concrete surfaces, gym accessories, sports gear, and dramatic lighting to give energy drinks a powerful, high-performance look. Dark backgrounds and bold contrasts work particularly well for fitness-focused campaigns.
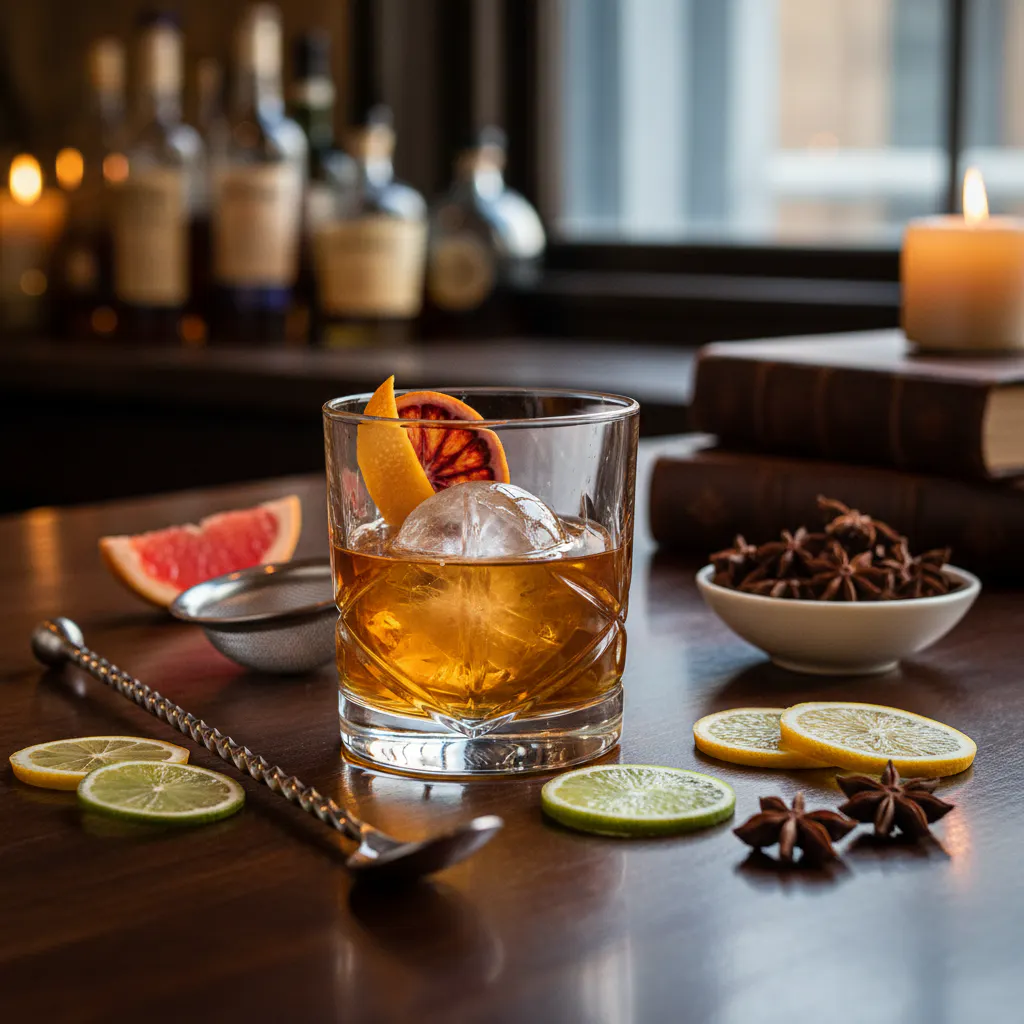
4. Elevate your cocktail photography
Pair cocktails with elegant glassware, citrus garnishes, bar tools, and subtle reflections to create a premium setting. These details add sophistication and make your drinks look bar-quality.
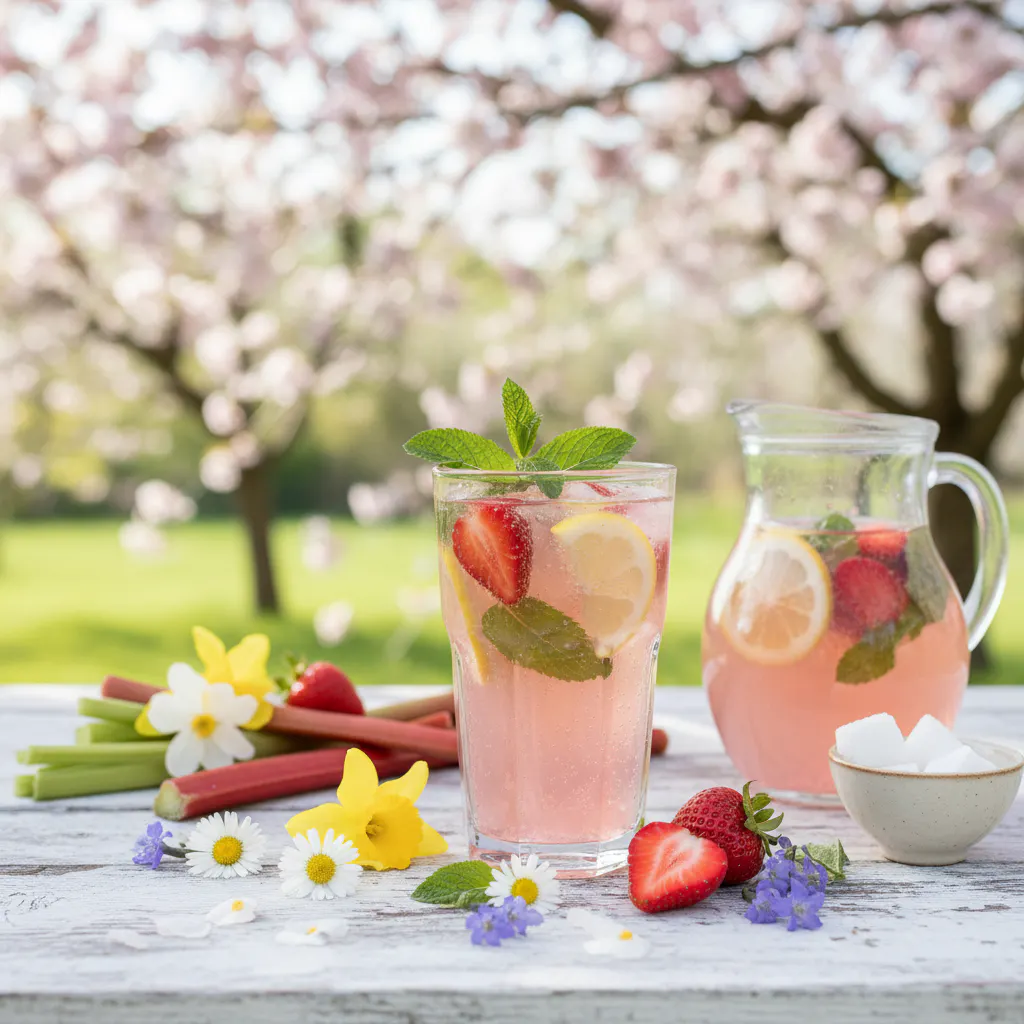
5. Refresh your content with seasonal themes
Keep your visuals relevant by adapting them to the time of year. Fresh flowers and pastel colours work beautifully for spring, tropical fruits suit summer campaigns, earthy tones complement autumn promotions, and festive decorations instantly transform your drinks for holiday marketing.
6. Experiment with different backgrounds
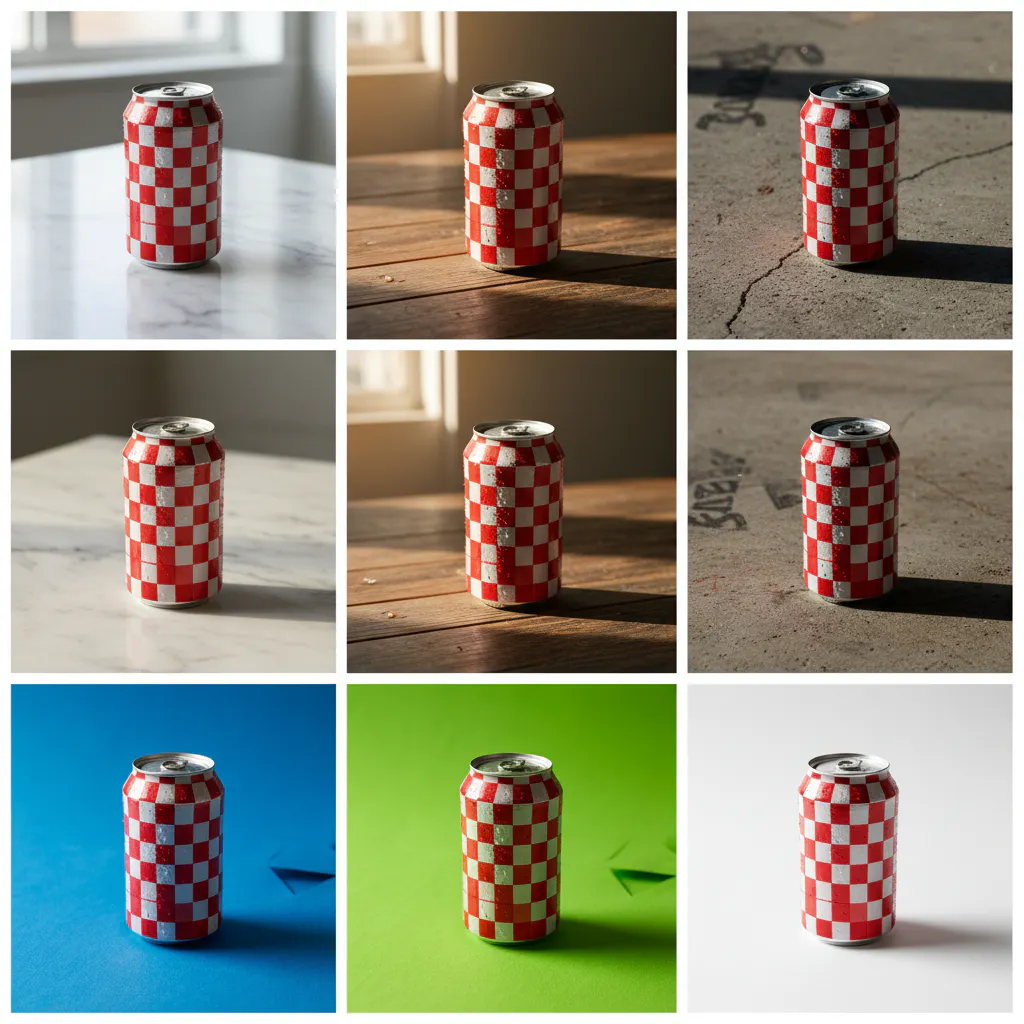
Switch between marble countertops, wooden tables, textured concrete, coloured paper or clean white backdrops to create completely different moods. Even a simple background change can make the same beverage feel like part of a brand-new campaign.
7. Try different lighting styles
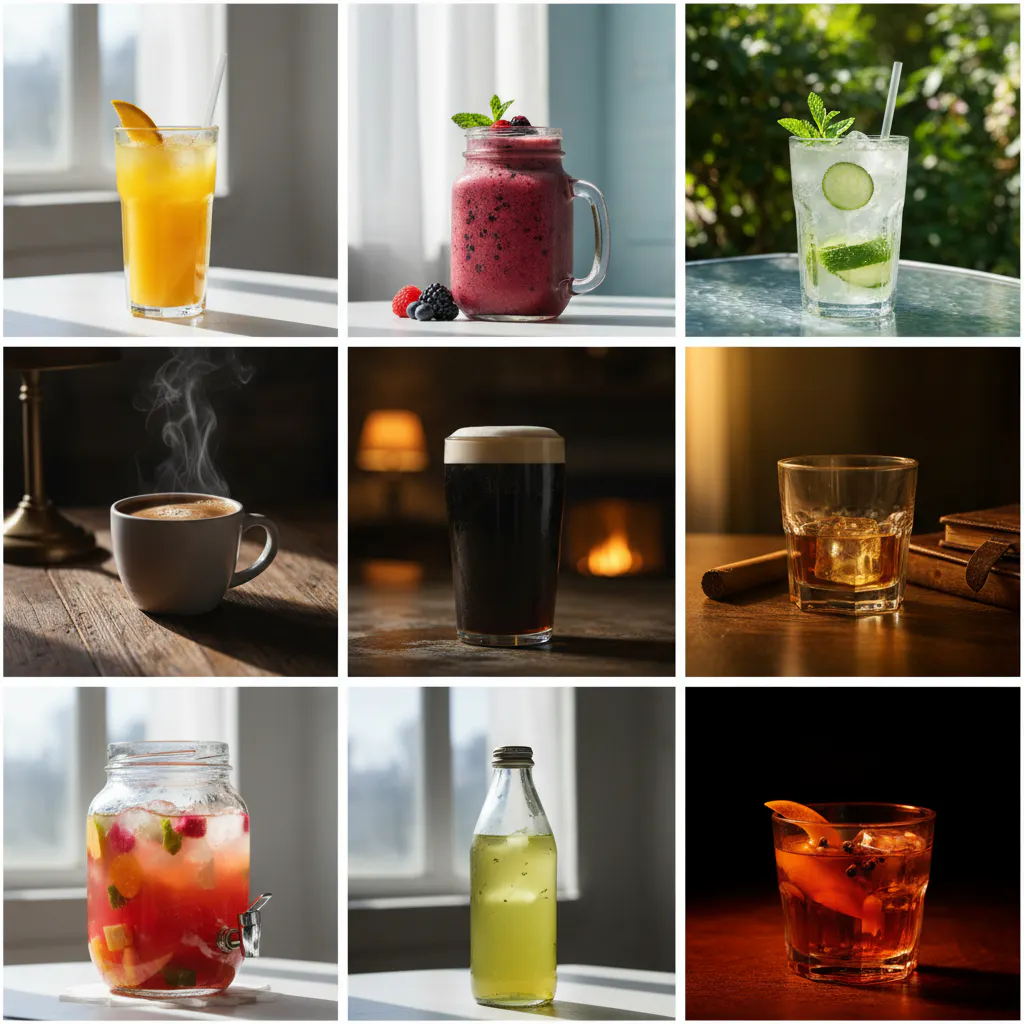
Bright, airy lighting works well for juices, smoothies and sparkling drinks, while moody side lighting adds depth to coffee, beer and whisky. Experimenting with light helps you highlight different textures and colours.
8. Capture drinks in action
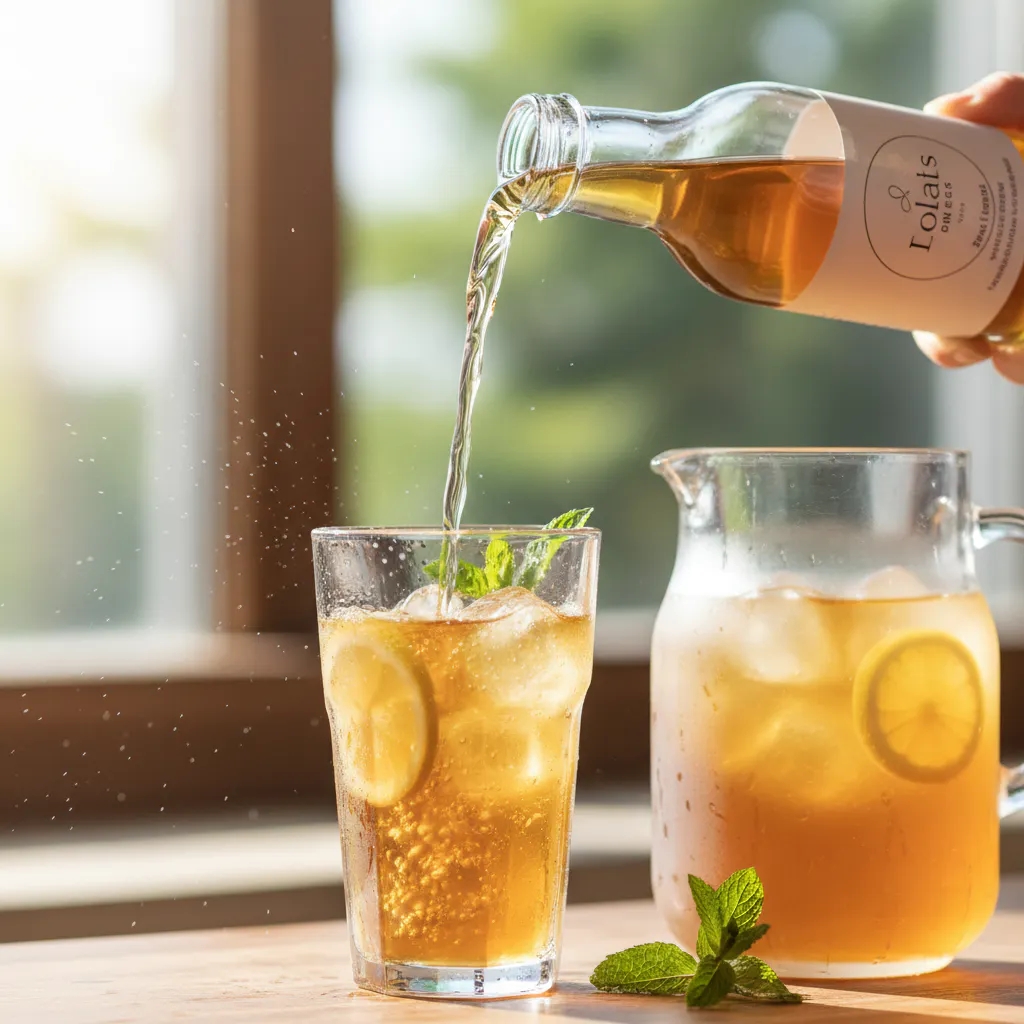
Instead of photographing a static bottle, show the beverage being poured, ice cubes dropping into a glass or bubbles fizzing to the surface. Action shots create movement and instantly make your images more engaging.
RELATED READING: Sunglasses Photography: How to Capture Professional Product Photos Without Reflections
How to Turn One Beverage Photo into an Entire Marketing Campaign
Creating one great beverage photo is easy. Creating fresh content for every season and platform is the real challenge. Instead of planning multiple photoshoots, use one high-quality image to create an entire campaign.
Step 1: Capture a high-quality master image
Photograph your beverage with soft lighting, a clean composition and realistic condensation using a glycerine-water spray. Shoot in the highest resolution possible, as this image will become the foundation for all your future marketing visuals.
Step 2: Remove the background with Studio Shot
Upload your master image to Blend's Studio Shot feature. It automatically removes the background while preserving tricky details like transparent glass, reflections and water droplets, giving you a clean cut-out in minutes.
Step 3: Create multiple lifestyle scenes
Use Blend AI Photos to place your beverage in different settings without another photoshoot. Create a marble kitchen for your website, a tropical picnic for summer campaigns, a premium cocktail bar for luxury branding or a clean white background for Amazon and Shopify listings.
Step 4: Scale your content with AI
Generate multiple variations from your master image for social media, ecommerce and digital ads. You can also use Blend’s AI Video feature to turn your product photos into videos with cinematic motion, helping you create more content without filming again.
Conclusion
Mastering beverage photography is easier than ever with our tips and tricks. Once you have created that perfect shot, you don't need to start from scratch every time your marketing changes. Instead, use tools like Blend to transform a single product photo into a collection of lifestyle images and engaging AI-powered videos for different platforms and seasons.