


If you are selling shoes online, your photos are doing most of the selling for you. That's why footwear photography has become one of the most important parts of ecommerce. From trainers to heels, boots, sandals, and handmade footwear, you need professional-looking images to help build trust. A great pair of shoes deserves equally great photography.
With AI apps like Blend, you can not only edit your footwear pictures but you can also create images that look like they belong on premium ecommerce websites. For now, let us take a look at some practical footwear photography tips that you can start using immediately.
1. Clean every pair before the shoot
The smallest imperfections become surprisingly obvious in high-resolution images. Before you even think about setting up your camera, inspect every shoe carefully. Dust, fingerprints, bent tongues, loose threads and dirty soles may seem insignificant in real life, but they'll stand out once customers zoom into your product photos.
Don't forget the laces. Straighten them, make sure both shoes are tied identically and tuck away loose ends that may distract from the overall appearance. Another useful trick is stuffing the shoes with tissue paper or shoe trees. These small details immediately elevate the quality of your footwear photography.
2. Plan your shots before setting up the camera
Many beginners start taking photos without any plan and only realise later that they've forgotten important angles. When you create a simple shot list, it keeps your photography organised and ensures consistency across your catalogue.
For every pair of shoes, capture the front, both side profiles, the rear, the sole and a top-down view. Add a three-quarter hero shot that showcases the overall design, then include several close-ups highlighting important features such as stitching, logos, eyelets, buckles or textured materials.
If you are creating content for social media, think beyond catalogue images. Lifestyle photographs showing someone wearing the shoes help customers imagine themselves using the product.
3. Use soft lighting to show accurate colours
Lighting has a much bigger impact on shoe photography than the camera itself. Soft, diffused light reveals textures naturally while keeping colours accurate. It also reduces harsh shadows that can hide important details.
Natural daylight works brilliantly if you are just getting started. Place your shooting table near a large window and photograph during the brightest part of the day. If direct sunlight is entering the room, soften it with a white curtain or diffuser.
If you are photographing products regularly, go ahead and inest in two softbox lights creates a far more consistent setup. Position one on each side of the shoe to eliminate harsh shadows, then use a reflector to brighten darker areas.
Avoid relying on overhead room lighting. Mixed light sources often produce inconsistent colours, making your products appear different from one image to the next.
4. Choose the right background
The background can either enhance your footwear photography or distract from it. For ecommerce listings, a clean white background remains the safest option. It keeps the focus entirely on the shoe and meets the image requirements of many online marketplaces. You can try Blend’s Studio Shot feature to get clear white e-commerce-ready background under seconds.
Lifestyle backgrounds tell a different story. A pair of hiking boots looks more authentic on a mountain trail, while trainers naturally fit into an urban street or gym environment. Sandals work well on beaches, and formal shoes pair beautifully with elegant indoor settings.
If you do not have the budget to hire a professional, then simply share your footwear pictures with Blend, it will automatically generate stunning lifestyle visuals showcasing your product.
5. Choose the right camera and lens
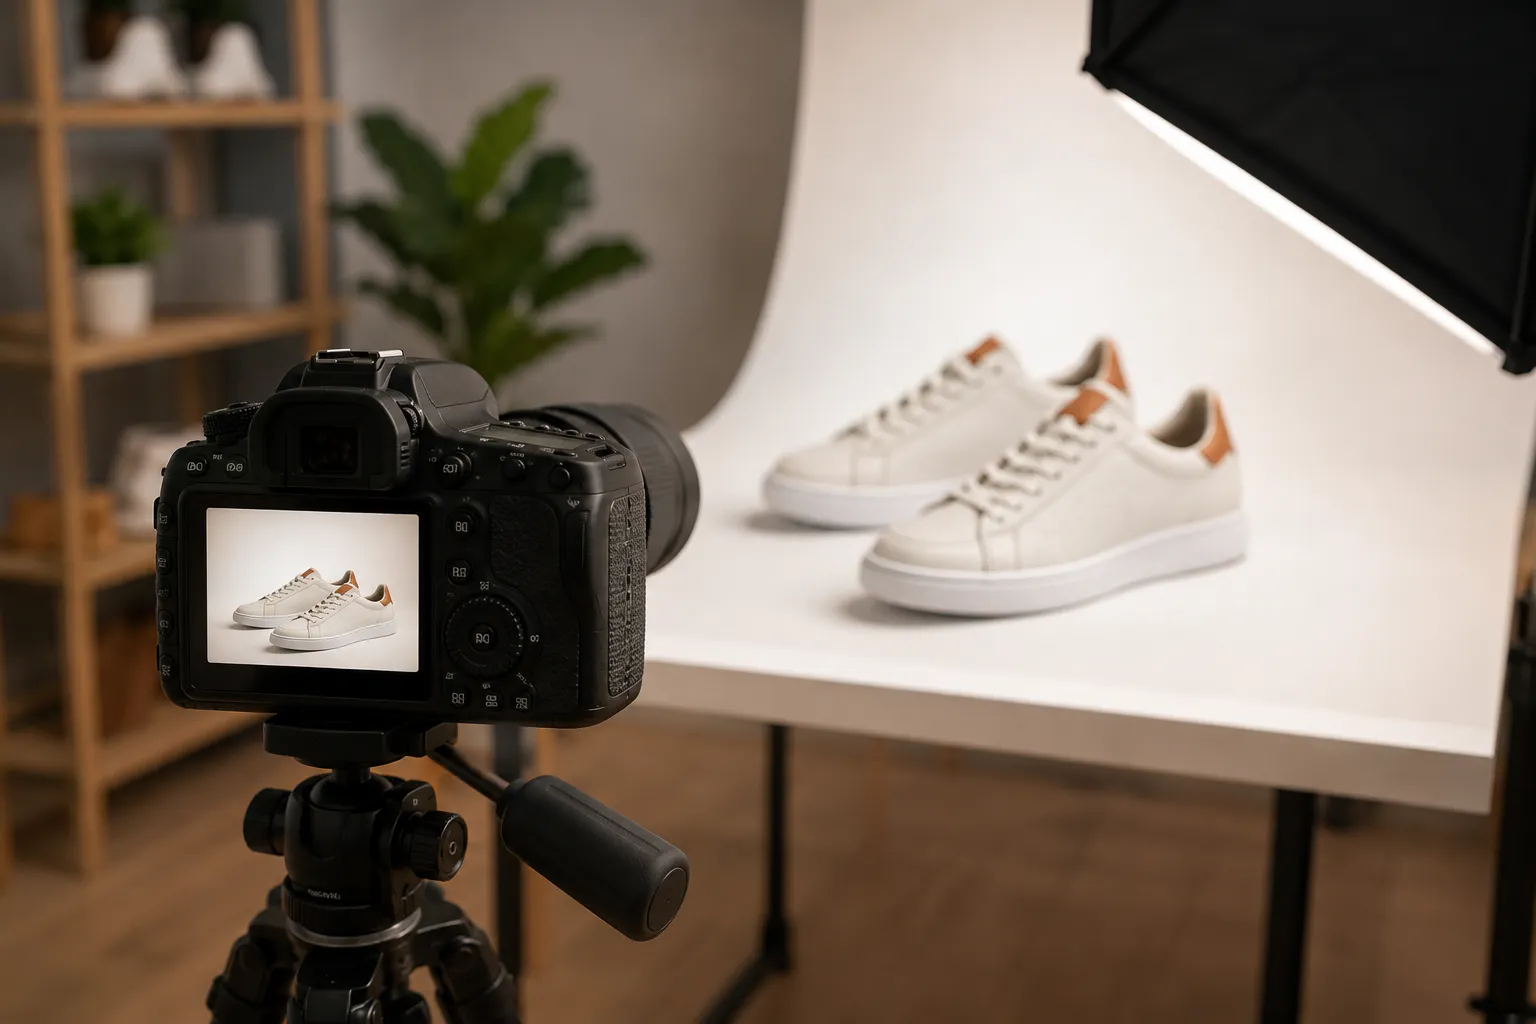
One of the biggest misconceptions about shoe photography is that you need an expensive camera. You don't. A modern smartphone is capable of producing excellent product images, especially when paired with good lighting and a tripod. If your primary goal is social media or a small ecommerce store, your phone may be all you need.
If you are photographing footwear professionally or building a large catalogue, a mirrorless camera offers greater flexibility. If you are shooting on a mirrorless or DSLR camera, lock your camera into Manual or Aperture Priority mode and set your aperture between $f/8$ and $f/11$.
This narrow aperture guarantees a deep depth of field, keeping the entire shoe crisp from the toe box back to the heel tab. Keep your ISO at a baseline of 100 to prevent digital noise, and keep your shutter speed at $1/125s$ or faster to eliminate any handheld micro-shake.
A 50mm lens is one of the best choices for product photography because it captures shoes with minimal distortion. If you frequently photograph premium materials like suede or leather, a macro lens lets you highlight fine textures and craftsmanship.
6. Photograph every important angle
Customers can't pick up your product before buying, so your images need to answer every question they might have. Show the side profile because it gives the clearest view of the overall design. Include the front so shoppers can assess the toe box and shape.
Photograph the back to reveal heel construction, then capture the sole to highlight grip patterns and durability. Top-down images are equally important because they showcase the tongue, lace arrangement and opening of the shoe. Don't just stop there.
Zoom in on details that make your footwear unique. Close-up photographs of stitching, embossed logos, textured materials and premium finishes help customers appreciate the craftsmanship behind your product.
RELATED READING: Ecommerce Product Photography: The Complete Guide to Creating Product Images That Drive More Sales
7. Highlight the materials that make your footwear unique
Every shoe tells a story through its materials. Whether it's full-grain leather, breathable mesh, soft suede or knitted fabric, these details often influence a customer's buying decision just as much as the overall design.
Instead of relying only on wide-angle shots, capture close-up images that showcase the craftsmanship behind the product. Zoom in on the stitching, textured panels, logos, eyelets, buckles and sole patterns. If you are selling handmade footwear, don't be afraid to highlight the small details that make every pair unique. Note down these helpful tips:
- Patent Leather & Gloss: These act like mirrors. Avoid pointing bare bulbs at them; use a large diffusion panel or pass your flash through a large softbox to turn harsh hotspots into smooth, luxurious gradients.
- Suede & Nubuck: These swallow light. Use a directional side-light source to glance across the surface and cast micro-shadows that emphasize the rich, velvety texture.
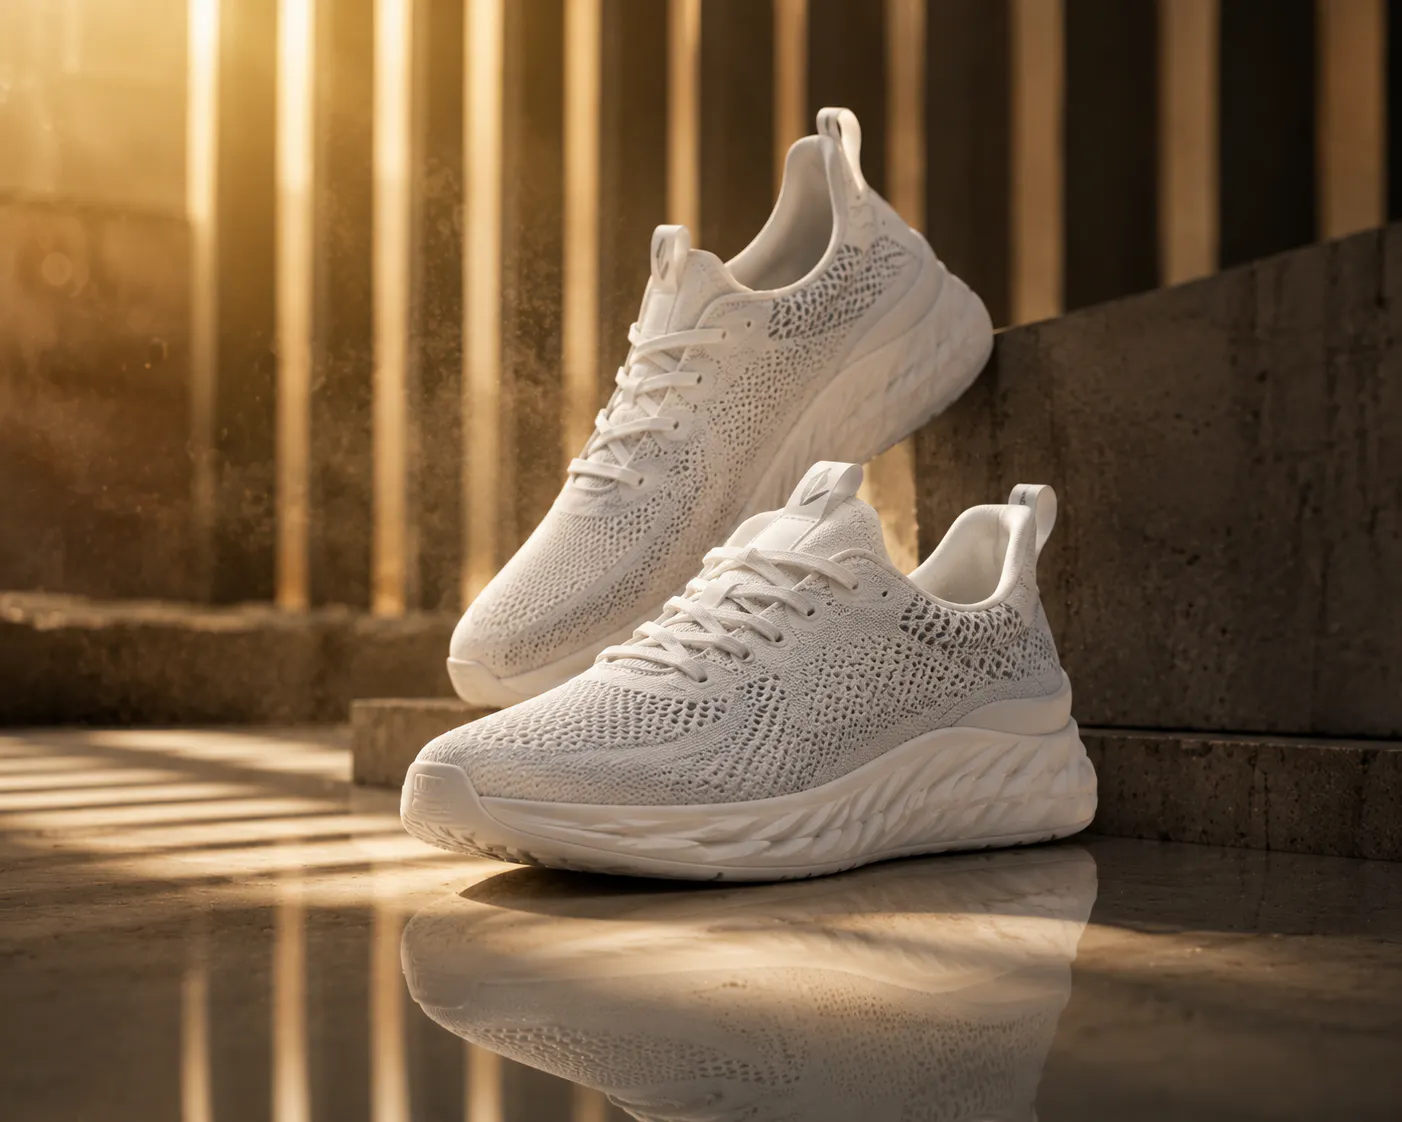
- Knit & Mesh: Prone to looking flat. Backlighting or positioning a rim light slightly behind the shoe will trace the edge fibers and reveal the depth of the weave.
8. Tell a story with lifestyle photography
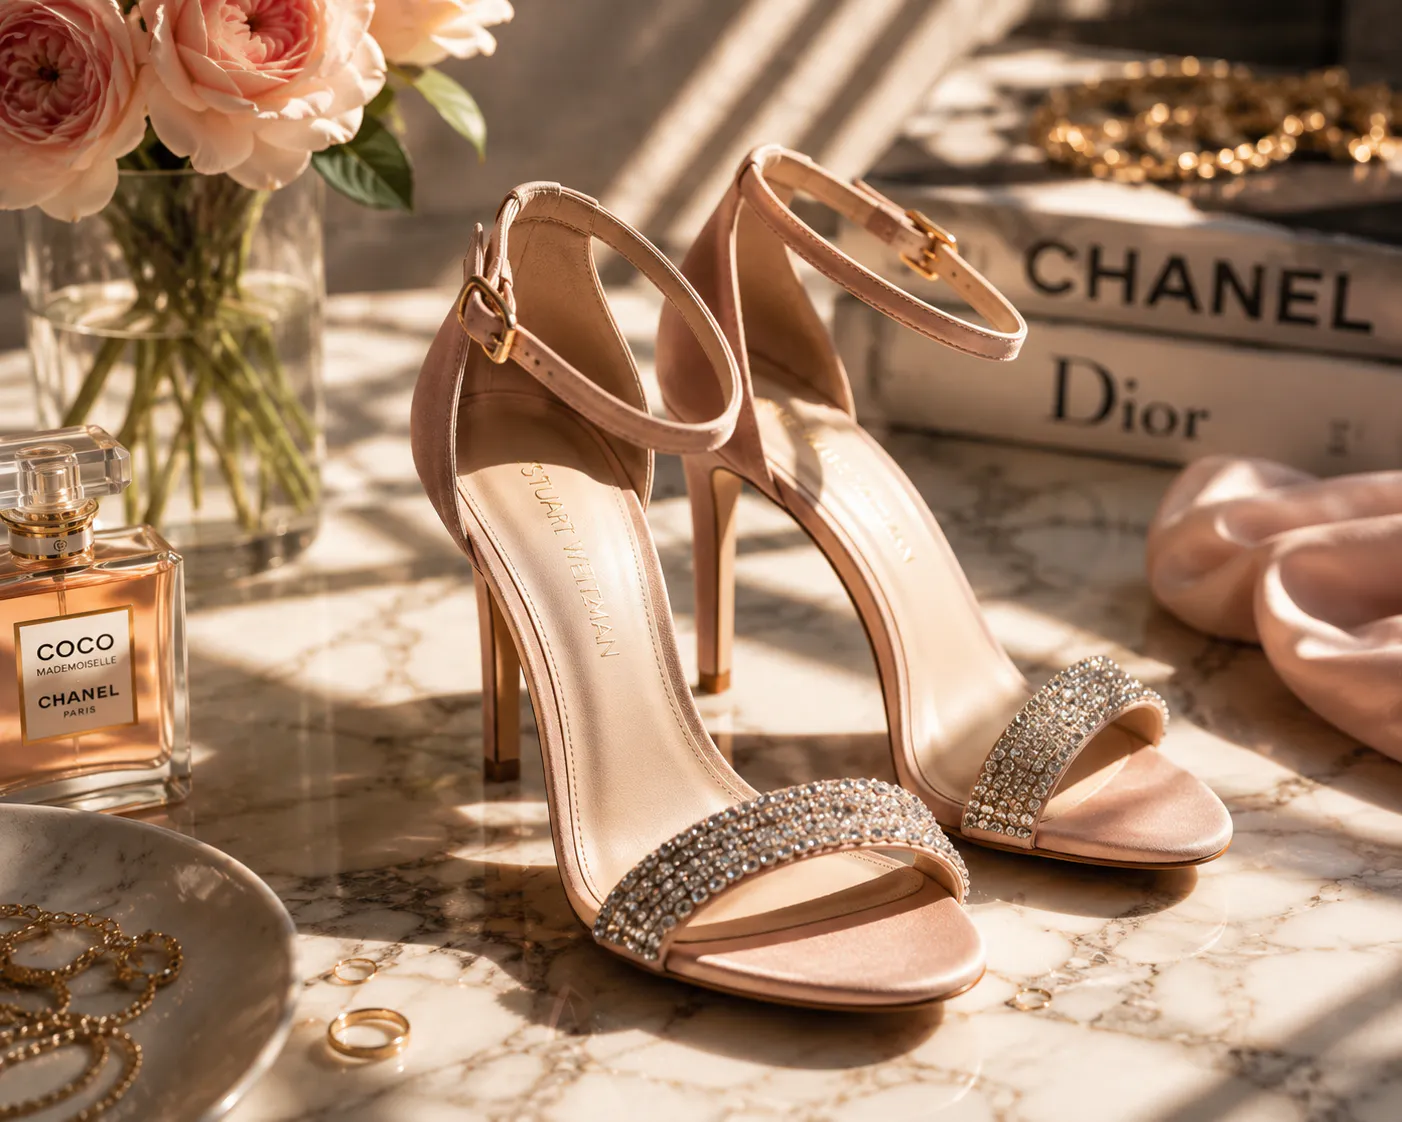
Catalogue photos help customers understand what they are buying. Lifestyle photography helps them imagine owning it.
This is where you can move beyond plain product images and create an emotional connection with your audience. Instead of placing every shoe on a white background, show it being worn in the environment it was designed for. If you are creating content for Instagram, Pinterest or paid advertising, lifestyle photography often performs much better because it feels relatable instead of promotional.
9. Pay attention to composition
A good composition makes your images feel polished before you have even started editing. One of the simplest techniques is keeping the shoe centred in the frame for catalogue photography. This creates balance and ensures the customer's attention stays exactly where you want it.
Lifestyle images offer more creative freedom. You can use the rule of thirds to create a more dynamic composition, but avoid placing unnecessary props around the shoe just to fill empty space.
Negative space is another useful technique. Leaving enough room around the footwear prevents the image from feeling crowded and also gives you flexibility when adding text overlays for advertisements or social media posts.
Always check the edges of your frame before taking the photo. Small distractions like cables, furniture legs, unwanted shadows or reflections are much easier to remove before the shot than afterwards.
10. Keep your colors true to life
Nothing frustrates customers more than receiving shoes that look different from the photographs. Accurate colours should always be a priority.
Start by setting the correct white balance on your camera. If you are shooting indoors, avoid mixing different light sources because warm bulbs and cool daylight can create inconsistent colour tones.
During editing, make only subtle adjustments. Increase brightness if needed, fine-tune the contrast and sharpen details carefully, but avoid making colours look more vibrant than they actually are.
This is particularly important when photographing white trainers, black leather shoes or brightly coloured sneakers, where even small colour shifts become noticeable.
RELATED READING: 31 Jewelry Photography Ideas That Make Your Products Look More Expensive
11. Edit your shoe photos professionally
Taking the photo is only half the process. Editing transforms a good photograph into one that's ready for your website, social media and online marketplaces.
Start by correcting the exposure and white balance so every image looks natural. Remove dust, scratches or tiny imperfections that slipped through during the shoot. Crop your images consistently and ensure every shoe appears at a similar size across your catalogue.
Background editing is usually the most time-consuming step. Many ecommerce platforms require clean white backgrounds, while marketing campaigns often need transparent images or lifestyle scenes.
Instead of spending hours manually selecting every edge, AI-powered editing tools can automate much of the work. Blend is particularly useful if you are managing a growing product catalogue. You can quickly remove backgrounds, generate transparent PNGs, replace plain backgrounds with realistic environments and resize images for different platforms without switching between multiple editing applications.
The biggest advantage isn't simply speed. Every product maintains the same professional look, making your brand feel more polished and trustworthy.
12. Optimize your images for ecommerce and search engines
A beautiful photograph won't perform well if it slows down your website. Large image files increase page loading times, which can affect both customer experience and search rankings. Before uploading your photos, compress them while maintaining enough quality for customers to zoom in comfortably. Here are some things you need to consider:
- Use the correct image dimensions: Choose the recommended dimensions for your ecommerce platform and keep image sizes consistent throughout your store.
- Rename your image files: Replace generic file names like IMG_4589.jpg with descriptive, keyword-rich names such as white-leather-running-shoes.jpg or brown-ankle-boots-side-view.jpg.
- Write descriptive alt text: Alt text improves accessibility and gives search engines more context. Naturally include relevant keywords like footwear photography, shoe photography, running shoes or leather boots where appropriate.
- Optimise images for every platform: Your website, Instagram, Pinterest, Amazon listings and email campaigns often require different image dimensions. Creating multiple versions during one editing session saves time and keeps your branding consistent.
- Streamline your editing workflow: As your catalogue grows, preparing marketplace-ready images manually becomes time-consuming. AI apps like Blend can help you resize images, remove backgrounds, create transparent PNGs and generate social media-ready visuals faster, allowing you to spend more time launching new products and less time editing.
13. Avoid the most common footwear photography mistakes
Even experienced photographers make mistakes, but most are easy to avoid. Keep these common pitfalls in mind:
- Don't photograph dirty shoes: Remove dust, fingerprints, creases and straighten the laces before every shoot.
- Keep your lighting consistent: Use the same lighting setup across all products to maintain a cohesive catalogue.
- Capture multiple angles: Include the front, sides, back, sole and close-up detail shots to help customers make informed decisions.
- Avoid cluttered backgrounds: Keep props minimal so the footwear remains the main focus.
- Don't over-edit your images: Avoid excessive saturation, sharpening or colour adjustments that make the product look unrealistic.
- Do a final quality check: Review every image before publishing to catch small issues that could lead to reshoots or product returns.
14. Test different hero images
The first image your customers see has a huge impact on whether they click your product. That's why it's worth experimenting with different hero images instead of assuming one style works best.
For some products, a clean three-quarter angle on a white background might generate the highest click-through rate. For others, a lifestyle image showing the footwear being worn could perform better.
Test different compositions, camera angles and cropping styles over time. Monitor which images receive more clicks, longer viewing times and better conversion rates.
If you are running paid advertisements, create multiple versions of your hero image and compare the results. Even small changes in lighting or composition can influence performance.
15. Keep improving your photography over time
The best footwear photographers didn't become experts after one photoshoot. They improved by analysing what worked, learning from mistakes and continuously refining their process.
Review your older product listings every few months. Compare them with your latest work and identify opportunities to improve lighting, composition, styling or editing.
Pay attention to customer feedback as well. If buyers frequently ask questions about specific features, consider adding new close-up photographs that answer those questions visually.
Follow trends in ecommerce photography, but don't chase every new style. Focus on creating timeless, high-quality images that represent your products honestly while matching your brand identity.
As your business grows, your photography workflow should grow with it. Investing in efficient editing tools, maintaining a consistent style and regularly updating older images will help your catalogue stay competitive without requiring a complete overhaul. The goal isn't perfection. It's continuous improvement.
RELATED READING: Sunglasses Photography: How to Capture Professional Product Photos Without Reflections
E-commerce Specification Checklist
Every ecommerce platform has its own image guidelines. Preparing your shoe photography for each platform before uploading can save time, prevent quality issues and ensure your products look their best.
Platform | Recommended Dimensions | Background Requirement |
Amazon | 1600 × 1600 pixels minimum (2,000 × 2,000 pixels or larger recommended for zoom) | Pure white (RGB: 255, 255, 255) |
Shopify | Up to 4472 × 4472 pixels | Flexible. White, transparent or light grey backgrounds work well depending on your store design. |
1080 × 1080 pixels (1:1 square) | No fixed requirement. Use clean, uncluttered backgrounds that match your brand aesthetic. |
Rather than creating separate versions of every image manually, it's worth preparing multiple exports during your editing workflow. Let Blend handle this for you. It can help you resize images quickly, replace backgrounds and generate platform-ready versions from a single product photo.
That means you can upload the same footwear photography to your online store, marketplaces and social media without starting from scratch each time. This small step keeps your catalogue consistent while ensuring your shoe photography meets the requirements of every platform where you sell.
Conclusion
Great footwear photography isn't about owning the most expensive camera or having access to a professional studio. It's about understanding what customers want to see and presenting your products in a way that builds confidence.