


If you sell bags online, you already know this. A mediocre photo can kill a great product. Bag photography is one of those things that looks simple until you actually try it. You put a tote or a backpack on a table, snap a picture, and somehow it looks flat, dull, or just off. There goes your attempt at selling it. This is why you need to learn some bag photography tips and ideas so you can create professional-looking results at home.
Good product photography for bags needs to do more than show what the bag looks like. It needs to show the texture, capacity, straps, compartments, stitching, and scale while making the product look desirable. This guide walks you through how to shoot bags like a pro, whether you are working with a DSLR and a lightbox, shooting with your phone at home, or using AI tools to create extra product visuals after the shoot.
Why Bag Photography is Harder Than It Looks
A chair stays a chair no matter how you place it. A bag doesn't. Fabric bags slouch, leather bags wrinkle, and structured bags can look either sharp or sad depending on how you fill them. On top of that, buyers want to see a lot before they trust a bag enough to buy it, things like the stitching, the strap length, how it sits on a shoulder, whether the zipper looks sturdy and what actually fits inside.
So your photography bag setup has to do more work than a typical product shoot. you are not just showing an object, you are answering a dozen silent questions a shopper has before they add it to cart.
That's exactly why so many sellers search for tips on product photography for bags, bag photo ideas and even how to create a complete bag photoshoot. The usual "put it on white and shoot" approach just doesn't cut it for something this detailed.
Pro Tip for Manual Mode: If you are shooting in manual, set your aperture to f/8 to f/11. This keeps the front texture, zipper hardware, and rear straps all in crisp focus instead of letting the background or edges go soft.
Keep your ISO around 100 to 200 as well, since anything higher tends to introduce digital grain that shows up badly on smooth leather surfaces. If you are shooting on a phone, lock focus and exposure manually where your camera app allows it, and avoid digital zoom, since it softens fine details like stitching and hardware.
RELATED READING: 30 Book Photography Ideas to Try (Grouped by Style, So You Actually Use Them)
10 Bag Photography Tips That Actually Make a Difference
A flat, deflated bag photo can make even a great product look cheap. The below pointers break down the simple styling, lighting, and editing tricks you need to make your bags stand out and sell.
1. Stuff the bag properly
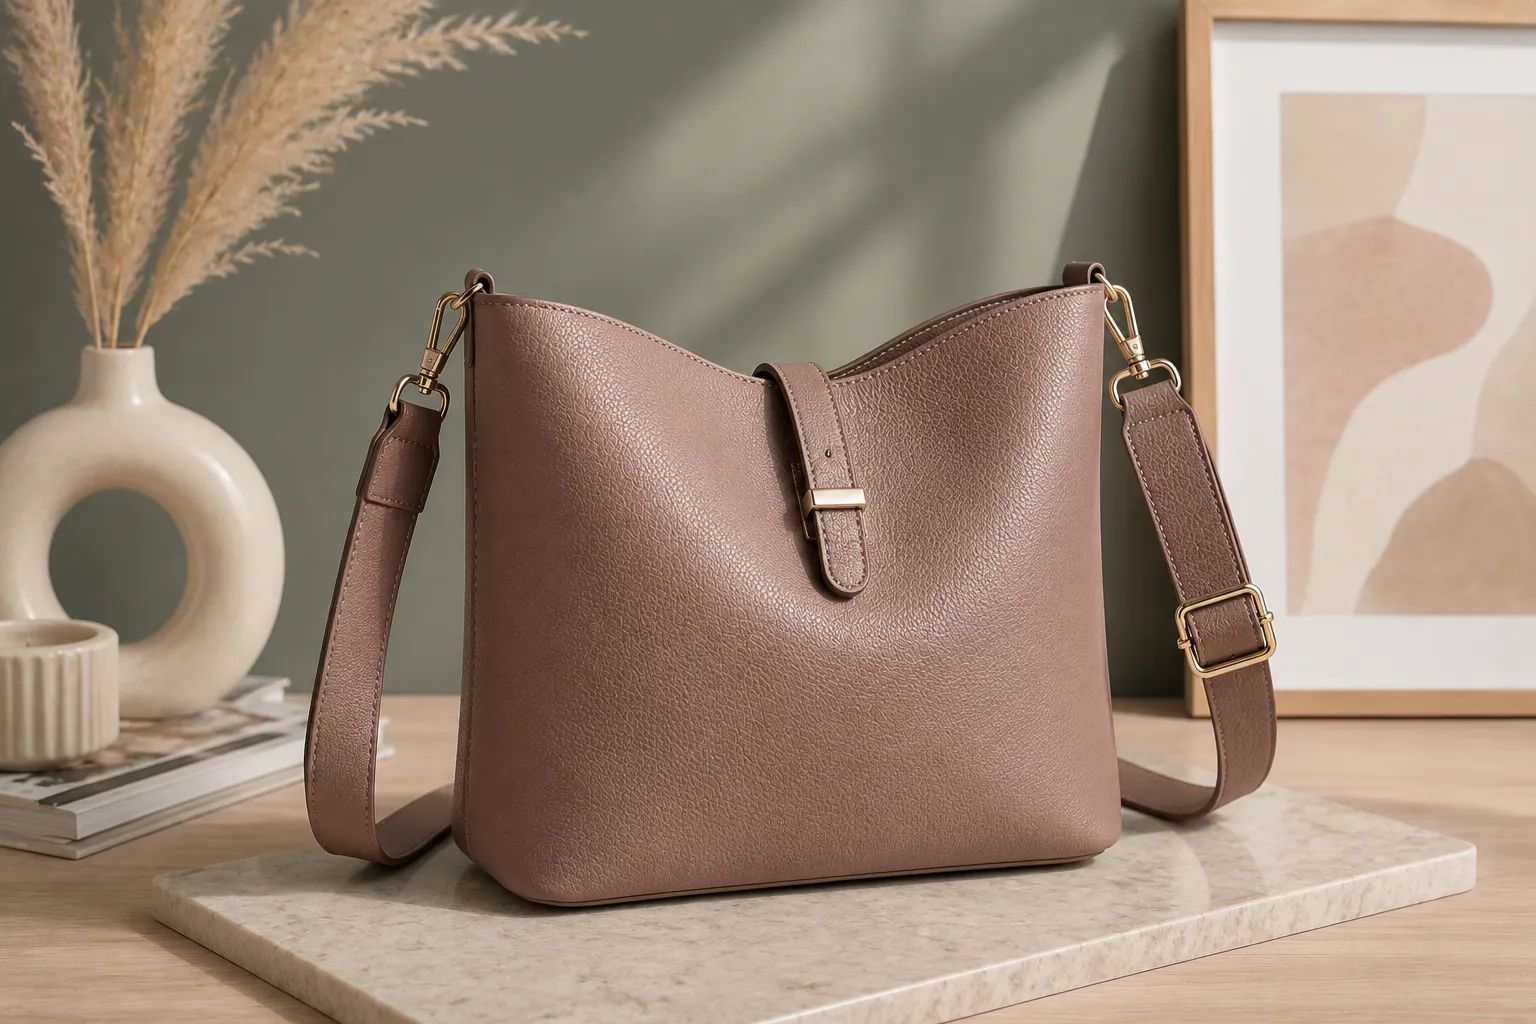
An empty bag photographs like a deflated balloon. Use tissue paper, an old t-shirt, or bubble wrap to fill it out so it holds its natural shape. Don't overstuff it either, you want it to look full, not stretched.
This one step alone fixes most of the "why does my bag look sad" problem sellers run into. Pay particular attention to the corners, base and side panels. You want the bag to show its natural structure without making it look unnaturally rigid.
This is especially important for tote bag photography because soft totes can lose their shape very quickly when they're empty.
2. Steam or iron out creases
Nothing says "used" faster than a wrinkled strap or a crumpled side panel. Give leather and fabric bags a few minutes of prep before the shoot so every panel looks smooth under studio light. Be careful with heat, though. Don't put a hot iron directly on leather or delicate synthetic materials. Use a suitable steamer or follow the manufacturer's care instructions.
If you are shooting hundreds of products, digitally removing every crease can become a huge editing job. Blend has an Ironing feature designed to remove wrinkles and creases from product photos, which can be useful for cleaning up suitable product images after the physical shoot.
3. Clean the surface thoroughly
Dust and fingerprints show up brutally under studio lighting, especially on leather and glossy materials. Wipe the bag down right before you shoot, not an hour before, since dust settles fast. Don't forget the hardware. Check zips, buckles, clasps and metal logos for fingerprints and smudges.
You can also clean up things you miss during the shoot. Blend's Magic Eraser lets you remove unwanted objects, props and distractions from product photographs, which can save you from manually retouching every small imperfection.
4. Use soft, diffused light
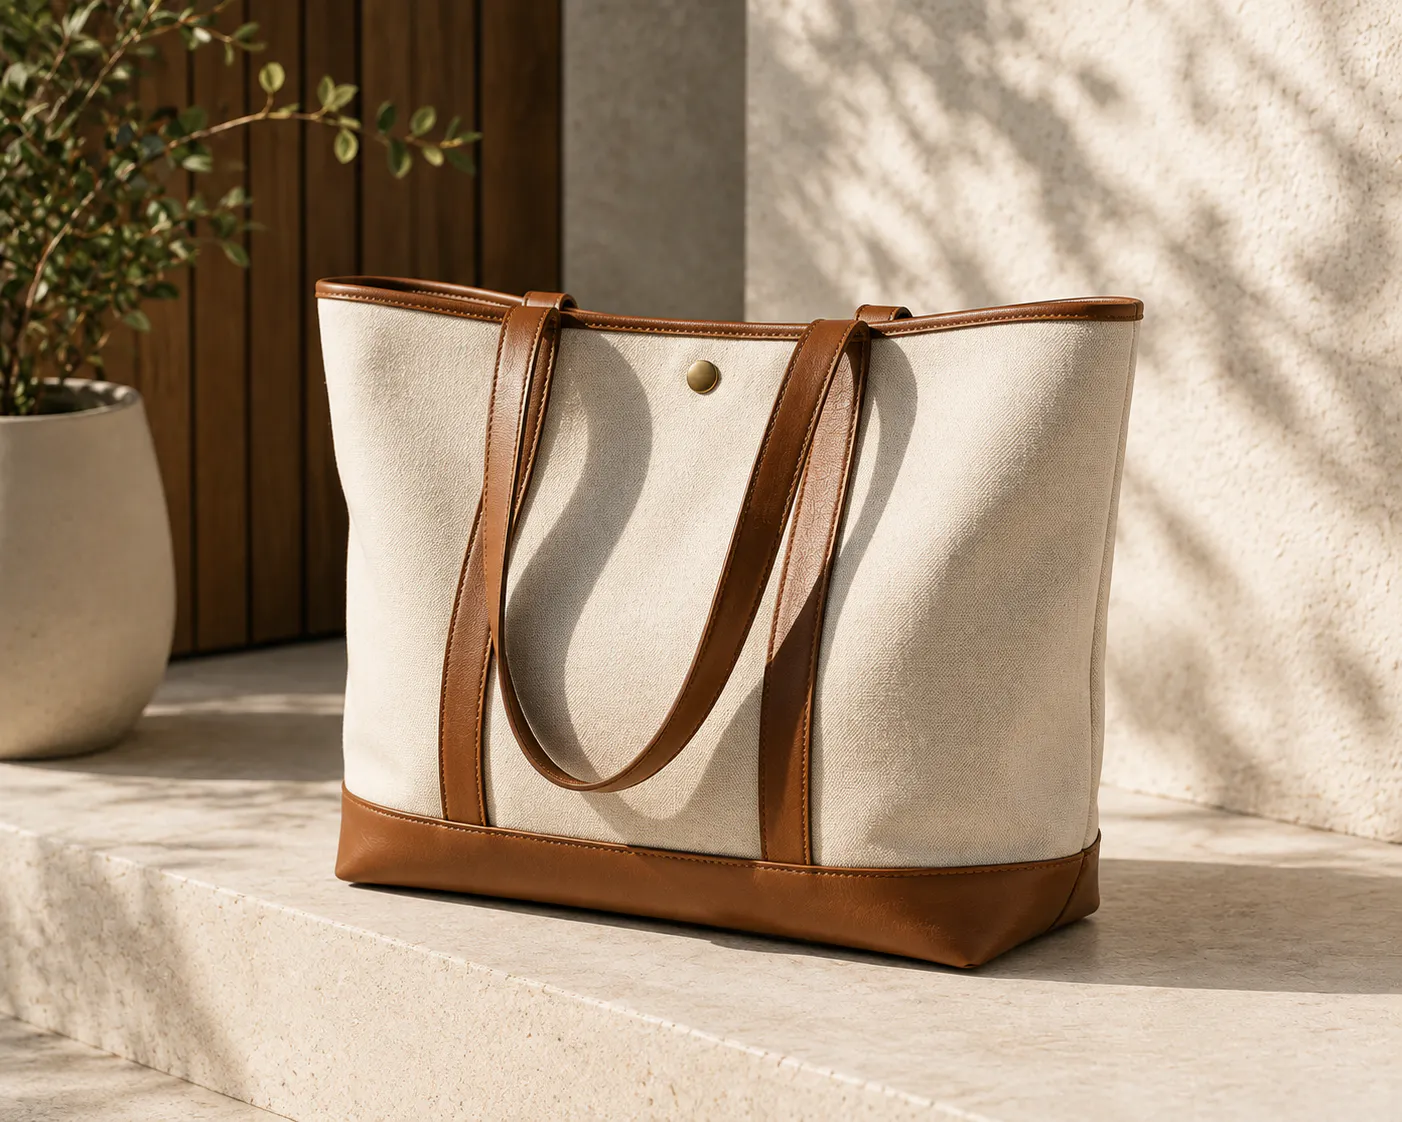
Direct light bounces harshly off zippers, buckles, and glossy leather, creating glare that's a nightmare to edit out later. A softbox or a simple diffuser sheet over your light source fixes most of this instantly and keeps the whole bag evenly lit.
A 5-in-1 reflector is also worth having. Use the white side for gentle fill, silver when you need stronger reflected light, black when you want to absorb light and the translucent panel when you need to soften direct sunlight.
If you are working beside a window, a sheer curtain can work as a basic diffuser. Your lighting doesn't need to be expensive. What matters is that it is large, soft and consistent.
Once you have captured the product cleanly, Blend's Studio Shot can help turn a basic product photograph into a polished studio-style image with professional-looking lighting and a clean background.
RELATED READING: Amazon Product Photography: The Complete Guide to Images That Actually Sell
5. Capture every angle that matters
One photo is never enough. Shoppers want to mentally hold the bag before they buy it, so give them the full picture: a front-facing hero shot, a side profile to show depth, a back view, especially important for backpacks, since people want to see how the straps sit, a close-up of the hardware, and an interior shot that sells functionality, not just looks.
This is also where questions like how to click product photography for bags and how to click product photography for hand bags come up a lot.
For handbags specifically, capture the strap drop and the way it sits when held. A static flat shot rarely does that justice. Keep your camera position consistent across the catalogue. If one bag is photographed from waist height and another from above, shoppers may struggle to compare them.
If you need extra perspectives after the shoot, Blend's Other Angles feature can generate multiple product angles from a single source image. It can be useful for creating additional catalogue imagery, although your core listing images should still accurately show the real product.
6. Lift and style the straps
Straps are an underrated detail. If a bag has a shoulder strap or handles, don't let them flop lifelessly in the frame.
Photographers often use thin fishing wire tied to a stand to lift straps into a natural hanging position. It's a small trick that instantly makes a bag look more premium. If wires show up in the shot, that's fine, they're easy to remove during editing.
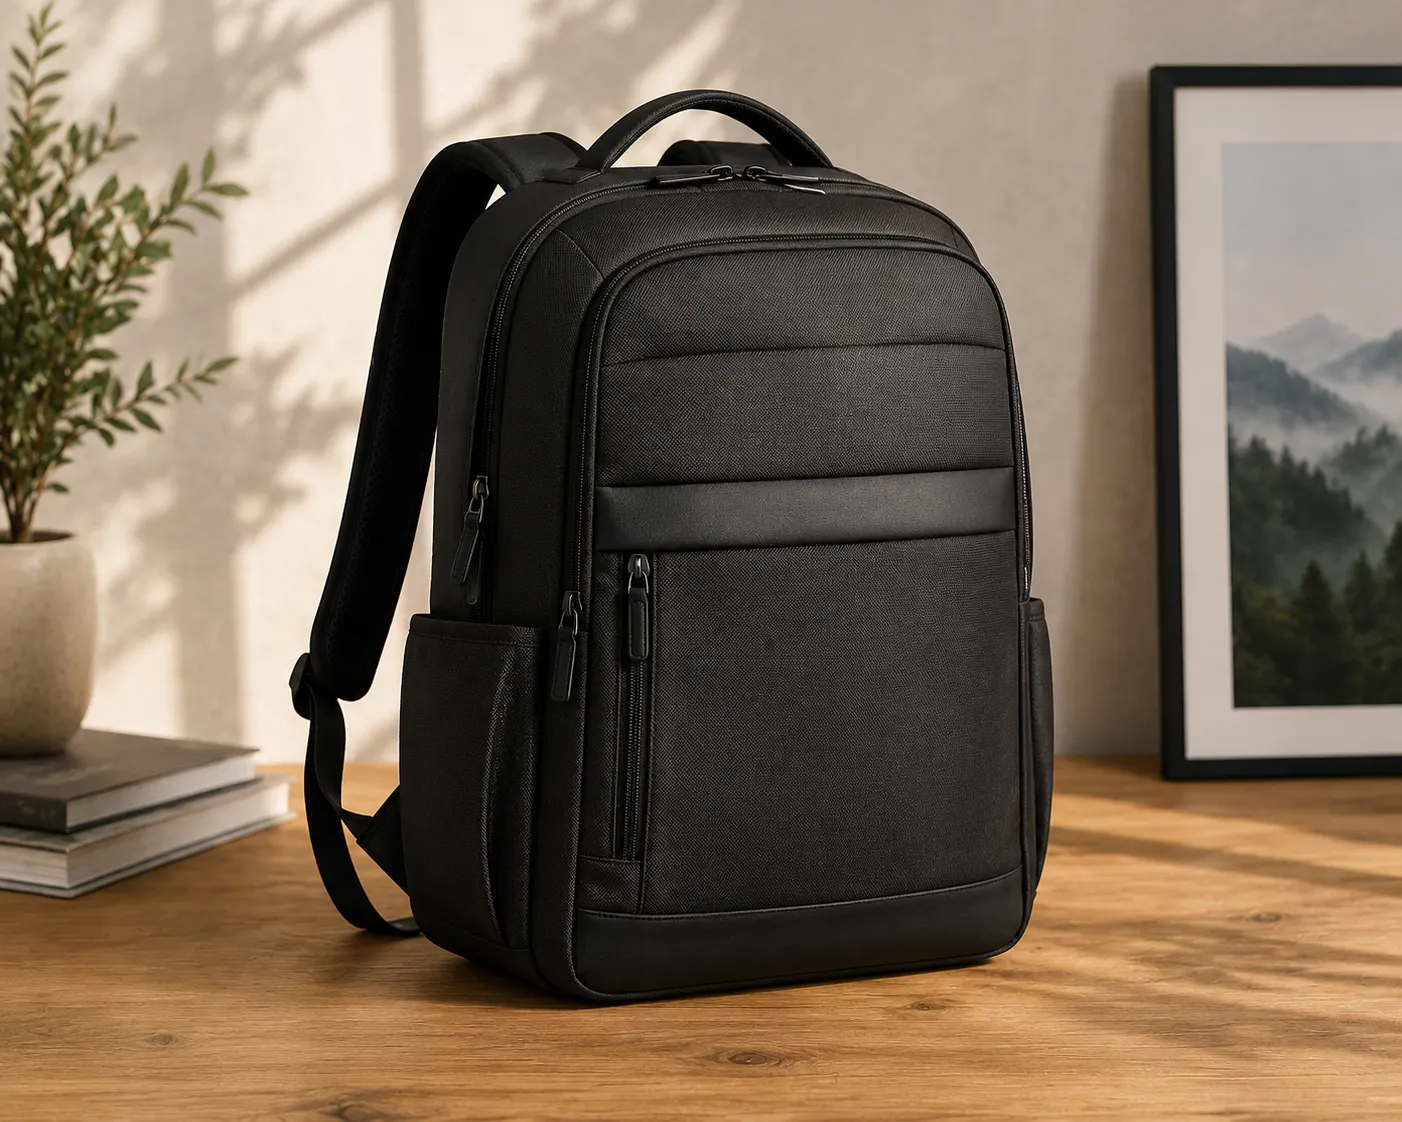
Think about how the bag is supposed to be carried. A crossbody strap should show its length. A handbag handle should have a natural drop. A backpack should show how its shoulder straps are positioned.
For lifestyle images, Blend's Lifestyle Shot can place a product into a realistic setting and lets you customise the background, angles and props. That gives you another way to show how the bag looks in use.
7. Keep your core shots on a clean background
For your main catalogue shots, a plain white or light grey background is still your safest bet. This is where a lot of sellers land when they search for how to shoot product bag photography white background style for listings.
The classic method involves a lightbox, careful lighting from both sides to avoid harsh shadows, and some post-production to get a clean white background without blowing out the bag's own details.
You can also separate the bag from the original background after the shoot. Blend can remove your background and create a transparent product cutout, after which you can add a colour or another AI background. Its AI Photoshoot can also generate new product backgrounds with realistic lighting and shadows.
This is useful when you photograph an entire collection in different locations but want every product page to have the same clean visual style.
8. Use context for your secondary shots
Once your core shots are locked in, think about context for the rest.
If it's a travel duffel, shoot it near a suitcase or airport-style props. If it's a laptop bag, show a laptop tucked inside, since searches around how to make the laptop bag photography work usually come down to exactly this: proving functionality, not just showing the exterior.
A messenger bag photographed with a notebook and a coffee cup instantly feels more relatable than one floating on plain white.
This also works for a camera bag. Show the camera body, lenses or accessories inside the compartments so shoppers understand what the bag is designed to hold.
If you are selling camera bags & cases, use separate photographs to show padding, dividers and storage space. For a camera case bag, a close-up of the interior can be just as important as the exterior.
Blend's Lifestyle Shot can help you create additional context after you have captured the basic product image. You can choose a suggested scene or describe your own and customise elements such as the background, angle and props.
RELATED READING: Food Photography Guide for Better Clicks, Engagement and Orders
9. Pay extra attention to texture on leather
If you are shooting a leather photography bag, textures deserve extra care.
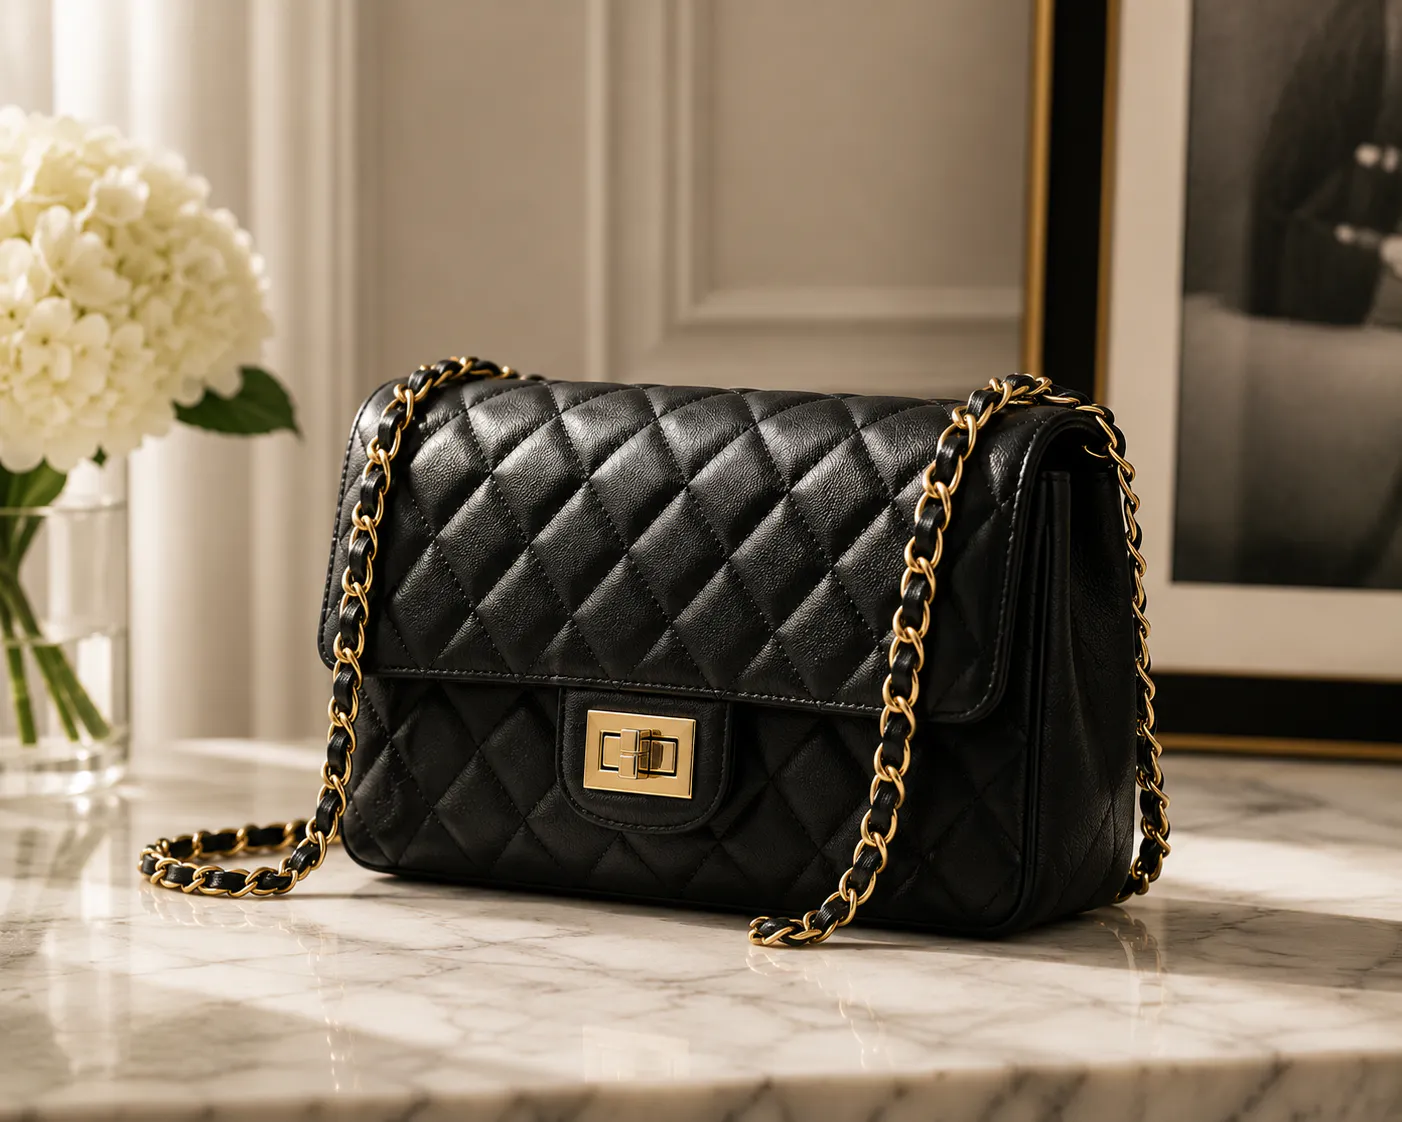
Leather has grain, sheen and depth that a flat white background can actually wash out. Try a slightly warmer, softer light angled across the surface to bring that texture forward instead of flattening it.
A 50mm lens is a useful starting point for natural-looking product proportions, while an 85mm lens can work well for tighter detail shots when you have enough room to step back.
Don't push clarity and sharpness too far during editing. Leather should still look like leather, not plastic.
If your source image needs to be used at a larger size, Blend's Upscale Image feature can enhance low-resolution product photos for higher-resolution uses. Start with the sharpest original photograph you can, though, because good source photography will always give you more detail to work with.
10. Shoot camera bags and kit bags with function in mind
There's a separate corner of this niche worth mentioning: photographing bags made for photography gear.
A camera bag or photography kit bag needs to be shot in a way that shows off compartments, padding and how much equipment it can realistically hold.
Open shots with lenses and a camera body neatly arranged inside do far better than a plain exterior shot, since buyers are trying to judge capacity and protection, not just looks.
The same logic applies if you are listing a photography messenger bag: show it both closed for the aesthetic and open for the practical buyer who wants to know if their gear fits.
If you are photographing camera bags & cases, capture the interior from above and include the dividers or padding. A close-up can show the material and construction, while a wider photograph establishes overall capacity.
Blend's Studio Shot can then help you create a polished catalogue presentation from your source product image, while Lifestyle Shot can put the bag into a photographer's workspace or another relevant environment.
How to Photograph Different Types of Bags
Different bags need slightly different photography approaches. Let’s take a look at them:
1. Handbags
For handbag photography, focus on shape, handles, strap drop, hardware and texture. Photograph the bag upright, from a three-quarter angle and while being carried if possible.
This is where how to click product photography for hand bags becomes practical rather than just an SEO phrase. Your customer wants to understand how the bag actually hangs from the hand or shoulder.
2. Laptop bags
For laptop bags, functionality matters more. Show the laptop compartment, padding, pockets and what fits inside. If you are working out how to make the laptop bag photography more useful, don't stop at the exterior. Put a laptop inside and show the bag being carried in a realistic work setting.
3. Totes
For tote bag photography, show capacity and structure. A flat lay can work well, but also photograph the tote upright and show what can fit inside.
4. Camera bags
For a camera bag, show the compartments with realistic equipment inside. Customers need to see how their camera body, lenses and accessories fit.
5. Photography kit bags
A photography kit bag should communicate protection and organisation. Photograph the padding, dividers, zips and internal layout rather than relying entirely on an attractive exterior photograph.
6. Messenger bags
For a photography messenger bag, show both sides of the product. A clean exterior image sells the look, while an open interior image answers the practical questions.
RELATED READING: AI Prompt for a Baby Photoshoot: 15 Baby Photoshoot Ideas With Ready-to-Use Prompts
A Simple Blend Workflow for Bag Sellers
If you are trying to scale bag photography without scaling your photography budget at the same rate, a simple workflow can help. Start by photographing each bag clearly and accurately. Get the shape, colour, texture and important details right.
Then upload the source image to Blend. After that, you can:
- Use Studio Shot feature you need a polished ecommerce image.
- Use AI Photoshoot when you want a generated product scene.
- Use Lifestyle Shot when you want to show the bag in a realistic environment.
- Use Magic Eraser to clean up distractions
- Use Other Product Angles for additional perspectives
- Use Upscale Image when you need a higher-resolution version.
You can then take the finished product visual into AI Video when you need motion content for ads or social media. That gives you a much bigger content library from one properly photographed product.
Conclusion
Good bag photography comes down to a mix of small details: proper stuffing, clean lighting, thoughtful angles, useful context and backgrounds that either sell trust with plain white or sell a story with lifestyle context. Get one strong source photograph. Then use the right tools to create the rest of your visual library.
With Blend, you can remove the background, create a studio shot, generate lifestyle scenes, clean up distractions, create additional product angles, upscale your image, visualise colour variants and turn product photographs into videos.