
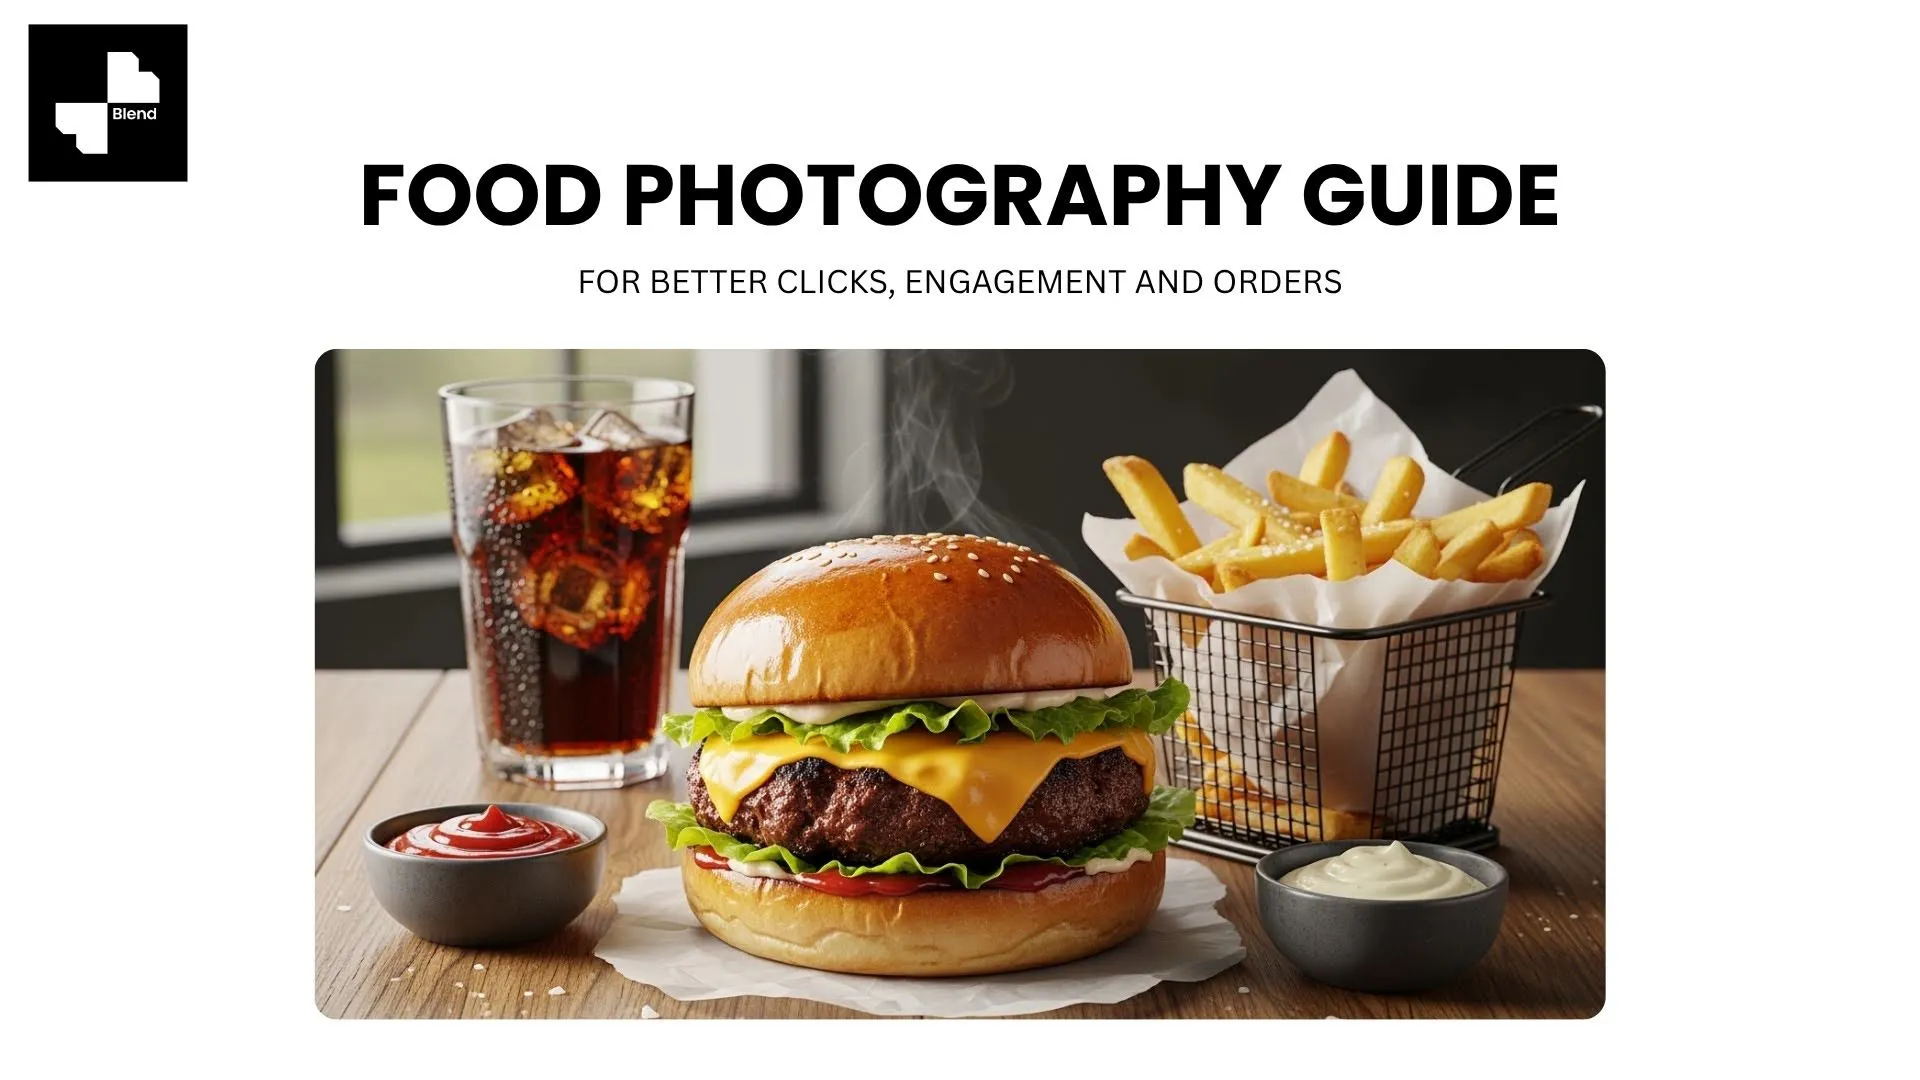



A perfectly plated dish can look incredible in person and completely lifeless on screen. The sauce loses its gloss. The steam disappears before you press the shutter. The colors shift flat and dull under the wrong light. Food is one of the most time-sensitive and technically demanding subjects to photograph because it starts degrading the moment it hits the plate.
Whether you are shooting plated dishes for a restaurant menu or packaged products for an ecommerce store, the same fundamentals apply: light it from the side, style it with intention, and shoot it at the angle that shows its best features. For packaged food brands selling online, AI tools like Blend let you generate professional food product photography and lifestyle scenes from a single product photo without staging a single prop. Here is the complete guide.
Why Food Photos Drive More Orders Than Descriptions
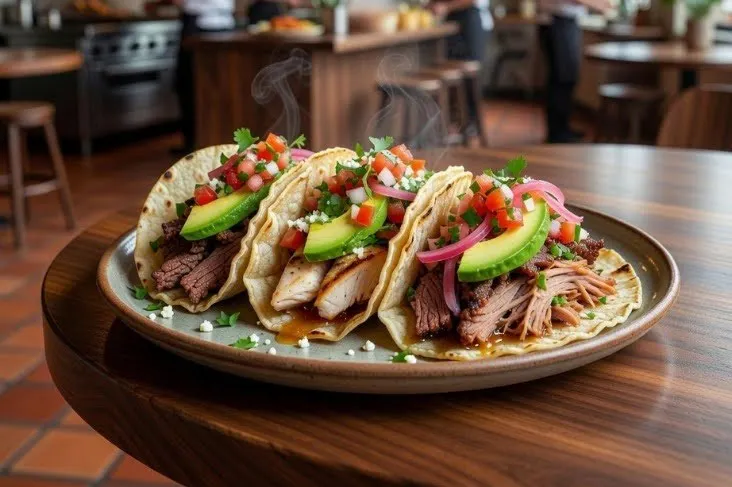
Menu copy and ingredient lists matter, but they rarely close the sale on their own. The image is what makes someone tap "order" or keep scrolling.
Buyers Decide in Seconds Based on the Image
Online food ordering, delivery apps, and grocery ecommerce all run on thumbnails. A buyer scrolling through a delivery platform spends less than two seconds on each listing before deciding whether to look closer. If your food photo does not immediately look appetizing, no amount of description will recover the click. Restaurants with strong menu photography tend to see noticeably higher order volume on delivery platforms compared to those using phone snapshots or no images at all.
Poor Photos Push Customers to Competitors
A dim, off-color, or poorly styled food photo does more damage than having no photo. A bad image actively signals low quality, even when the actual dish or product is excellent. On competitive platforms where dozens of similar options sit side by side, visual quality is often the only differentiator a buyer uses.
Food Photography Lighting That Makes Dishes Look Appetizing
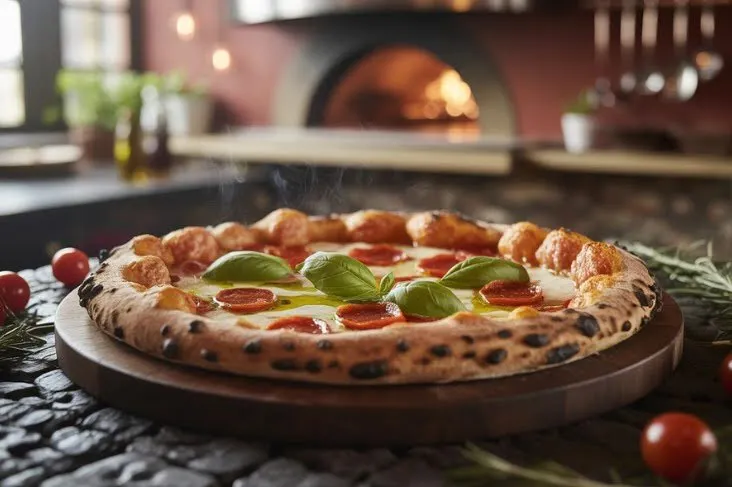
Lighting is the single biggest factor in food photography. Get the light right and even a basic phone camera produces strong results. Get it wrong and no amount of editing will save the image.
Side Light for Texture and Depth
Position your light source (a window or a softbox) to one side of the dish, roughly at a 90-degree angle. Side lighting creates natural shadows that reveal the texture of food, the grain of bread, the gloss of a sauce, the layers in a salad. Front lighting (the camera-side light from a flash or ring light) flattens everything and makes food look two-dimensional.
- Place the dish near a window and shoot with the light hitting from the left or right
- Use a white card or foam board on the opposite side to bounce fill light into shadows
- Avoid overhead kitchen fluorescents, which cast a green or yellow tint
Backlight for Steam, Beverages, and Glossy Surfaces
Placing the light source behind the food, so it shines toward the camera, creates a glow effect that works beautifully for beverage photography, soups, and any dish with steam or visible moisture. Backlight catches liquid transparency, steam wisps, and glossy surface reflections in a way that side light cannot.
- Works best for drinks, cocktails, soups, and saucy dishes
- Add a small bounce card in front to keep the product's face from going too dark
- Combine with a slight angle to avoid lens flare
Best Angles for Food and Beverage Photography
Every dish has a best angle. Shooting everything from the same position is one of the fastest ways to make a menu or product catalog feel flat and repetitive.
Overhead for Flat Dishes and Spreads
A 90-degree overhead shot looking straight down at the plate works best for flat items: pizza, grain bowls, charcuterie boards, flatbreads, and table spreads. Overhead angles also work well for showing multiple items in a single frame, which makes them ideal for social media posts and delivery platform hero images.
45-Degree for Plated Meals with Height
A 45-degree angle, shot from slightly above eye level, is the most versatile food photography angle. You see both the top of the dish and its profile at the same time. Use this for burgers, pasta, stacked pancakes, composed plates, and anything with vertical structure. A 45-degree angle mimics how a diner actually sees the food sitting on a table.
Straight-On for Tall Items and Beverages
A straight-on, eye-level shot works best for items with height and layers: stacked sandwiches, layer cakes, cocktails, and bottled beverages. Straight-on angles emphasize structure and scale, which helps buyers gauge portion size and presentation.
- Overhead: pizza, bowls, platters, flat lays
- 45-degree: plated meals, burgers, pasta, composed dishes
- Straight-on: tall items, beverages, layer cakes, bottled products
Food Styling and Props That Sell Without Cluttering
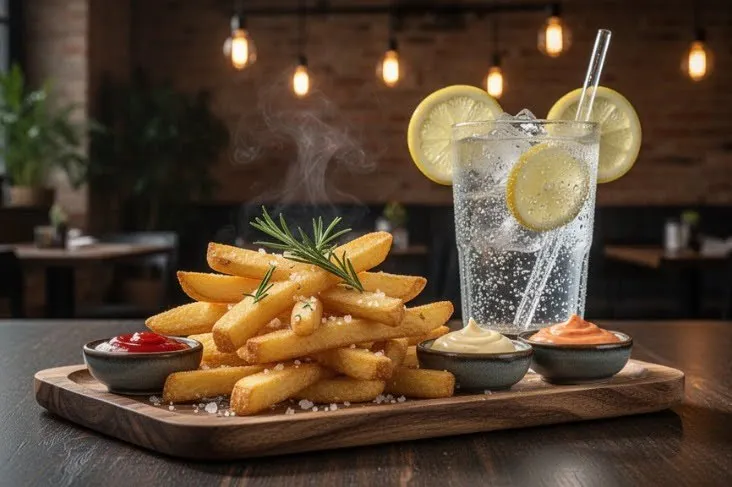
Styling is what separates a photo that looks like someone took a picture of their lunch from one that looks like a professional campaign shot.
Keep Props Minimal and On-Theme
Every prop in the frame should connect to the food's story. A rustic bread board and linen napkin work for an artisan bakery. A clean white plate with a single herb garnish works for a modern restaurant. A cutting board with fresh ingredients works for a meal-kit brand. Add one or two props maximum. More than that competes with the food for attention.
Use Color Contrast to Make the Dish Pop
A warm-toned dish on a cool-toned plate stands out more than a warm dish on a warm plate. Use complementary colors between the food and its surroundings to create natural visual separation. Dark backgrounds make bright, colorful food pop. White or light surfaces keep the mood clean and fresh.
- Dark wood or slate for warm, rich dishes
- White marble or ceramic for fresh, bright items
- Linen textures for organic and artisan brands
How to Create Food Product Photos with Blend
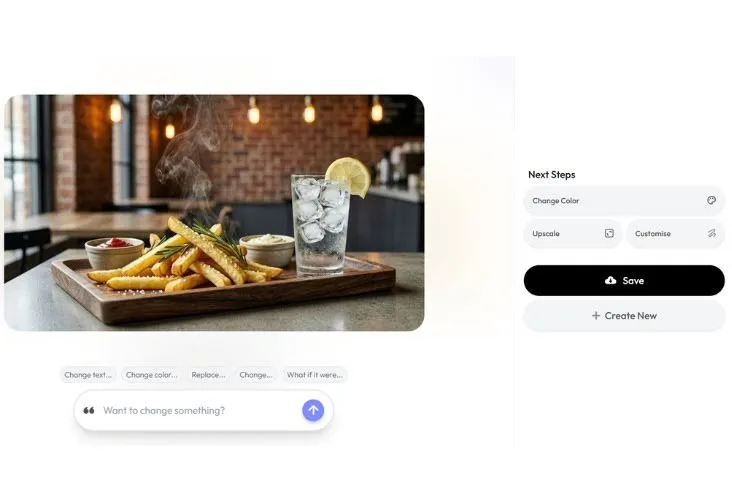
For packaged food products (sauces, snacks, beverages, supplements, coffee, condiments), AI tools handle what traditional food photography cannot: generating multiple styled scenes from a single product photo without physically setting up a single prop.
Generate Lifestyle Scenes for Packaged Food Products
Upload your packaged product photo to Blend and use lifestyle product photography to place it into kitchen counters, dining tables, pantry shelves, and outdoor picnic settings. The AI matches shadows, reflections, and surface textures to each scene. Use background removal first to isolate the product cleanly, and the magic eraser to clean up any label smudges or packaging imperfections.
- Sauce jar on a rustic kitchen counter with fresh ingredients as context
- Coffee bag on a wooden shelf next to a ceramic mug, morning light
- Protein bar on a gym bench with a water bottle, active lifestyle scene
- Beverage bottle on a marble surface with ice and citrus slices
Turn Product Shots into Campaign-Ready Content
Once you have styled lifestyle visuals, generate multiple variations for different platforms and seasonal campaigns. A summer barbecue scene for one season. A cozy kitchen table for winter. A bright outdoor setting for spring. You can also turn any of these stills into short-form product videos for social media and ecommerce food brand listings.
Make Every Food Photo Worth a Click
Food photography comes down to three things: light it from the side, style it with intent, and shoot it at the angle that shows its best feature. For restaurant menu photography, those fundamentals turn phone snapshots into professional-looking listing images. For packaged food brands, AI tools like Blend take those same principles and apply them at scale, generating styled product scenes without a studio or a stylist.
Ready to make your food products look their best? Start creating for free with Blend and generate lifestyle visuals that make buyers hungry.
Frequently Asked Questions
What is the best lighting for food photography?
Soft, diffused side light produces the most appetizing results for most dishes and packaged food products. Position a window or softbox at a 90-degree angle to the food and use a white bounce card on the opposite side to fill shadows.
What angle works best for photographing plated food?
A 45-degree angle is the most versatile. You see both the top and the profile of the dish, which mimics how a diner sees food on a table. Use overhead for flat items and straight-on for tall, layered items.
Do I need expensive equipment for food photography?
No. A recent smartphone with good natural light and a clean background can produce listing-quality images. A basic tripod and a white bounce card are the two most useful upgrades for sharper, more consistent results.
How do I style food photos without making them look cluttered?
Stick to 1-2 props that connect to the food's story or ingredients. A cutting board and fresh herbs for a sauce. A mug and napkin for coffee. Remove everything from the frame that does not serve the composition.
Can AI generate food product photography for ecommerce?
Yes. AI tools like Blend let you upload a packaged food product photo and generate lifestyle scenes with realistic surfaces, lighting, and props. AI works best for packaged products (bottles, bags, boxes, jars) rather than plated restaurant dishes.
What background colors work best for food product photos?
Natural wood, white marble, slate, and linen all photograph well with food. Dark backgrounds make bright, colorful products pop. Light backgrounds keep the mood clean and fresh. Match the surface to the brand's visual identity.