
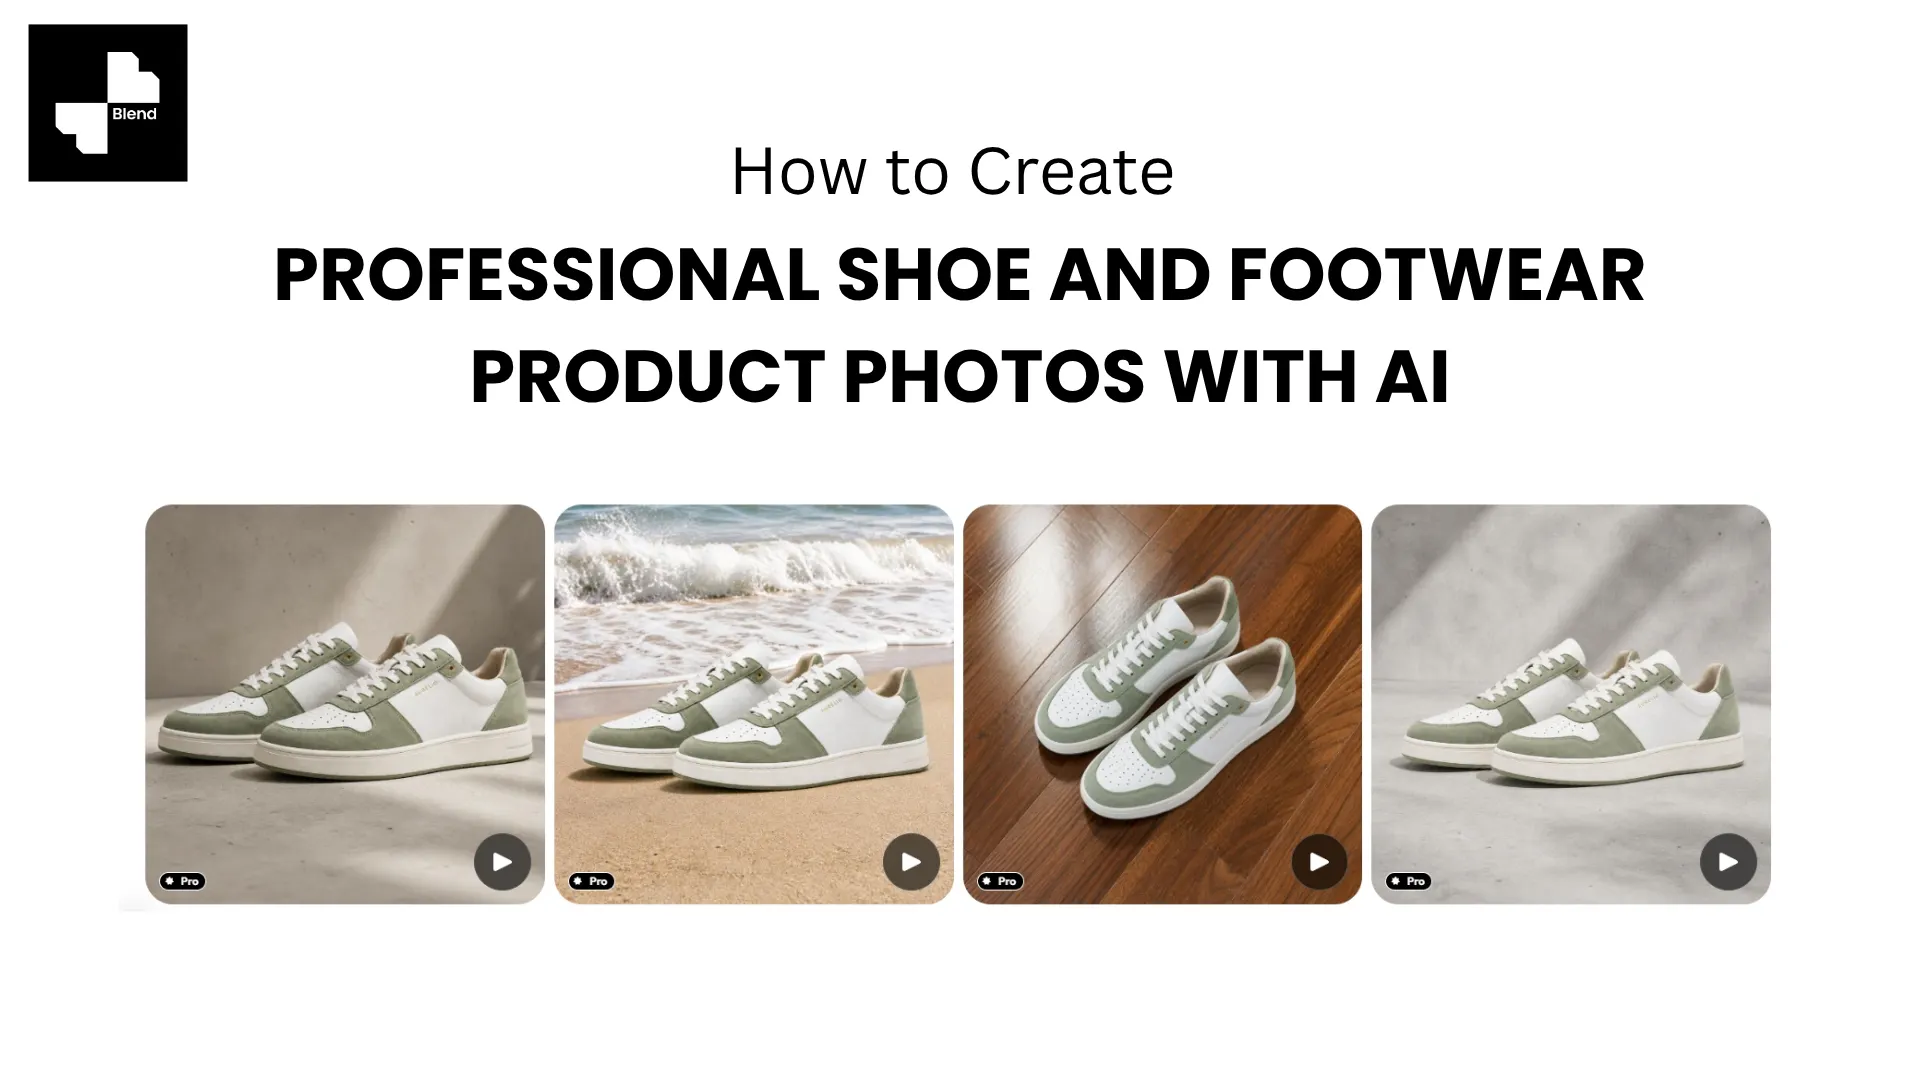



Shoes are one of the most difficult product categories to photograph well. A single pair needs 5 to 8 images to be competitive on marketplaces, covering the side profile, the 3/4 angle, the top-down view, the sole detail, and ideally an on-foot shot. Multiply that by 20 colorways, and you are looking at 100 to 160 product images before you have even launched the season.
Traditional shoe photography means a studio, a photographer, foot models for on-foot shots, and a retoucher to clean up every image. For a small footwear brand, that production cost adds up faster than almost any other product category.
AI product photography tools now handle most of that workflow. Shoot one good photo per shoe, and the AI takes care of backgrounds, lifestyle scenes, on-model shots, and even product video. Here is the step-by-step process.
Set Up Your Product Shots for AI Success
AI generates the environment, but the shoe itself comes from your photo. Getting the starting image right is the most important step in the entire process.
Step 1. Stuff and Shape Your Shoes Before Shooting
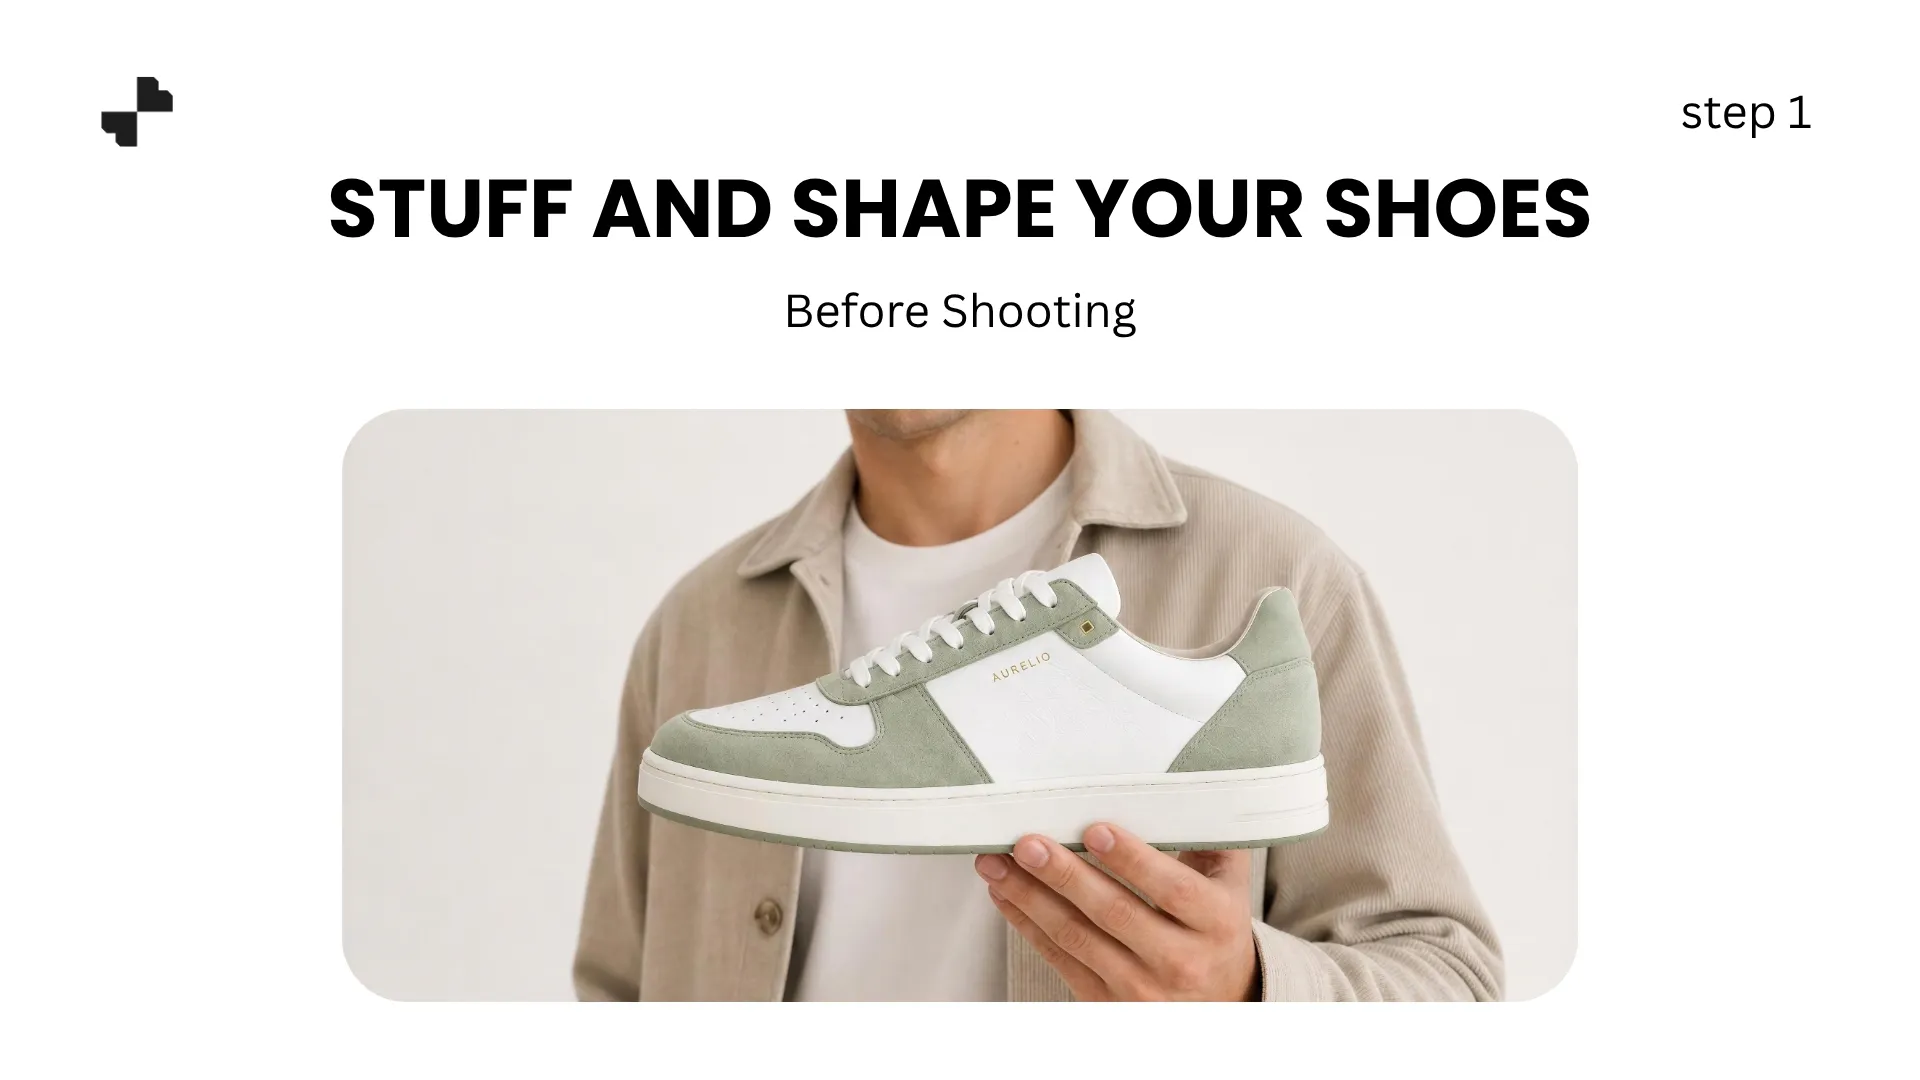
An empty shoe collapses, creases at the toe box, and looks deflated. Stuff each shoe with tissue paper or a shoe tree until it holds its natural shape. The toe box should be full and smooth, the heel counter upright, and the tongue centered and flat.
For sneakers, lace them as worn and tuck excess lace neatly. For heels and dress shoes, make sure the heel sits stably and shows its best silhouette. Two minutes of shaping saves hours of retouching.
Step 2. Capture the Angles Every Listing Needs
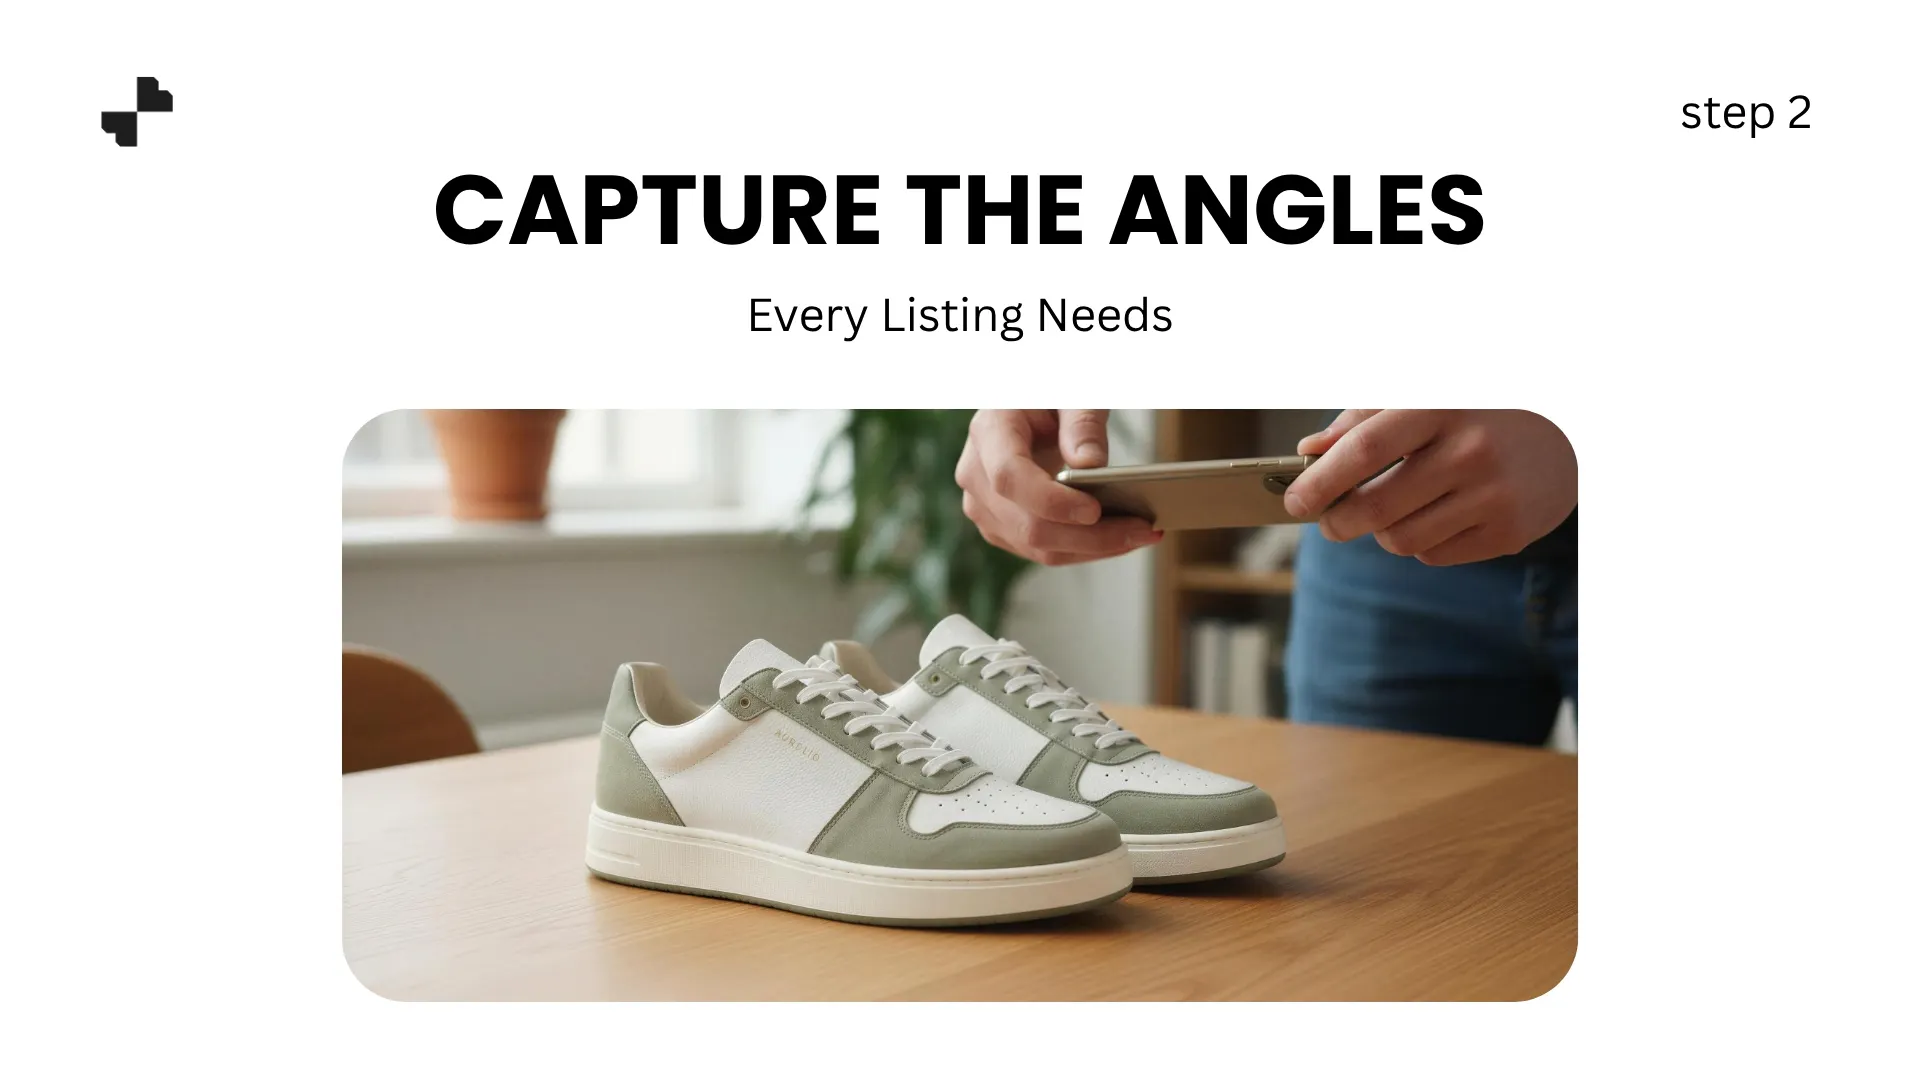
For e-commerce fashion photography, footwear listings need more angles than most product categories. At minimum, shoot these five:
- 3/4 view (45-degree angle). The single most important shot. Amazon specifically requires this angle for the main listing image. Position the shoe facing left at a slight elevation. One photo should show the toe box, side profile, laces, and part of the sole.
- Side profile. Camera at shoe height, perpendicular to the longest axis. Captures the overall silhouette, arch, and sole thickness.
- Top-down view. Shows the upper design, width, toe box shape, and lace pattern.
- Back/heel view. Captures the heel counter, pull tab, and any branding on the back.
- Sole detail. Flip the shoe over. Tread pattern, outsole material, and branding all matter for athletic and performance footwear.
Shoot all five on a plain white or light gray surface with even, diffused lighting. Natural window light works well. A phone camera is fine as long as the image is sharp and well-lit.
RELATED READING: AI Models for Product Photography: A Guide for Every Industry
Clean Up and Prepare Your Images
Even with good lighting and a clean surface, your raw photos will need some cleanup before they are ready for background generation or listing use.
Step 3. Remove Backgrounds for a Clean Starting Point
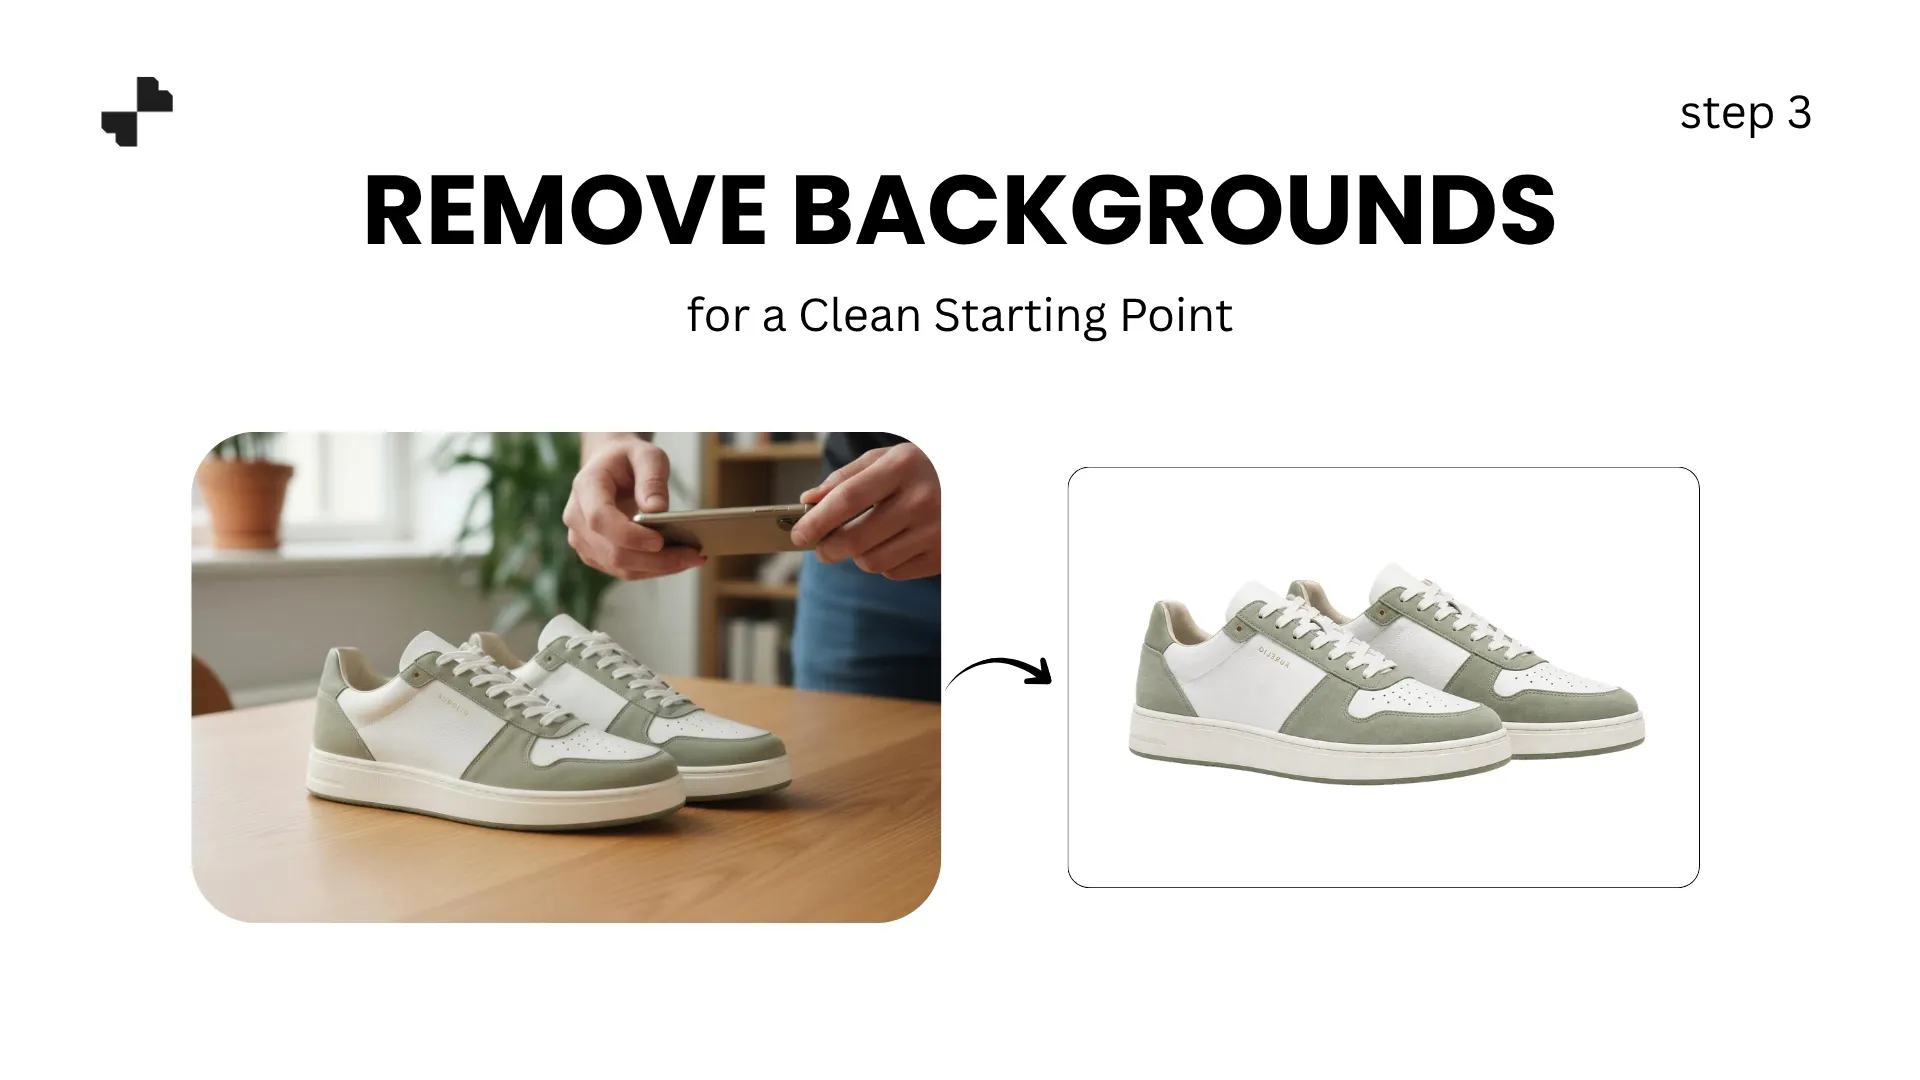
Strip the background from each angle using an AI product photoshoot tool. A transparent cutout gives you maximum flexibility to place the shoe on white for marketplace compliance, into a lifestyle scene, or in a styled flat-lay.
For shoes with complex outlines like strappy sandals or open-weave sneakers, zoom in on the cutout edges after removal. Fine details between straps or around small hardware may need a quick check.
Step 4. Fix Scuffs, Creases, and Small Imperfections
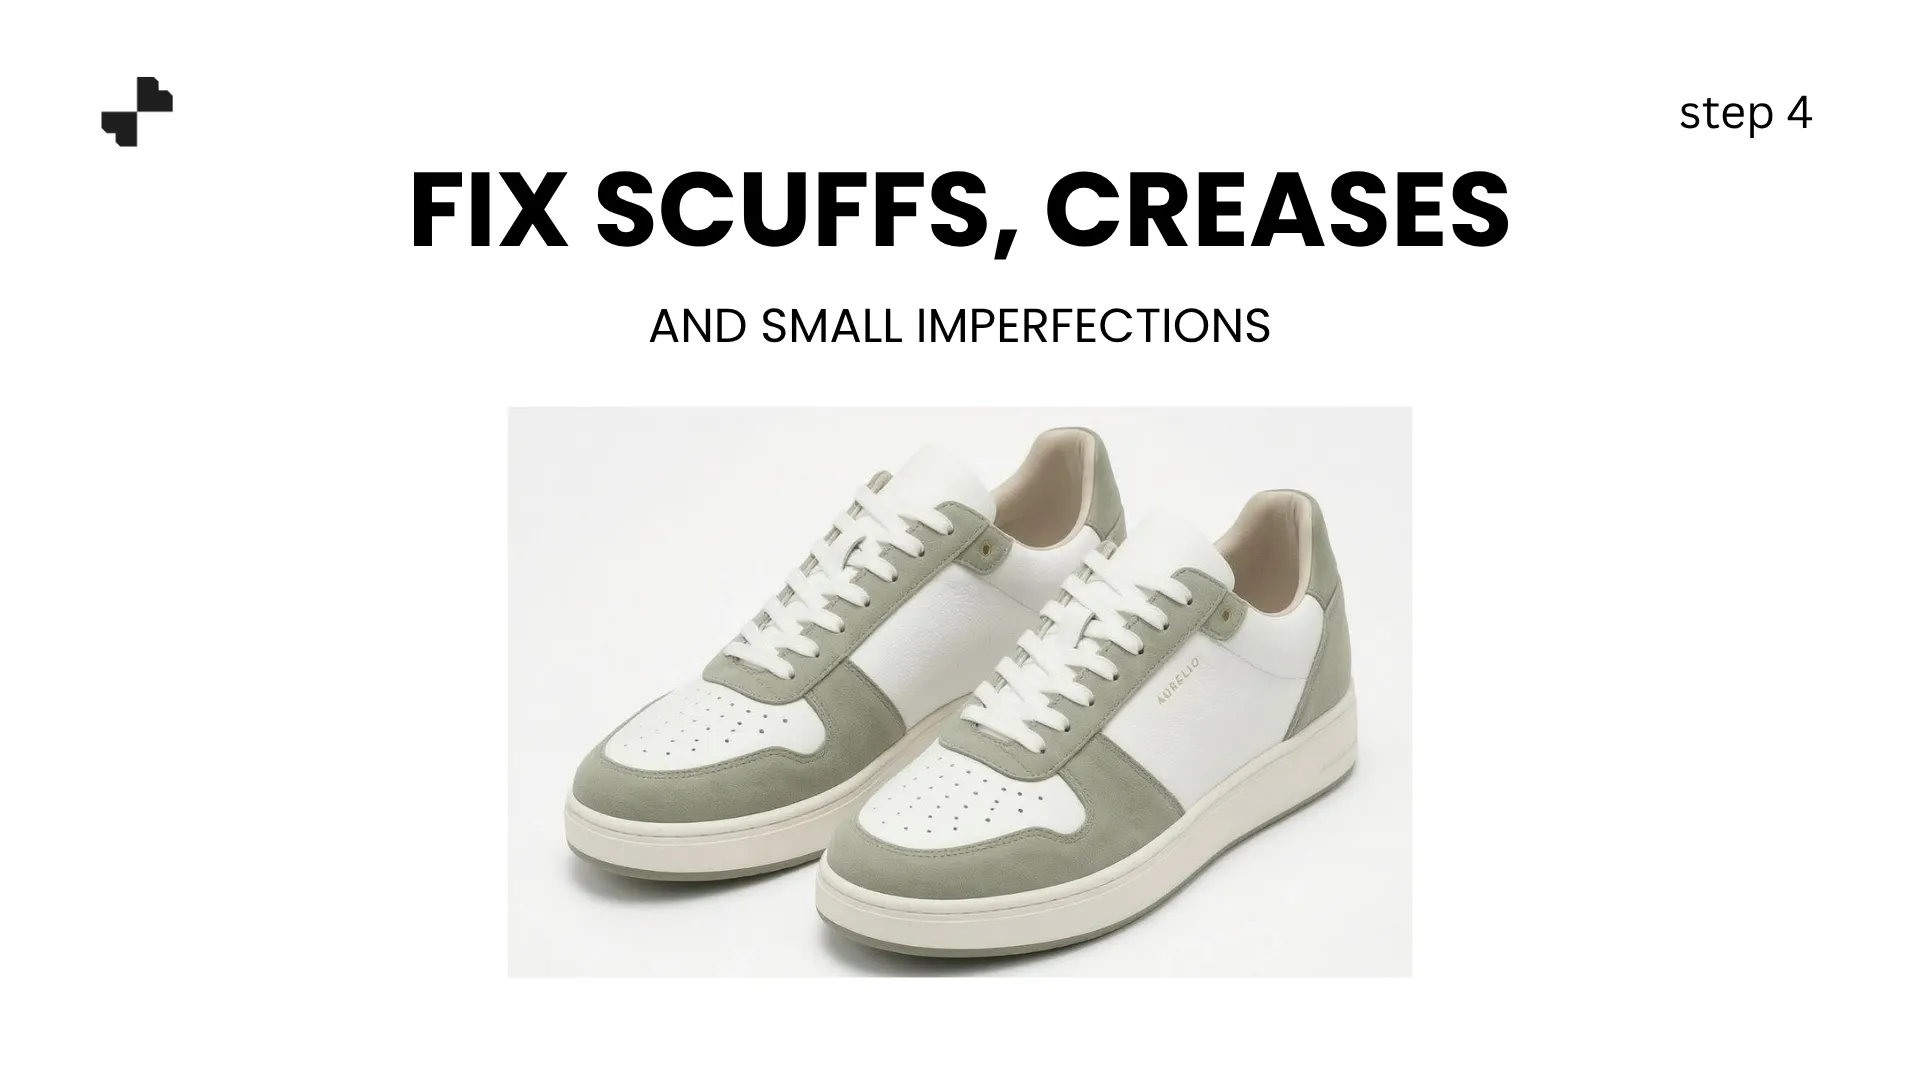
Shoes pick up marks during handling and shipping. A small scuff on the toe, a crease in the leather, or dust on the sole can show up clearly in close-up product shots. An AI image editing tool removes these in a few clicks without affecting the surrounding material texture.
For suede and nubuck specifically, check that the AI has not smoothed out the natural nap of the fabric. The texture should look like suede, not plastic. If the eraser overcorrects, undo and try a lighter pass.
Build Lifestyle and Scene Shots
Clean white-background images get you listed. Lifestyle shots get you clicked. Footwear especially benefits from context because shoes need to be shown in environments where customers can picture wearing them.
Step 5. Generate Styled Background Scenes
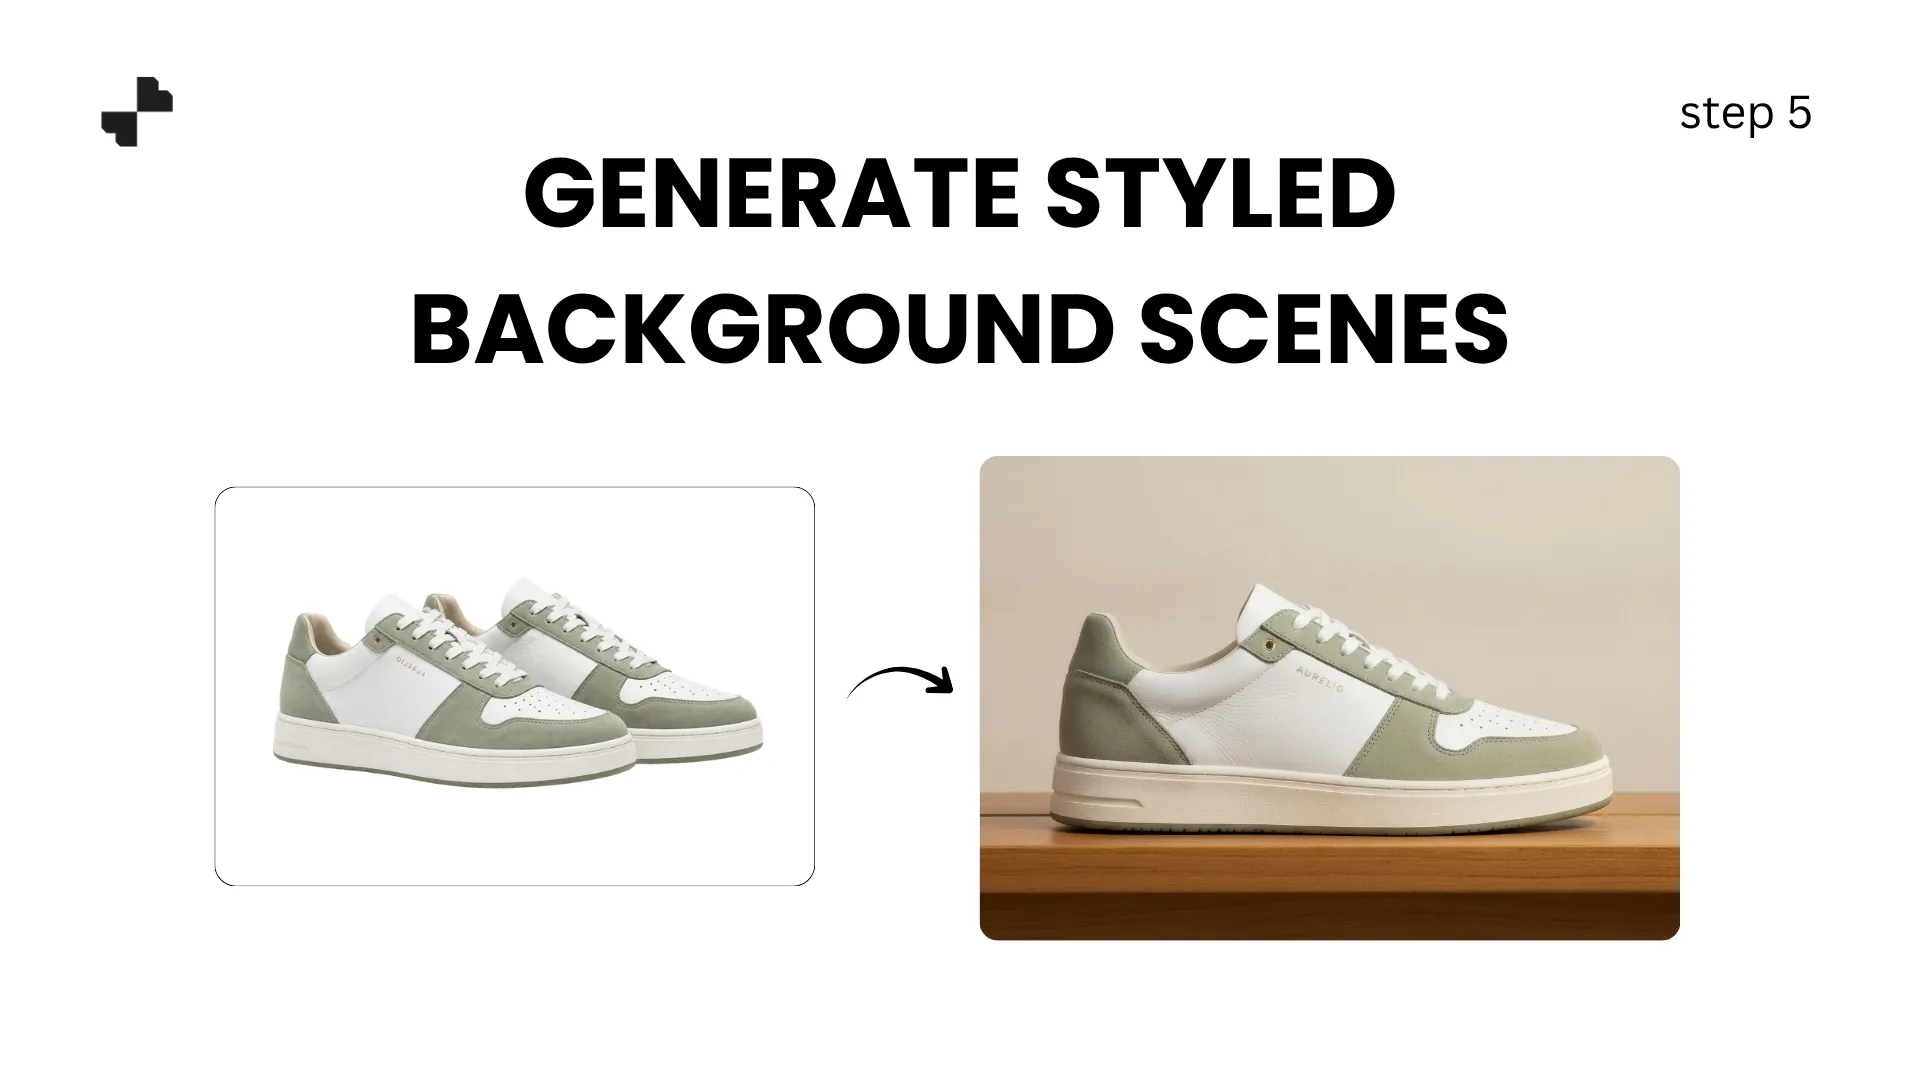
AI product photography tools place your shoe into realistic, styled scenes without building a physical set. The key is matching the scene to the shoe category.
Prompts that work well for different footwear types:
- Sneakers and casual shoes: Urban sidewalk, gym locker room, park pathway, concrete steps
- Dress shoes and heels: Marble floor, hotel lobby, polished wooden surface, elegant doorway
- Boots and outdoor footwear: Trail path, cabin porch, gravel surface, rainy street
- Sandals and summer shoes: Beach boardwalk, poolside, patio tiles, light sand surface
Keep the composition simple. The shoe should dominate the frame, with the background providing context without competing for attention. One or two environmental elements (a sidewalk crack, a leaf, a shadow pattern) add realism without cluttering the image.
Step 6. Create On-Foot and On-Model Shots
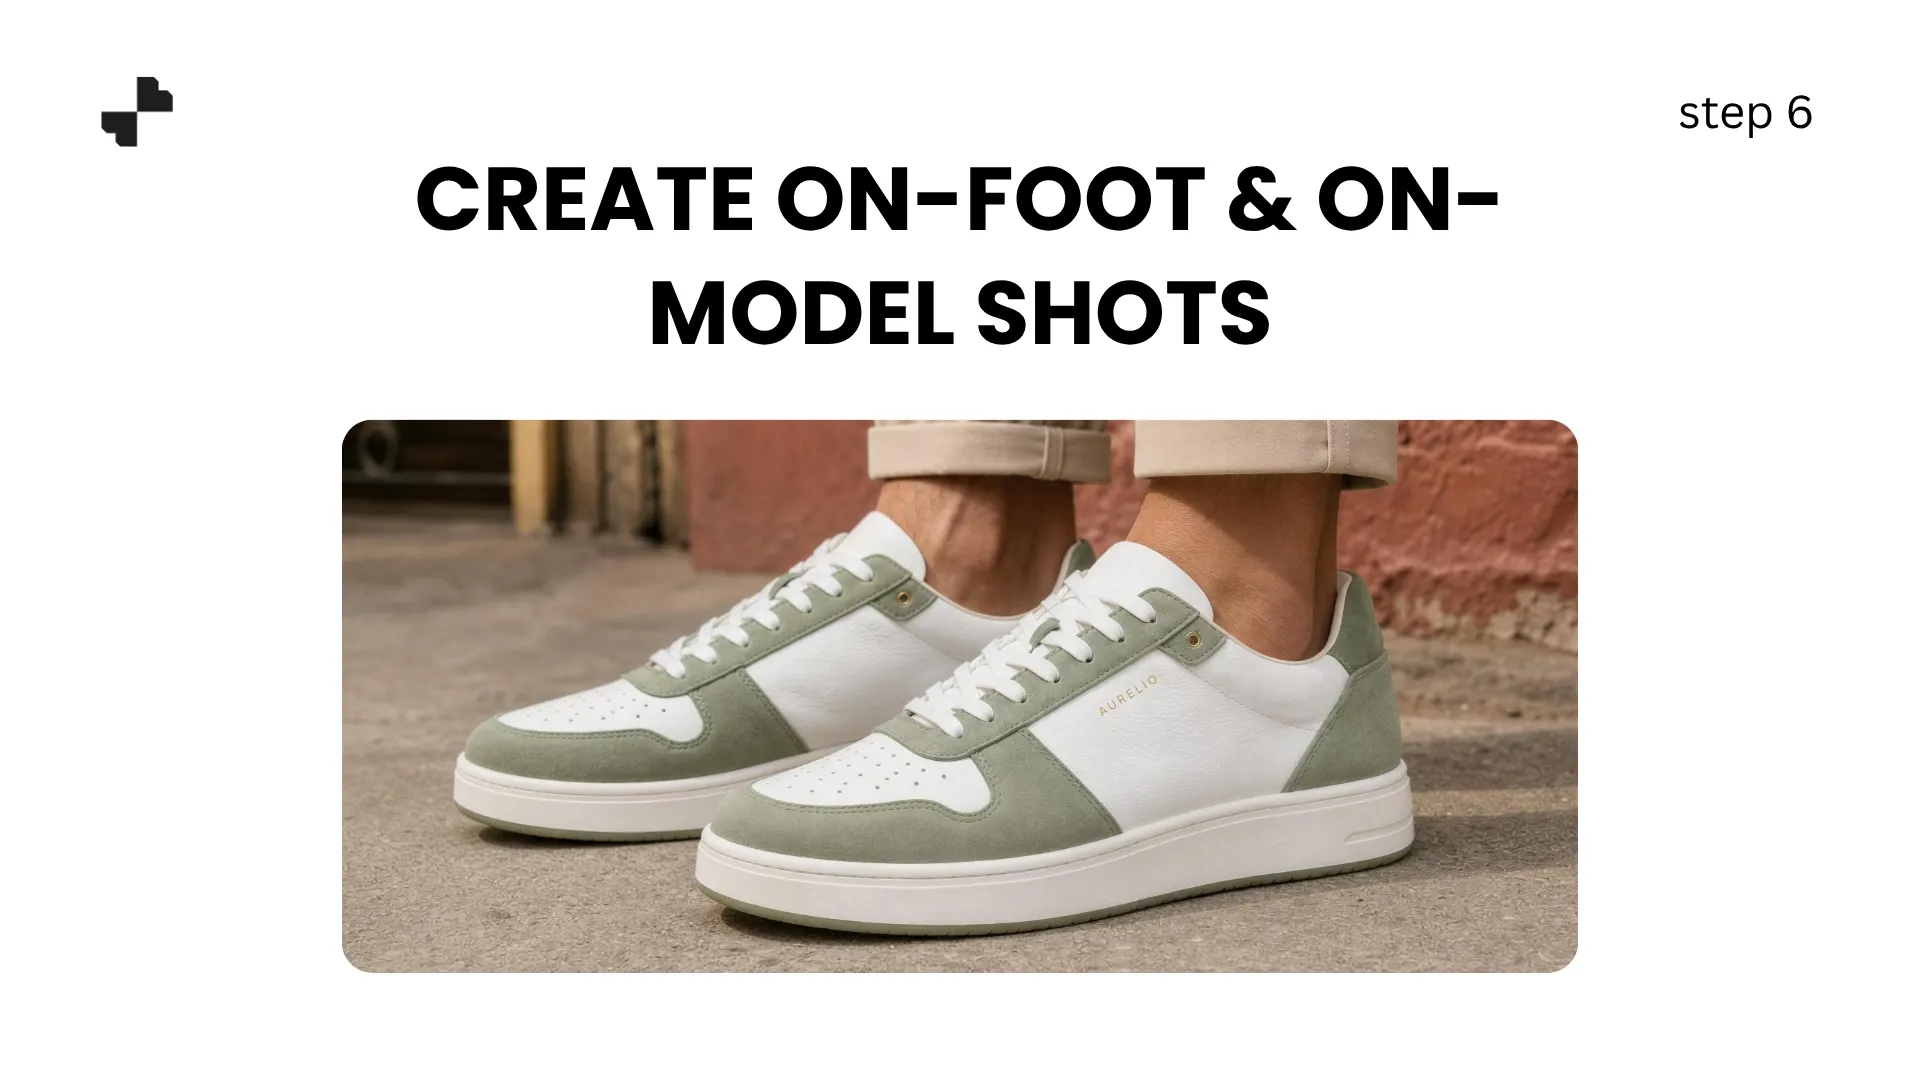
On-foot shots are one of the highest-performing image types for footwear because they show scale, fit, and how the shoe looks when actually worn. AI clothing photography tools can generate realistic on-foot model shots from your product photo, showing the shoe on different foot sizes and with different pant or sock pairings.
For the best results:
- Choose model attributes (skin tone, gender, clothing style) that match your target customer
- Keep the clothing simple so the shoe stays the focal point
- Verify that the shoe proportions look natural on the generated model
On-foot shots work especially well as the second or third image in a marketplace listing, right after the required 3/4 angle main image.
RELATED READING: How to Turn Raw Product Photos Into Studio-Quality Images with AI
Scale and Publish Across Channels
Your images are shot, cleaned, and styled. Now make sure the entire collection looks cohesive and works everywhere you sell.
Step 7. Batch-Edit for Color Variant Consistency
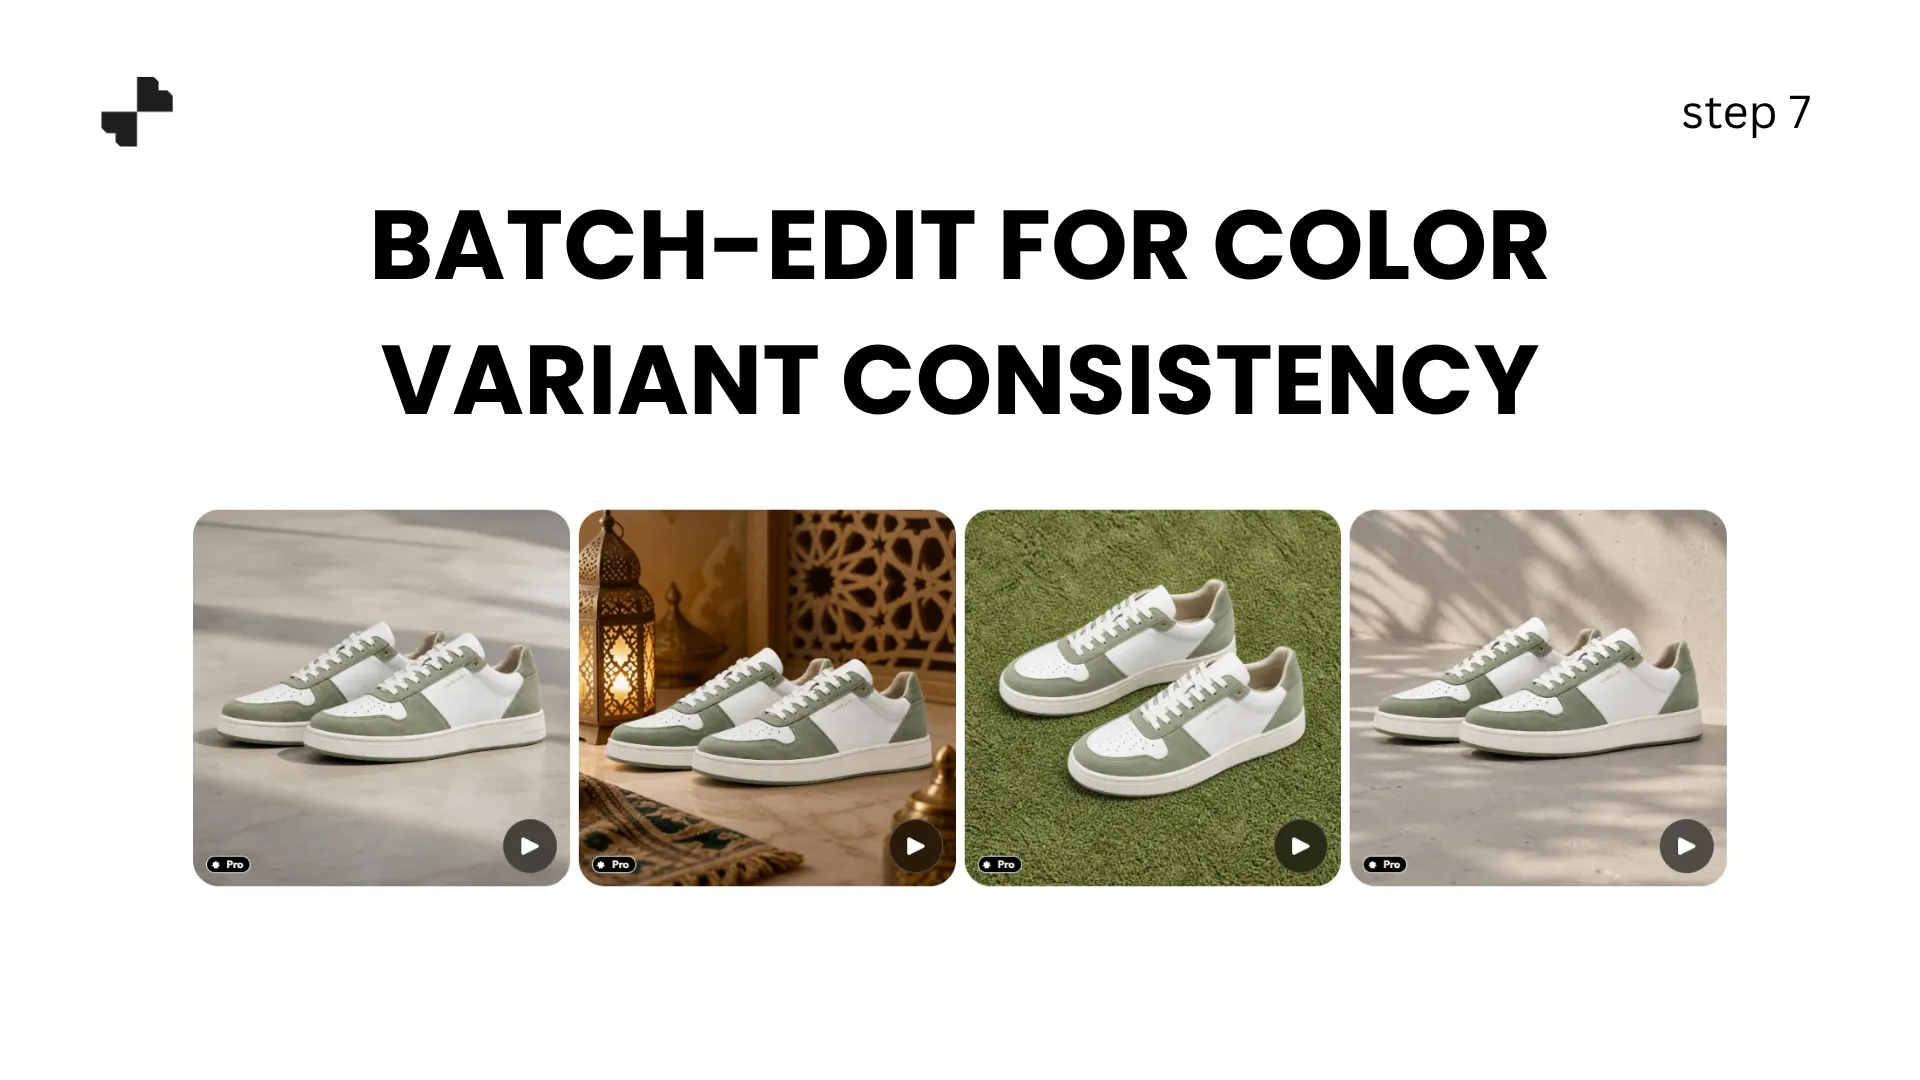
Footwear brands often sell the same model in 6 to 15 colorways. Shooting each color separately is the traditional approach, but AI lets you generate the full color range from fewer source photos.
Run every colorway through the same background and lighting settings to maintain a uniform look across your collection page. When a customer browses your store, the lighting, shadows, and framing should feel identical across every variant. Inconsistent lifestyle product photography across color options makes the catalog look disjointed and unprofessional.
Step 8. Turn Stills into Short Product Videos
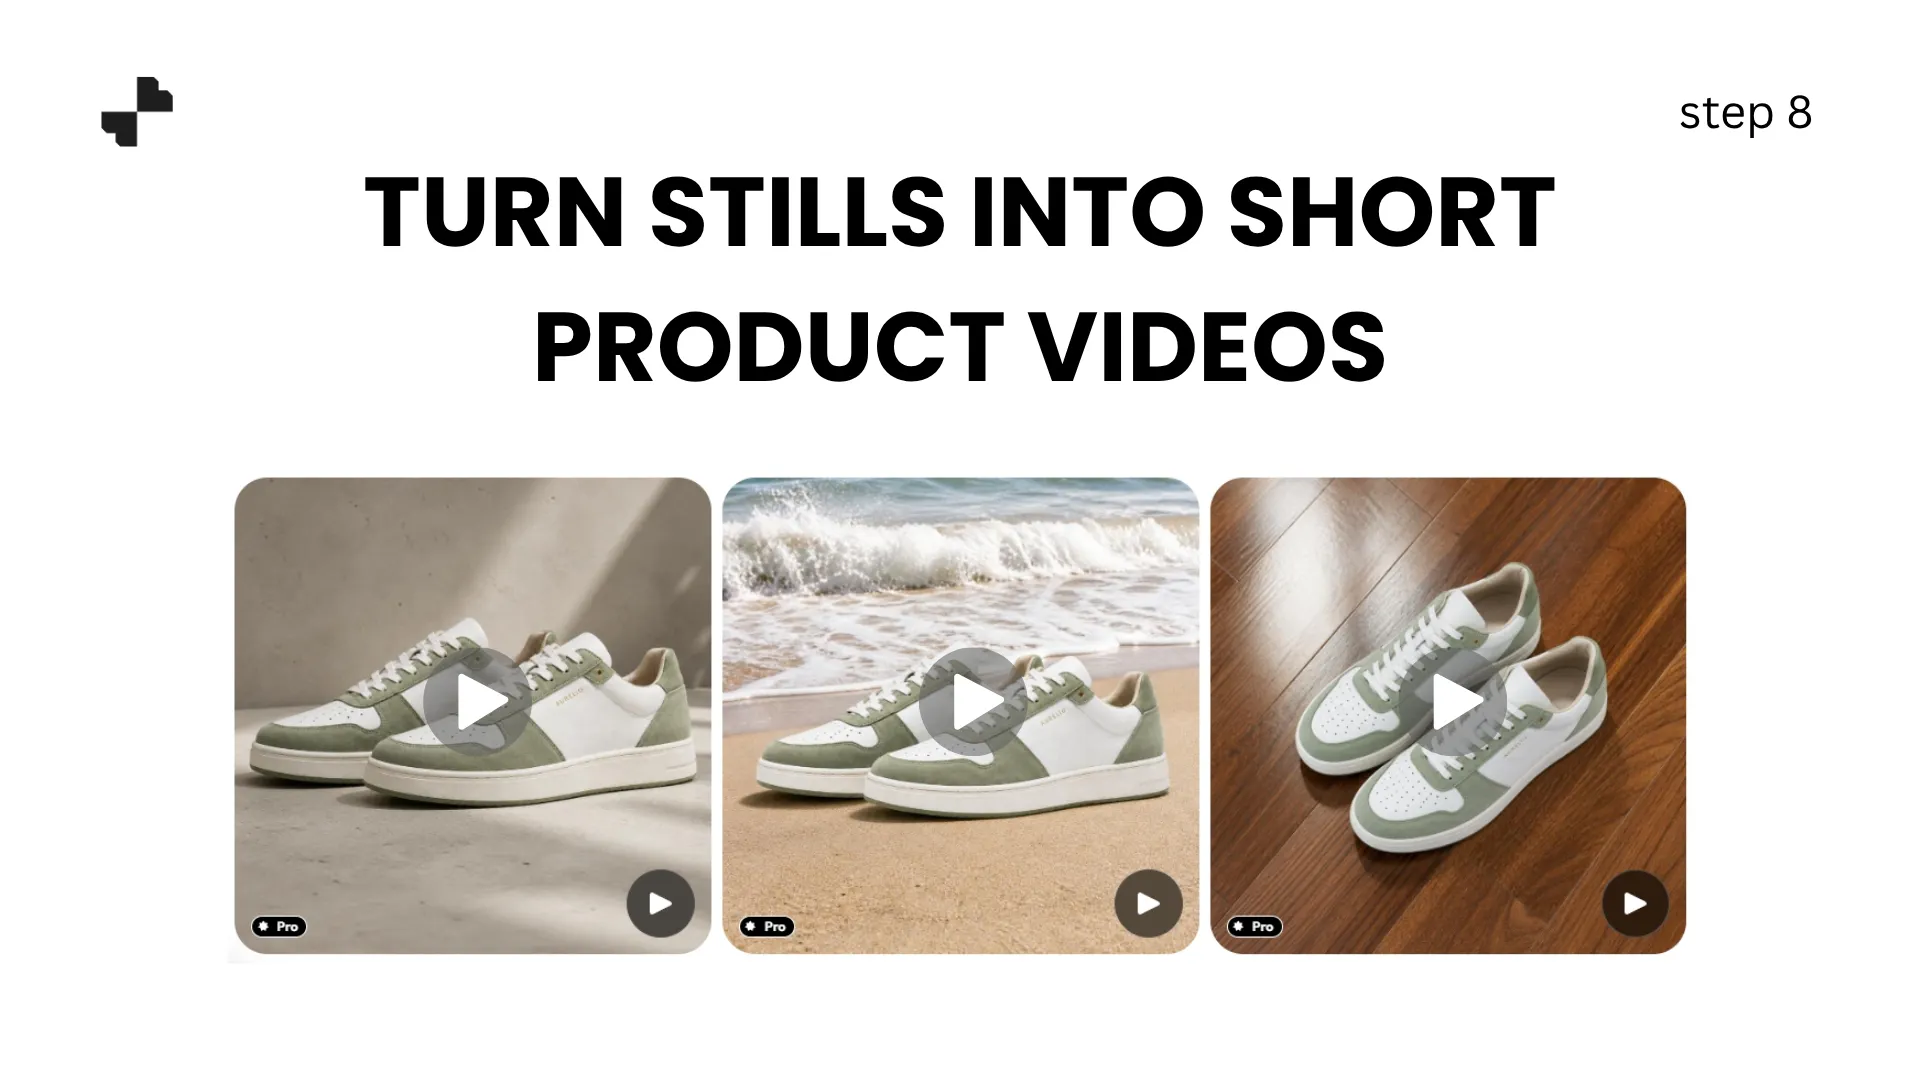
Short product clips outperform static images on social and in marketplace ads. A slow rotation showing the shoe from multiple angles, a zoom into material detail, or a transition from cutout to on-foot shot can be generated from stills using AI video tools.
For footwear, video adds something stills cannot. A 5-to-10-second clip rotating a sneaker communicates shape, proportion, and material in a way that even five static images struggle to match.
From One Photo to a Full Footwear Listing
Every shoe listing needs multiple angles, lifestyle context, and on-foot shots to compete. AI photo editing handles most of that workflow from a single product photo. Blend covers background removal, styled scenes, on-model shots, and product videos in one platform. Upload your first pair and build a complete listing set in minutes.
Frequently Asked Questions
How many product photos do I need per shoe for a competitive listing?
Aim for 5 to 8 images per shoe. A 3/4 angle main image, side profile, top-down view, sole detail, at least one lifestyle scene, and an on-foot shot. More angles and context help customers feel confident about fit and style.
Does AI handle strappy sandals and complex shoe shapes well?
AI background removal works well for most footwear, including sandals. Fine details between thin straps or open-weave sections may need a quick manual check after removal, but the cleanup is usually minor.
Can I generate on-foot shots without hiring a foot model?
Yes. AI model generation tools create realistic on-foot images from your product photo. You can select model attributes like skin tone and clothing style to match your target audience.
What is the best angle for a shoe product's main image?
The 3/4 view at a 45-degree angle is the standard. Amazon requires this angle for main listing images. Position the shoe facing left with a slight elevation to show the toe box, side profile, and partial sole.
Will AI work for both leather and fabric shoes?
Yes. AI preserves the original material texture from your photo. Matte materials like canvas and suede are handled very reliably. Glossy or patent leather may need an extra check for reflection accuracy.
Can I use the same AI background across all colorways of one shoe model?
Yes, and you should. Running every color variant through the same scene and lighting settings creates a cohesive look on your collection page, which builds trust and makes browsing easier for customers.