

Want to know how some creators make every photo look polished, consistent, and recognizable? It's not always expensive cameras or advanced editing skills. More often than not, it's a well-chosen filter.
Filters can enhance colors, improve lighting, create a cohesive aesthetic, and make ordinary photos feel professionally edited in seconds. If you want to know how you can enhance the overall aesthetics of your pictures, read along and find out how to add filters to photos, apply effects to existing images, and create eye-catching edits with Blend's built-in filter tools.
What Are Photo Filters?
Photo filters are preset editing effects that automatically adjust elements such as:
- Brightness
- Contrast
- Saturation
- Color tones
- Shadows
- Highlights
Instead of manually changing multiple settings, filters apply a complete visual style with a single tap. From editing selfies to travel photos, social media content, and product images, filters can dramatically improve the final result while saving time.
How to Add Filters to Photos with Blend
If you are looking for an easy way to add filters to photos online, Blend makes the process simple.
Step 1: Download and Open the Blend App
Start by downloading Blend on your mobile device. Once installed, open the app and create a new project. Blend gives you access to powerful editing tools including Filters, AI Video generation, Logo Maker, Lifestyle Shot, unblur images, and more.
Everything is designed to help you create professional-quality images without a complicated learning curve.
Step 2: Select the Filters Option
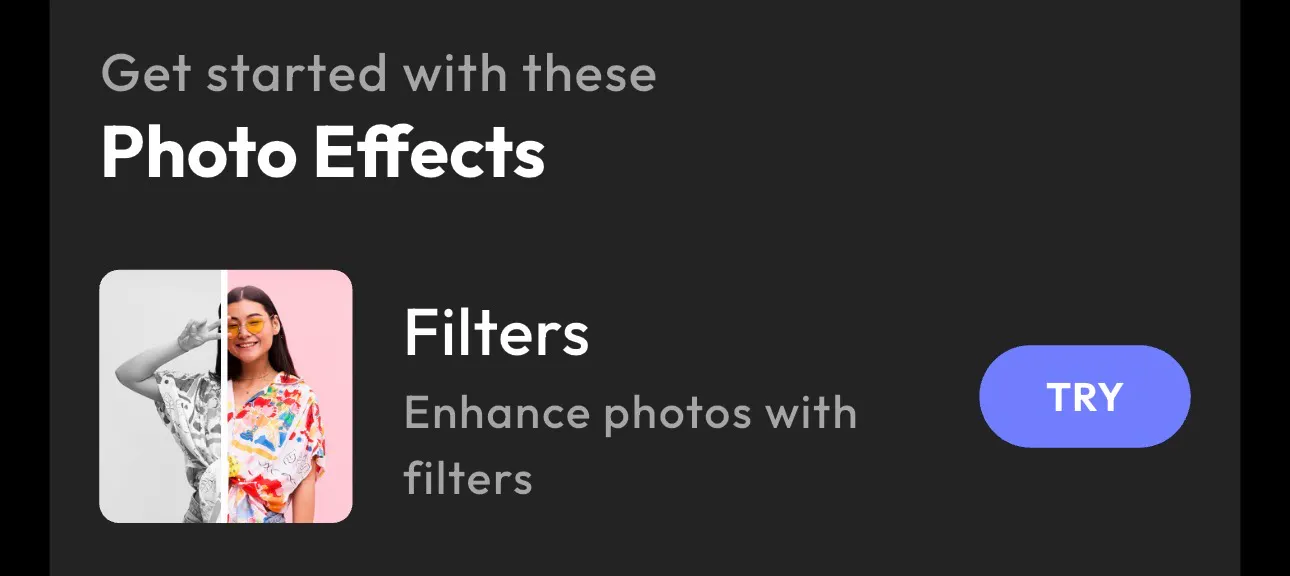
Inside the editor, browse through the available editing tools and tap Filters. This opens Blend's collection of built-in photo filters that can improve your image. If you've searched for a photo filter online or a reliable picture filter app, this feature gives you a fast and beginner-friendly editing experience.
Step 3: Select Your Picture
Next, upload the image you'd like to edit. You can choose:
- Selfies
- Portraits
- Family photos
- Travel pictures
- Product photos
- Social media images
This also works if you are looking for how to add filters to already taken photos, since Blend allows you to upload existing pictures directly from your gallery.
Step 4: Choose a Filter from the Available Options

Now it's time to experiment with different looks. Blend offers a variety of filter styles to match different creative goals. Some popular options include:
Color Pop: Perfect for making colors appear brighter and more vibrant. This filter works especially well for travel photography, food photography, and social media posts.
Dramatic: Adds contrast and depth to create a more cinematic appearance. It's ideal when you want your image to feel bold and eye-catching.
Black and White: A timeless option that removes color and emphasizes texture, lighting, and composition.
Light On: One of the most useful filters for brightening images while maintaining a natural appearance.
In many cases, Light On works particularly well for product photos because it improves brightness without making colors look unrealistic.
Step 5: Customize the Filter
After choosing a filter, you can customize the effect to match your vision.
Blend allows you to adjust the filter strength and fine-tune the overall appearance of your image.
You can modify:
- Brightness
- Contrast
- Shadows
- Highlights
- Filter intensity
This is especially helpful if you are learning how to add aesthetic filters to photos because subtle adjustments often create the most professional-looking results. A common mistake is applying filters at maximum strength. In most cases, a moderate adjustment creates a more natural and visually appealing image.
Step 6: Save Your Edited Photo
Once you are happy with the result, tap Save. Blend exports your image in high quality, making it ready for Instagram posts, Facebook content, TikTok videos, online stores, marketing campaigns, and website graphics. The entire process takes only a few minutes.
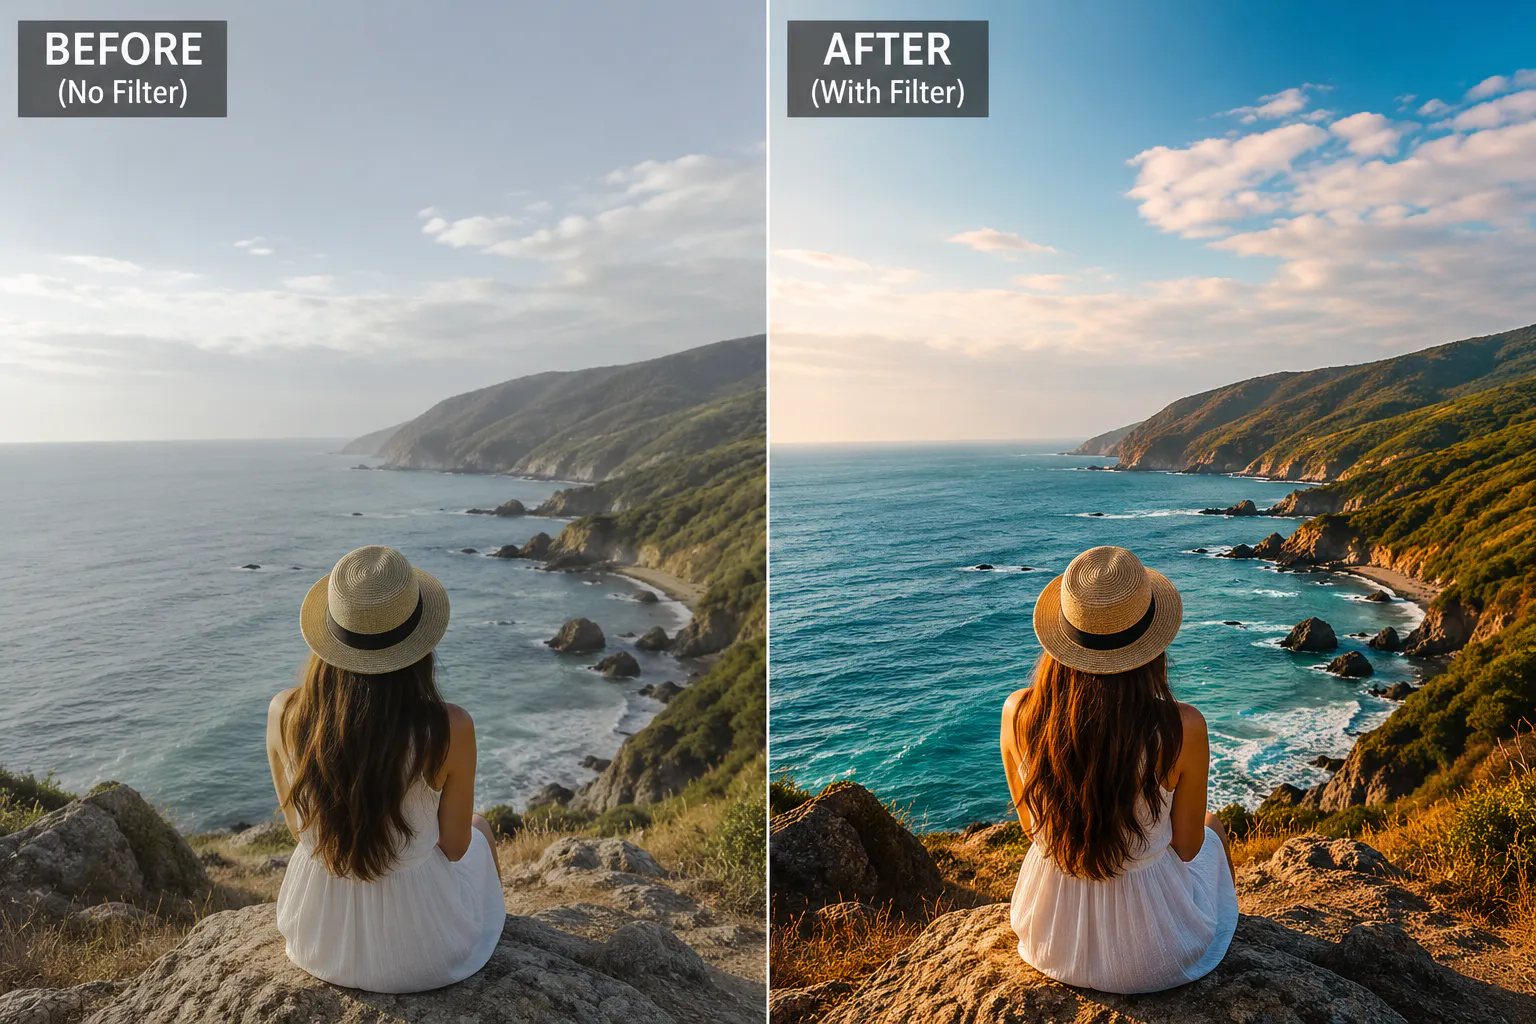
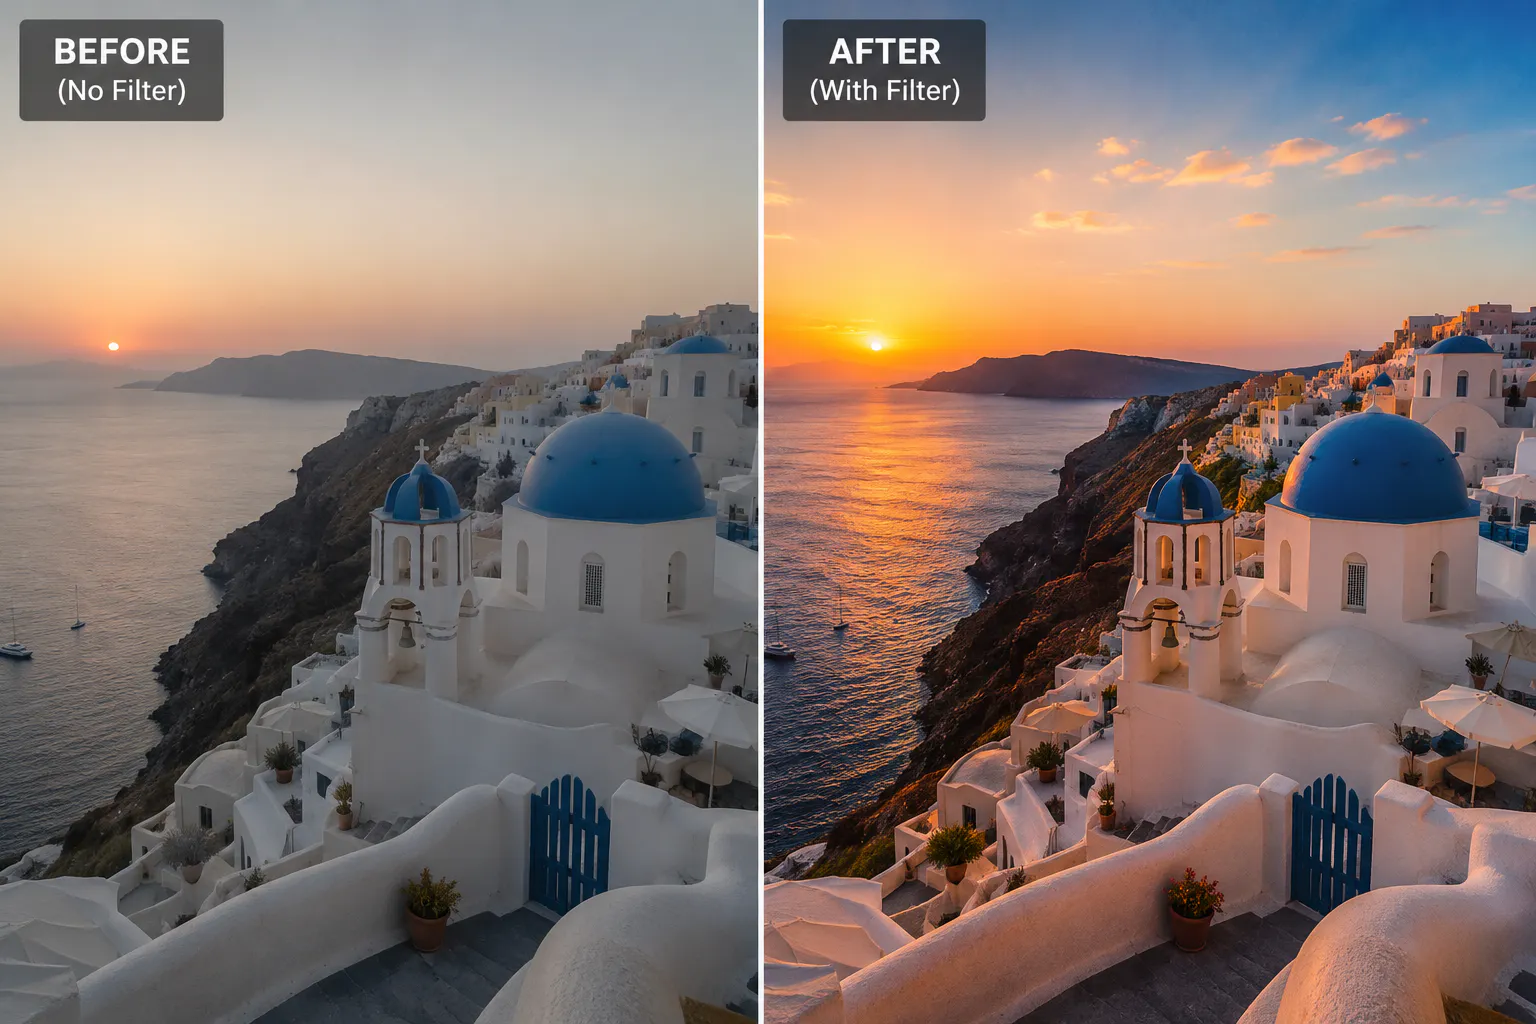
Take a look at some of the before and after of pictures with and without photo filters:
Best Filters for Different Types of Photos
Not every filter works for every image. Here are some general recommendations.
- Product Photos: Choose clean filters that improve brightness while keeping colors accurate. Customers want to see realistic product representations.
- Portraits: Warm filters often create flattering skin tones and a more inviting appearance.
- Travel Photography: Vibrant filters can help landscapes and scenery stand out.
- Food Photography: Filters that enhance color and contrast often make dishes appear more appetizing.
- Social Media Content: Consistency is key. Using similar filters across your content helps strengthen your visual identity.
How to Use Photo Filters Correctly: Do's and Don'ts
Applying a filter is easy, but using it effectively can make a huge difference in how your photo looks. Keep these simple do's and don'ts in mind to create polished, professional-looking images without overediting.
Do's | Don'ts |
Use filters to enhance your photo, not completely change it. | Don't overuse filters, as they can make photos look unnatural. |
Choose filters that match the mood and purpose of your image. | Don't pick a filter just because it's popular or trendy. |
Use the same filter style across similar photos for consistency. | Don't switch between vastly different filters on every image. |
Start with a clear, high-quality photo for the best results. | Don't expect filters to fix blurry or poorly lit photos. |
Adjust the filter intensity to create a balanced look. | Don't leave filters at maximum strength without fine-tuning. |
Experiment with different filters before choosing one. | Don't settle on the first filter without exploring other options. |
Keep your subject as the main focus of the image. | Don't use filters that distract attention from your subject. |
Preview your edited photo before saving it. | Don't save your image without checking how the final edit looks. |
Conclusion
Learning how to add filters to photos doesn't have to be complicated. With Blend, you can upload a picture, choose a filter, customize the effect, and save a professional-looking image in just a few taps. If you are searching for a photo filter online, or trying to add filters to photos online, looking for a reliable picture filter app, or exploring creative image effects online free, Blend provides everything you need to transform ordinary photos into polished, eye-catching visuals.