
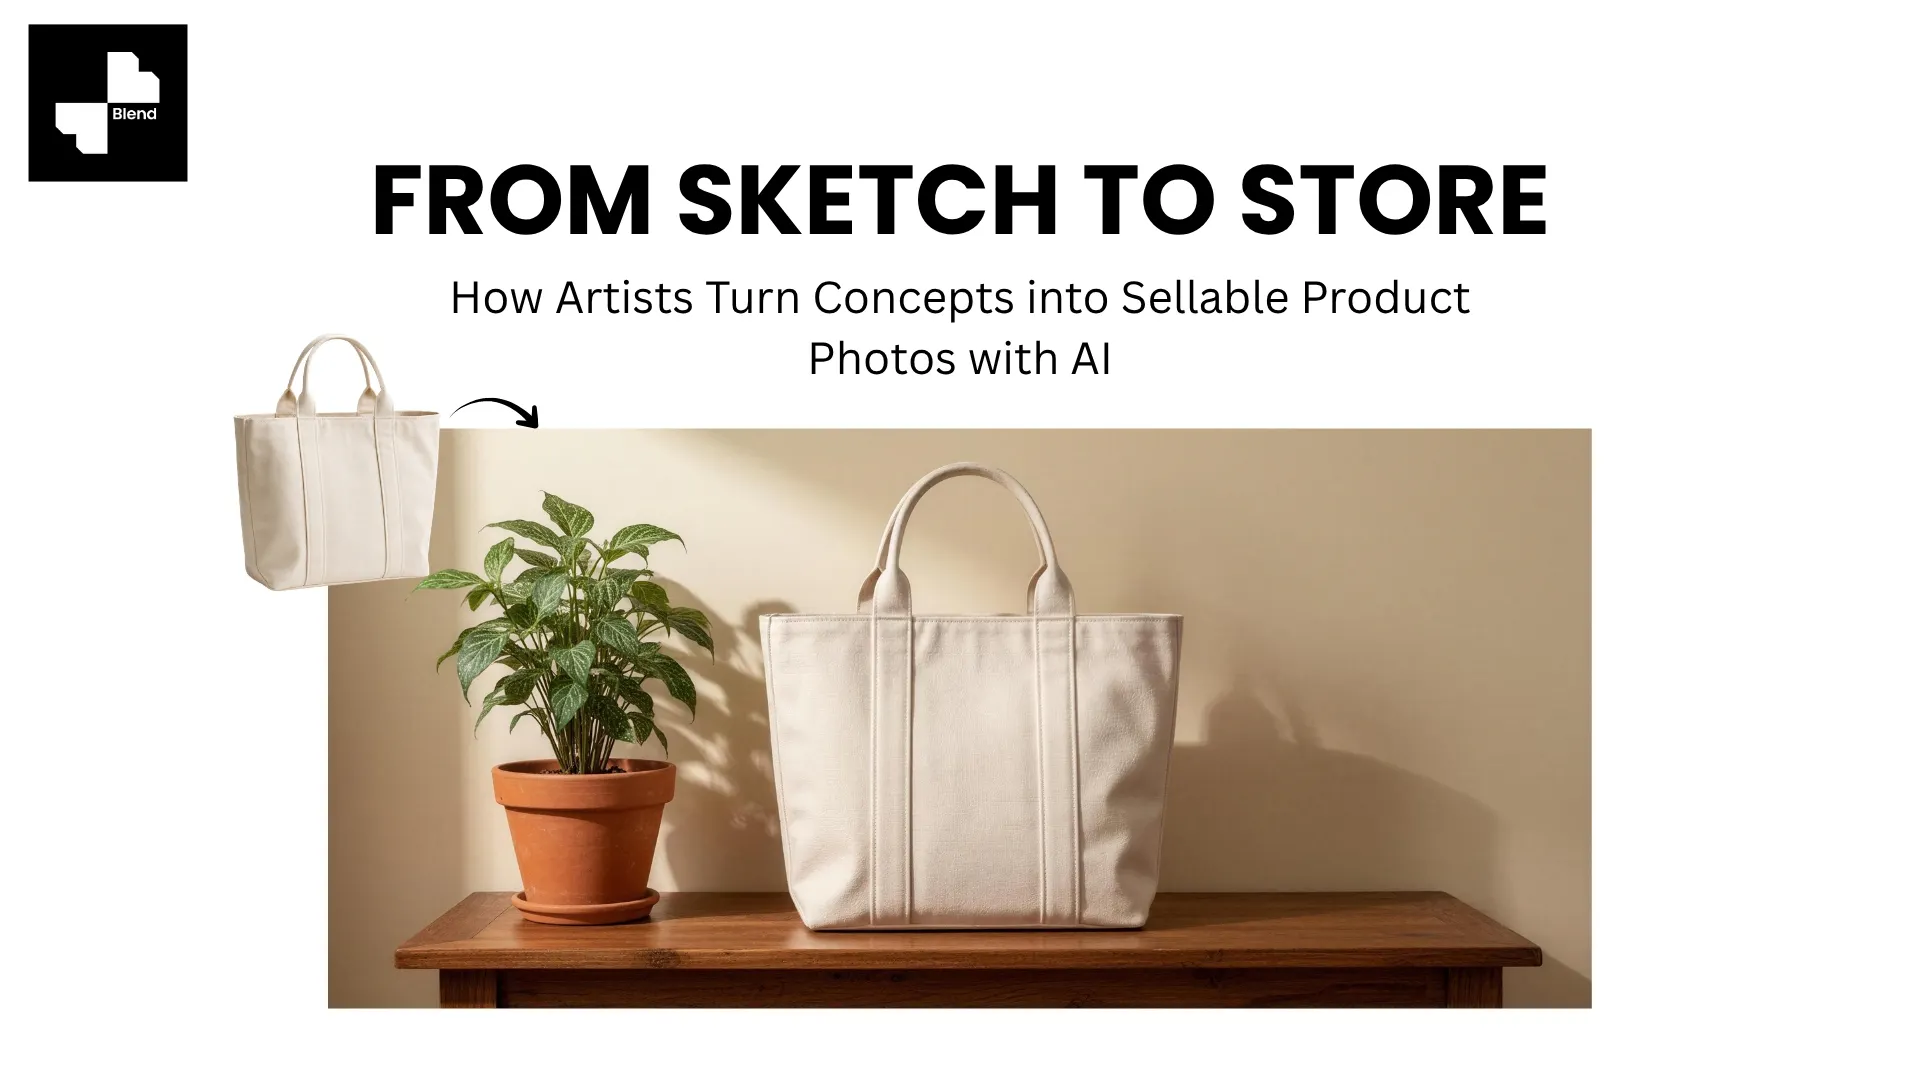



You have a sketchbook full of designs. Maybe a pattern that would look great on a tote bag, an illustration perfect for a wall print, or a logo ready to go on apparel. The creative part is done. Now you need product photos good enough to sell it.
For independent artists and makers, the gap between "finished design" and "live listing with professional photos" is where most products stall. Traditional product photography requires a studio, a photographer, props, and editing, which can cost more than the first batch of inventory. And if you are selling through print-on-demand, you may not even have the physical product in hand.
AI tools have compressed that gap from weeks and thousands of dollars to an afternoon and a phone camera. Here is the practical workflow from concept to store-ready product images.
Get Your Design onto Something You Can Photograph
AI enhances and contextualizes product photos, but it needs a real starting image. The first step is getting your design onto a physical product or a high-quality mockup.
Step 1. Order a Sample or Create a Prototype
For artists selling physical products, order one sample of each product type. A single t-shirt, one mug, one tote bag, one framed print. You do not need the full production run. You need one unit to photograph.
For makers and craftspeople, photograph the actual handmade item. Pottery, jewelry, leather goods, whatever you create. A real product photo always outperforms a digital mockup.
For POD sellers who cannot order samples yet, export the highest-resolution mockup from your production partner. Transparent-background exports give AI tools the most flexibility.
Step 2. Take One Good Photo (That Is All You Need)
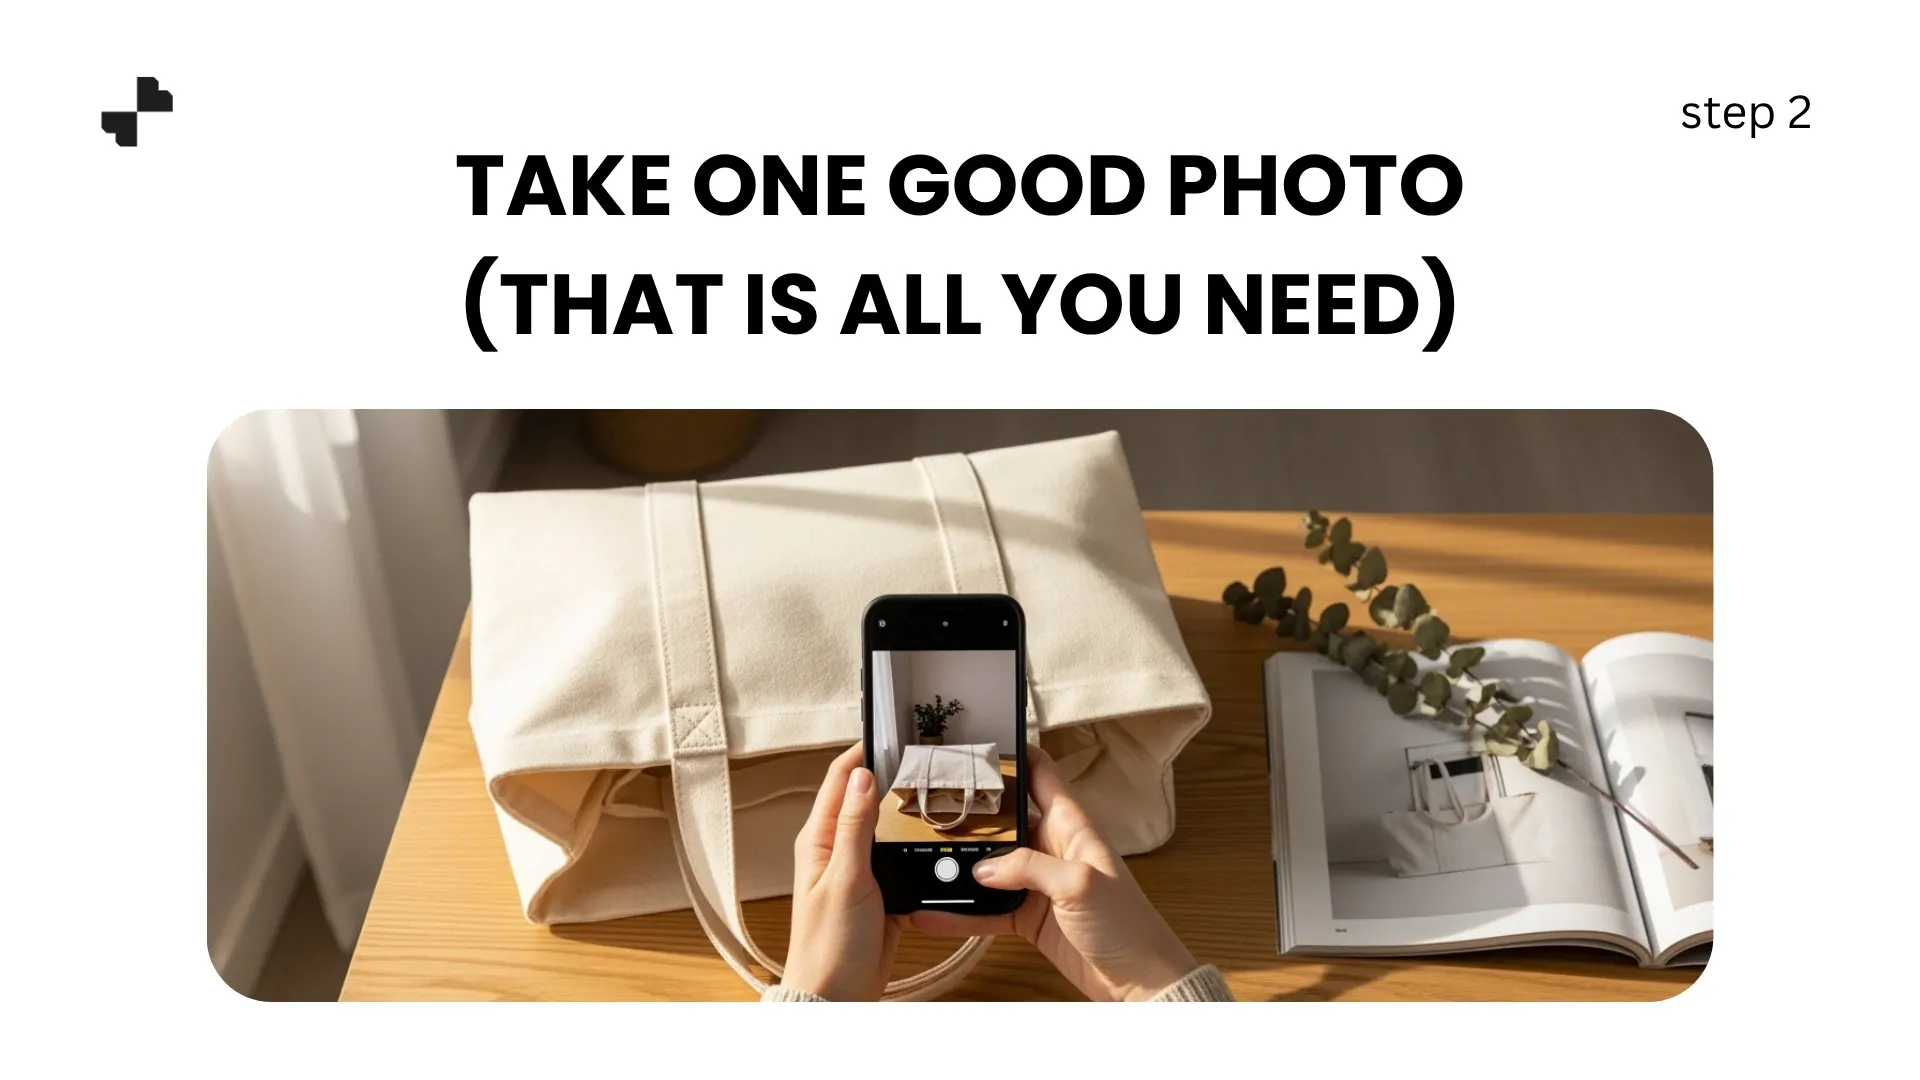
You do not need five angles and three lighting setups for AI to work with. One clean, well-lit photo of your product is enough to generate an entire listing set.
A simple product photography setup that works:
- Place the product on a white or neutral surface near a large window
- Shoot during daylight hours with the product facing the natural light
- Use your phone camera and make sure the image is sharp and in focus
- Keep the full product in frame with some space around the edges
That is the entire setup. No lightbox, no tripod, no editing. The AI handles background removal, lighting correction, and scene generation from here.
Turn One Photo into a Full Set of Listing Images
A single product photo is the starting point. AI tools turn that one image into every visual you need for a complete marketplace listing.
Step 3. Strip the Background and Clean Up
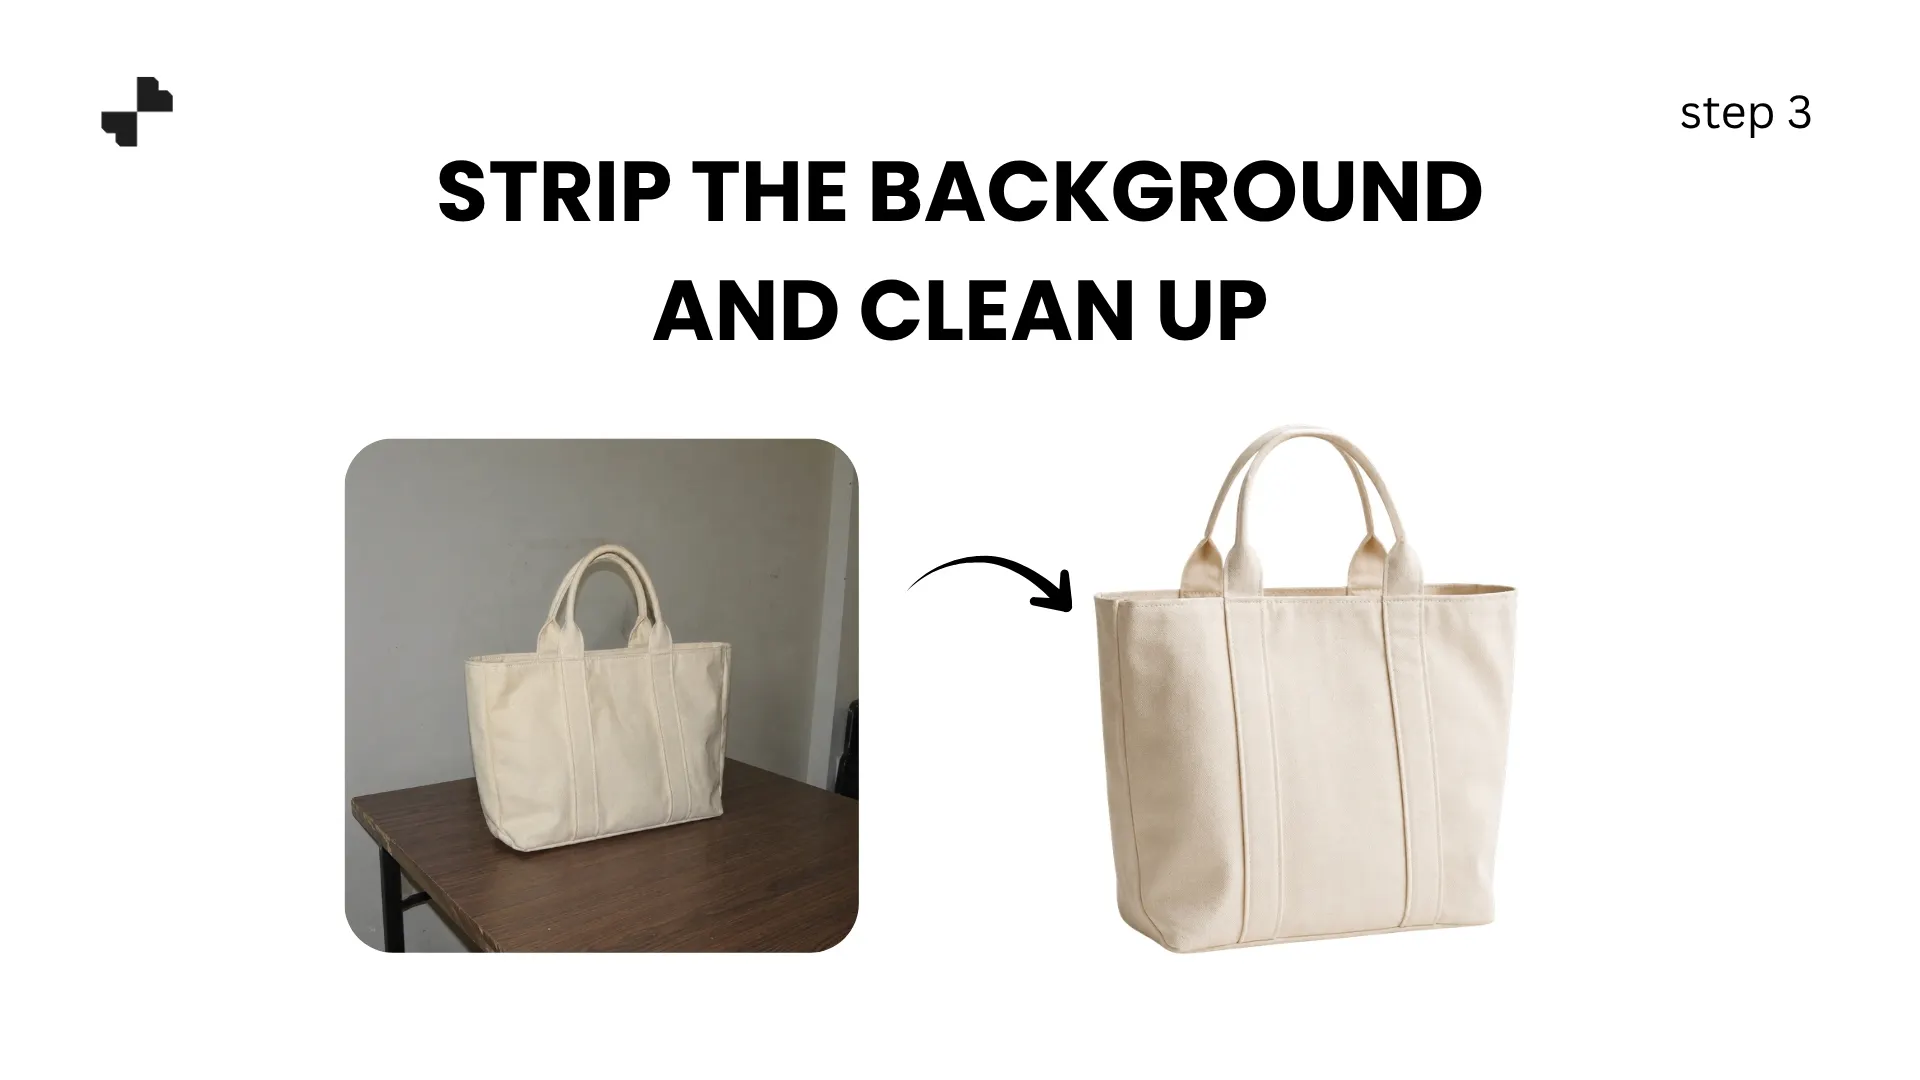
Run your photo through an AI background removal tool to get a clean product image cutout. For handmade items with irregular edges, like woven baskets, rough-cut pottery, or hand-stitched leather, zoom in after removal to check that the AI has handled the edges cleanly.
If there are small imperfections on the product itself, like a thread, a speck of dust, or a minor smudge, an AI eraser tool removes those without affecting the surrounding texture. For handmade products where slight imperfections are part of the character, be careful not to over-clean. A hand-thrown mug should still look hand-thrown.
Step 4. Generate Lifestyle Scenes That Tell Your Brand Story
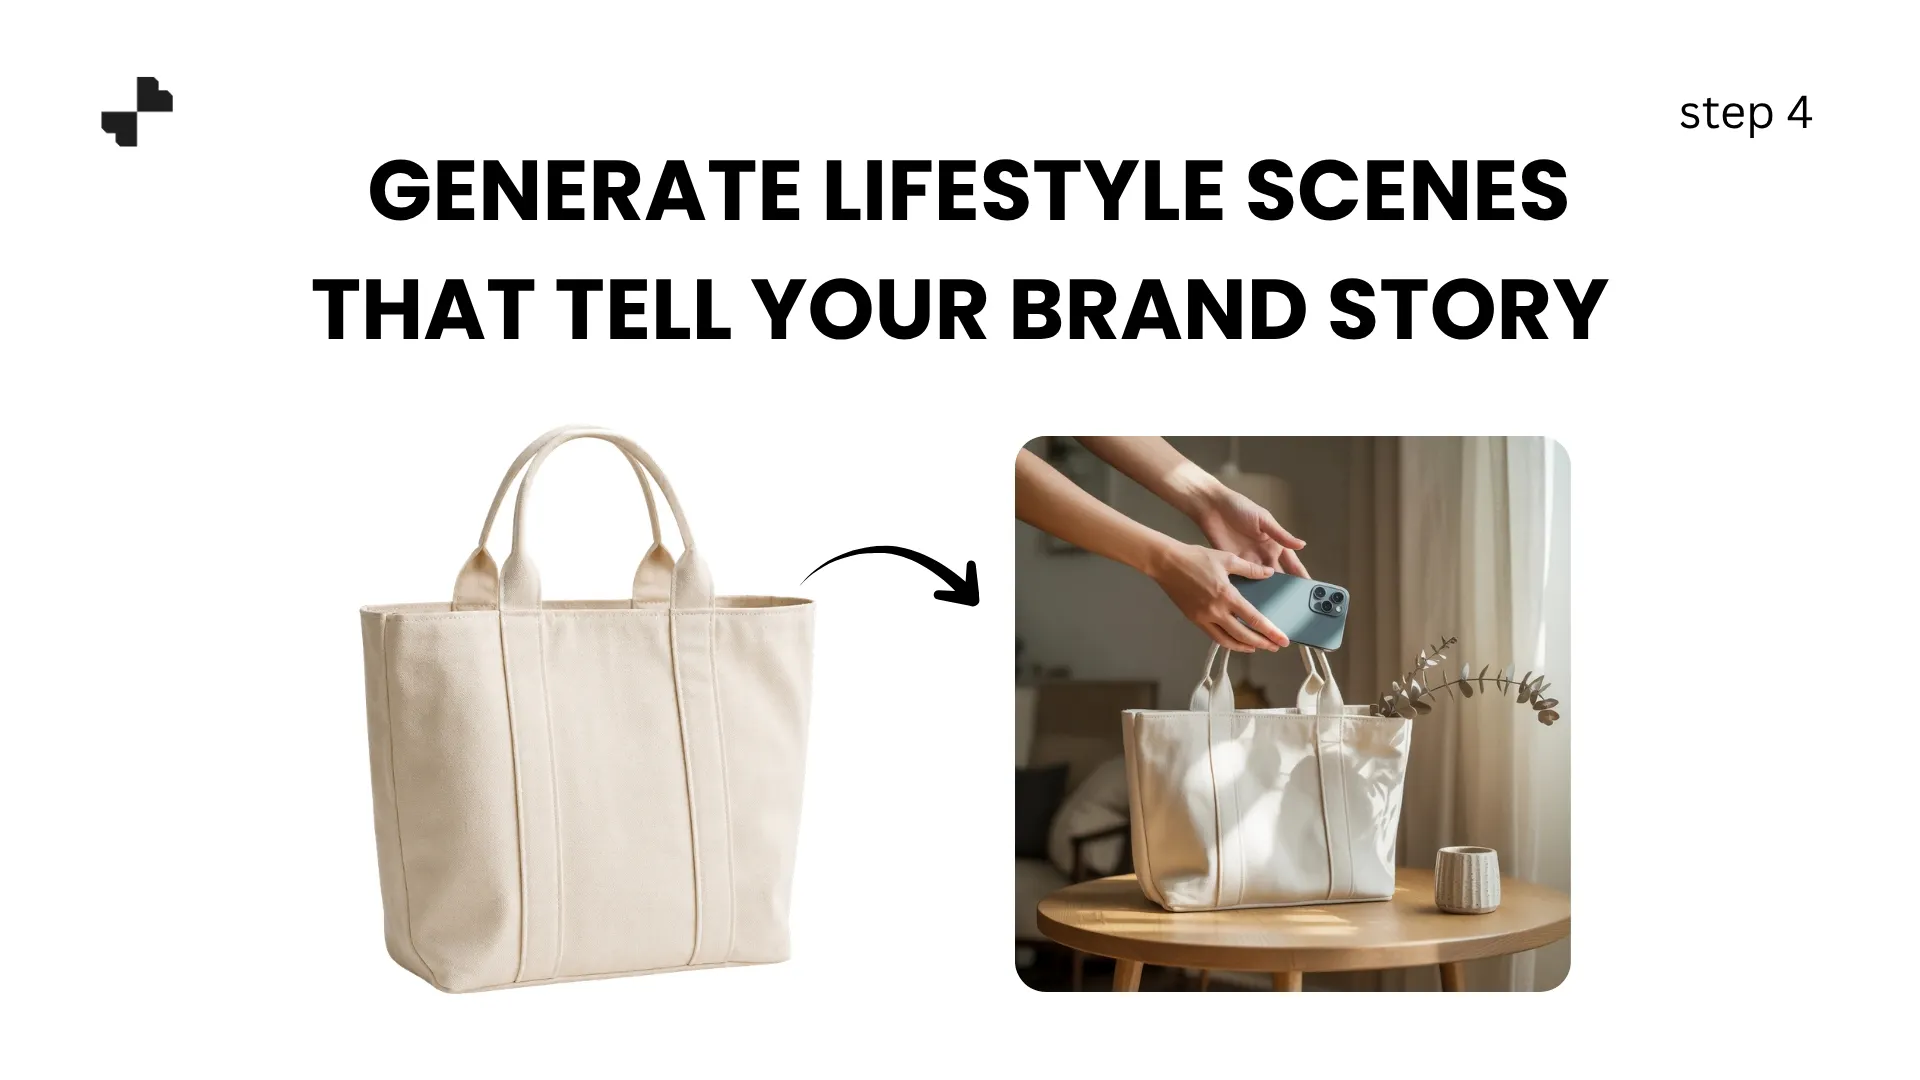
A product on a white background communicates what the item is. A product in a styled scene communicates who it is for and how it fits into their life. For artists and makers, lifestyle product photography is especially powerful because the scenes can reflect the same aesthetic as your artwork.
Write prompts that match your creative identity:
- Botanical illustrator selling prints: "Framed art print on a light gallery wall in a bright, plant-filled apartment, natural daylight, minimalist decor."
- Streetwear designer selling t-shirts: "T-shirt folded on a concrete surface, urban backdrop, warm afternoon light, graffiti wall in soft focus."
- Ceramicist selling mugs: "Handmade ceramic mug on a raw wood table, morning light through a kitchen window, linen napkin nearby."
- Jewelry maker selling earrings: "Gold earrings on a dark velvet surface, single spotlight, soft bokeh background."
The scene should feel like a natural extension of your design style. A whimsical watercolor artist and a bold graphic designer should never use the same backdrop, even if they sell similar product types.
Build a Visual System for Your Full Catalog
One great listing image is a start. A consistent visual system across your entire shop is what makes you look like a brand.
Step 5. Create Templates for Each Product Category
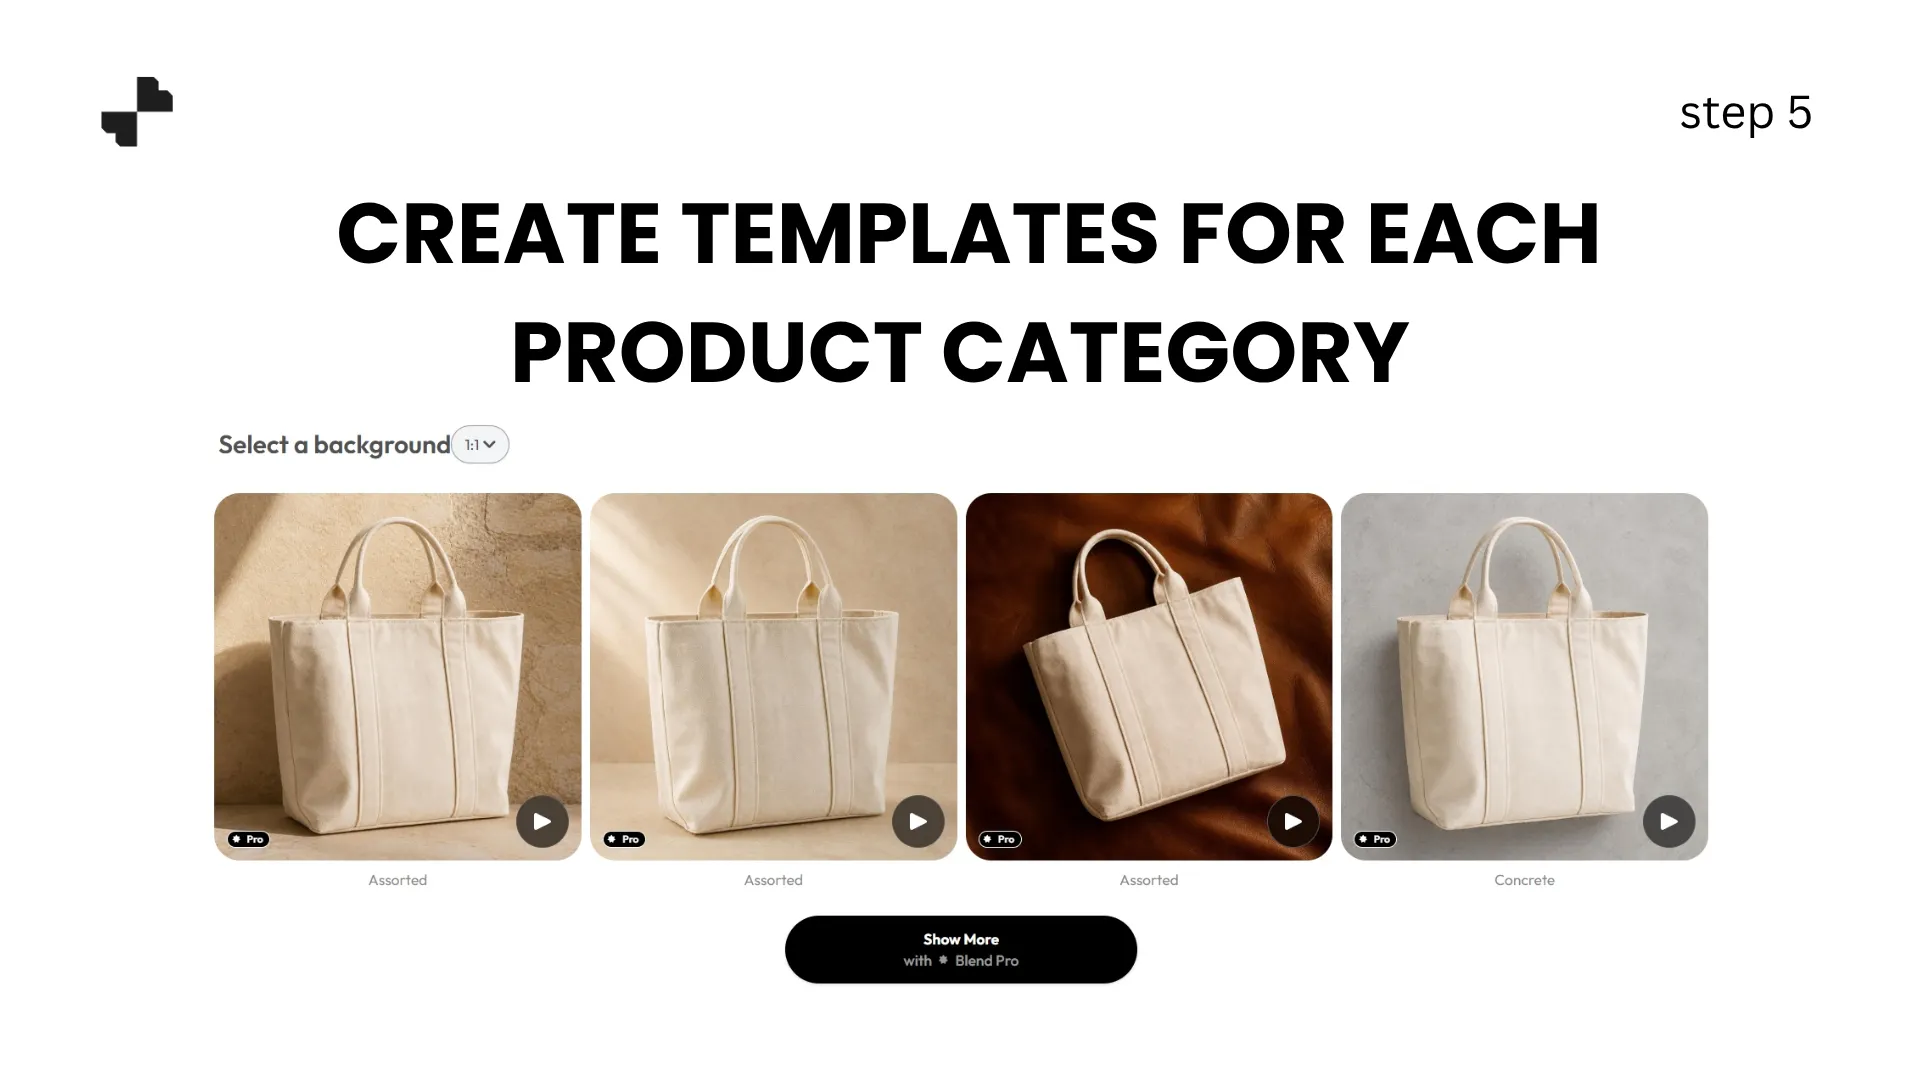
If you sell across multiple product types, build a scene template for each category. Your mug template uses a warm kitchen counter. Your print template uses a gallery wall. Your apparel template uses a casual lifestyle setting. Different scenes, but the same color palette, lighting direction, and overall mood tie everything together.
Save your best prompts and reference images. Every time you add a new design to your line, run it through the matching template. Consistent AI product images across your collection page are what separate a shop that looks curated from one that looks scattered.
Step 6. Add Model Shots for Wearable Products
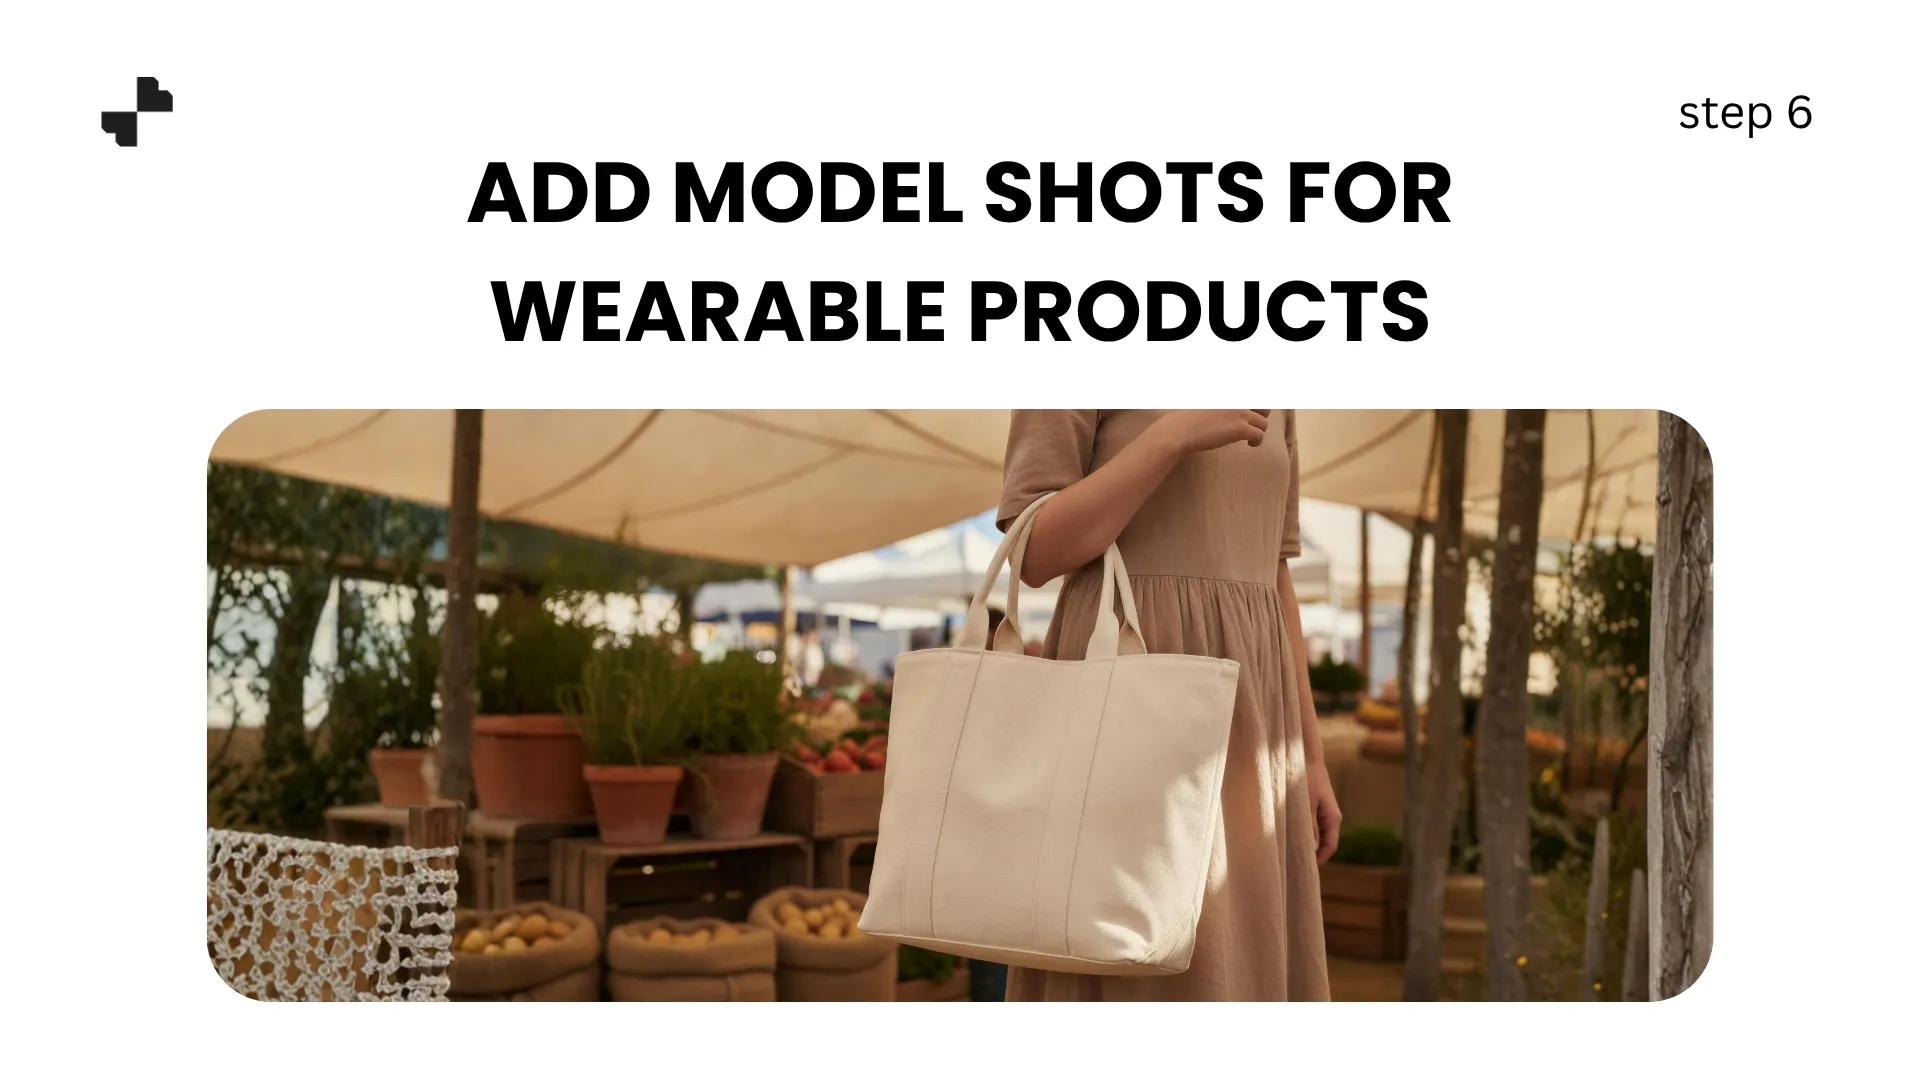
For apparel and accessories, showing the product on a person consistently outperforms flat product shots. An AI image generator can place your actual t-shirt, hoodie, or bag on a realistic model without booking a photoshoot.
Choose model attributes that match your target audience. A children's clothing brand needs different models than an edgy streetwear label. Keep the styling simple so the product remains the focus.
For jewelry makers, AI model shots showing earrings, necklaces, or rings on a person give shoppers the scale and context that product-only shots lack. A pair of statement earrings on a velvet surface tells shoppers the design. The same earrings on a model tell them the size, the drop length, and how they look when worn.
Get Everything Store-Ready
Your visuals are built. Now make sure they work everywhere you sell.
Step 7. Create Video from Your Stills
Short product videos consistently outperform static images on social and in marketplace listings. A slow zoom into your pottery's glaze, a rotation of a jewelry piece, or a transition from design to finished product can all be generated from existing photos using AI video tools. For artists, these clips double as social content for Instagram, TikTok, and Pinterest.
Step 8. Format for Your Sales Channels
Different platforms need different specs. Etsy allows up to 10 images and supports video. Amazon requires white-background main images with lifestyle shots in secondary slots. Shopify and your own website need hero banners and collection thumbnails.
Run your final images through the same ecommerce product images pipeline for each platform. Consistent quality across Etsy, your own site, and social media makes your brand recognizable wherever shoppers encounter it.
From Concept to Cart in One Afternoon
The distance between a finished design and a live product listing used to be measured in weeks and thousands of dollars. AI has compressed that into a single afternoon. Blend handles background removal, lifestyle scenes, model shots, and product video in one platform, so you can go from a phone photo of your first sample to a complete listing set without switching tools. Upload your product and start building your store.
Frequently Asked Questions
Do I need professional photography equipment to start?
No. A phone camera, natural window light, and a clean white surface are enough. AI handles background removal, lighting correction, and scene generation from a basic starting photo.
Can I use this workflow for print-on-demand products that I have not physically received?
Yes. Export the highest-resolution mockup from your POD provider and use that as your starting image. Transparent-background exports work best. Ordering a sample for your top sellers gives better results.
How do I keep my listing images consistent across different product types?
Build one scene template per product category (mugs, prints, apparel) that shares the same color palette and lighting direction. Run every new design through the matching template.
Will AI change the colors or details of my artwork on the product?
Good AI tools preserve your product exactly as photographed. The AI only modifies the background and the surrounding environment. Always compare the output against the original before publishing.
How many listing images should I create per product?
Aim for 5 to 7 per product. A lifestyle scene, a clean studio shot, a detail close-up, a size reference image, and if applicable, an on-model shot. More variations give you options for A/B testing.
How long does the full workflow take from photo to listing-ready?
Most artists can go from a single product photo to a complete set of listing images in 10 to 15 minutes using AI tools. Batch-processing multiple designs in one session saves even more time.