
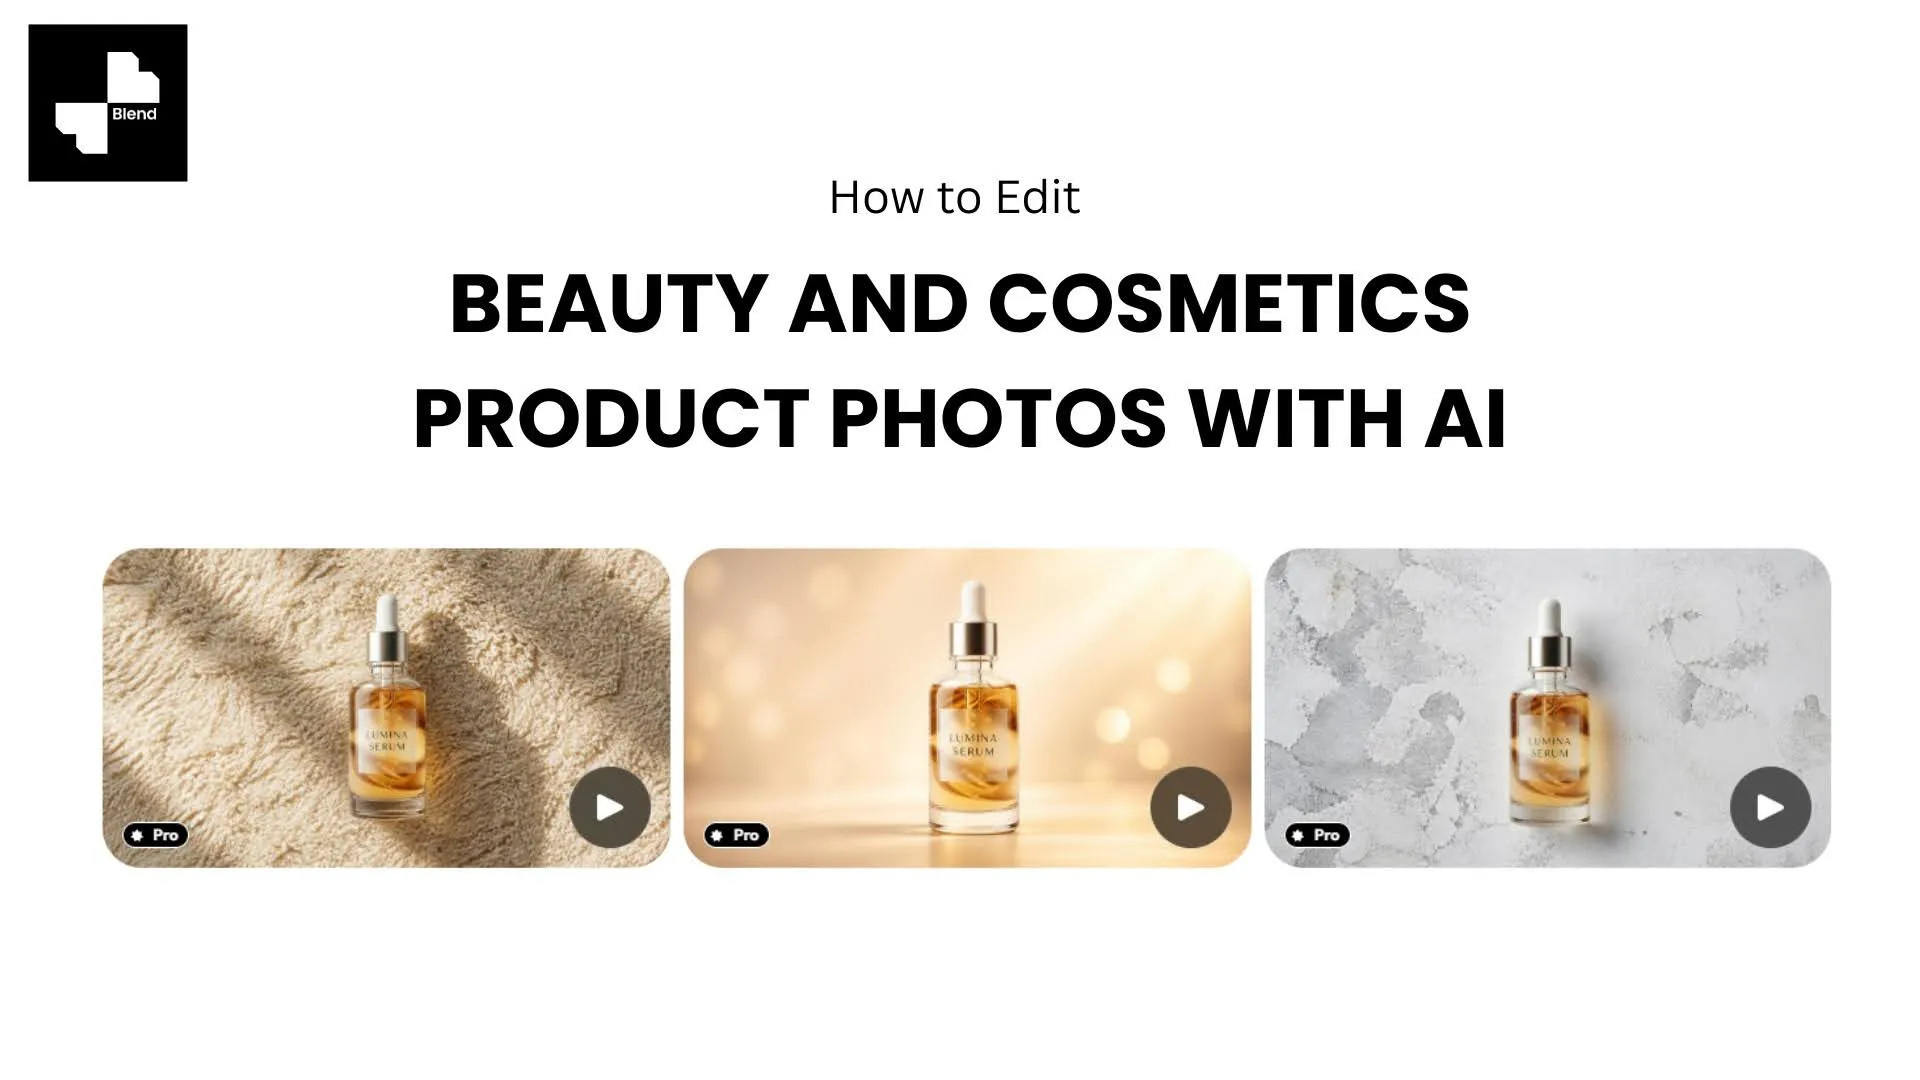



Beauty products are hard to photograph well. Glass bottles catch every reflection. Metallic caps create hot spots under studio lights. Eyeshadow palettes need exact color accuracy or customers send them back. And if you are a small cosmetics brand managing 30+ SKUs, hiring a photographer for every product launch gets expensive fast.
AI editing tools have changed the math. With the right ai product photography workflow, you can take a basic phone photo of a serum bottle or lipstick, run it through a handful of AI steps, and end up with listing-ready visuals that look like they came out of a professional studio. No lighting rigs, no retouching invoices, no two-week turnaround.
Here is the exact process, step by step.
Get Your Product Shots Ready
Before any AI tool can work its magic, you need a decent starting photo. The better your input, the better your output. You do not need a DSLR or a studio, but a few basics go a long way.
Step 1. Shoot on a Clean, Neutral Background
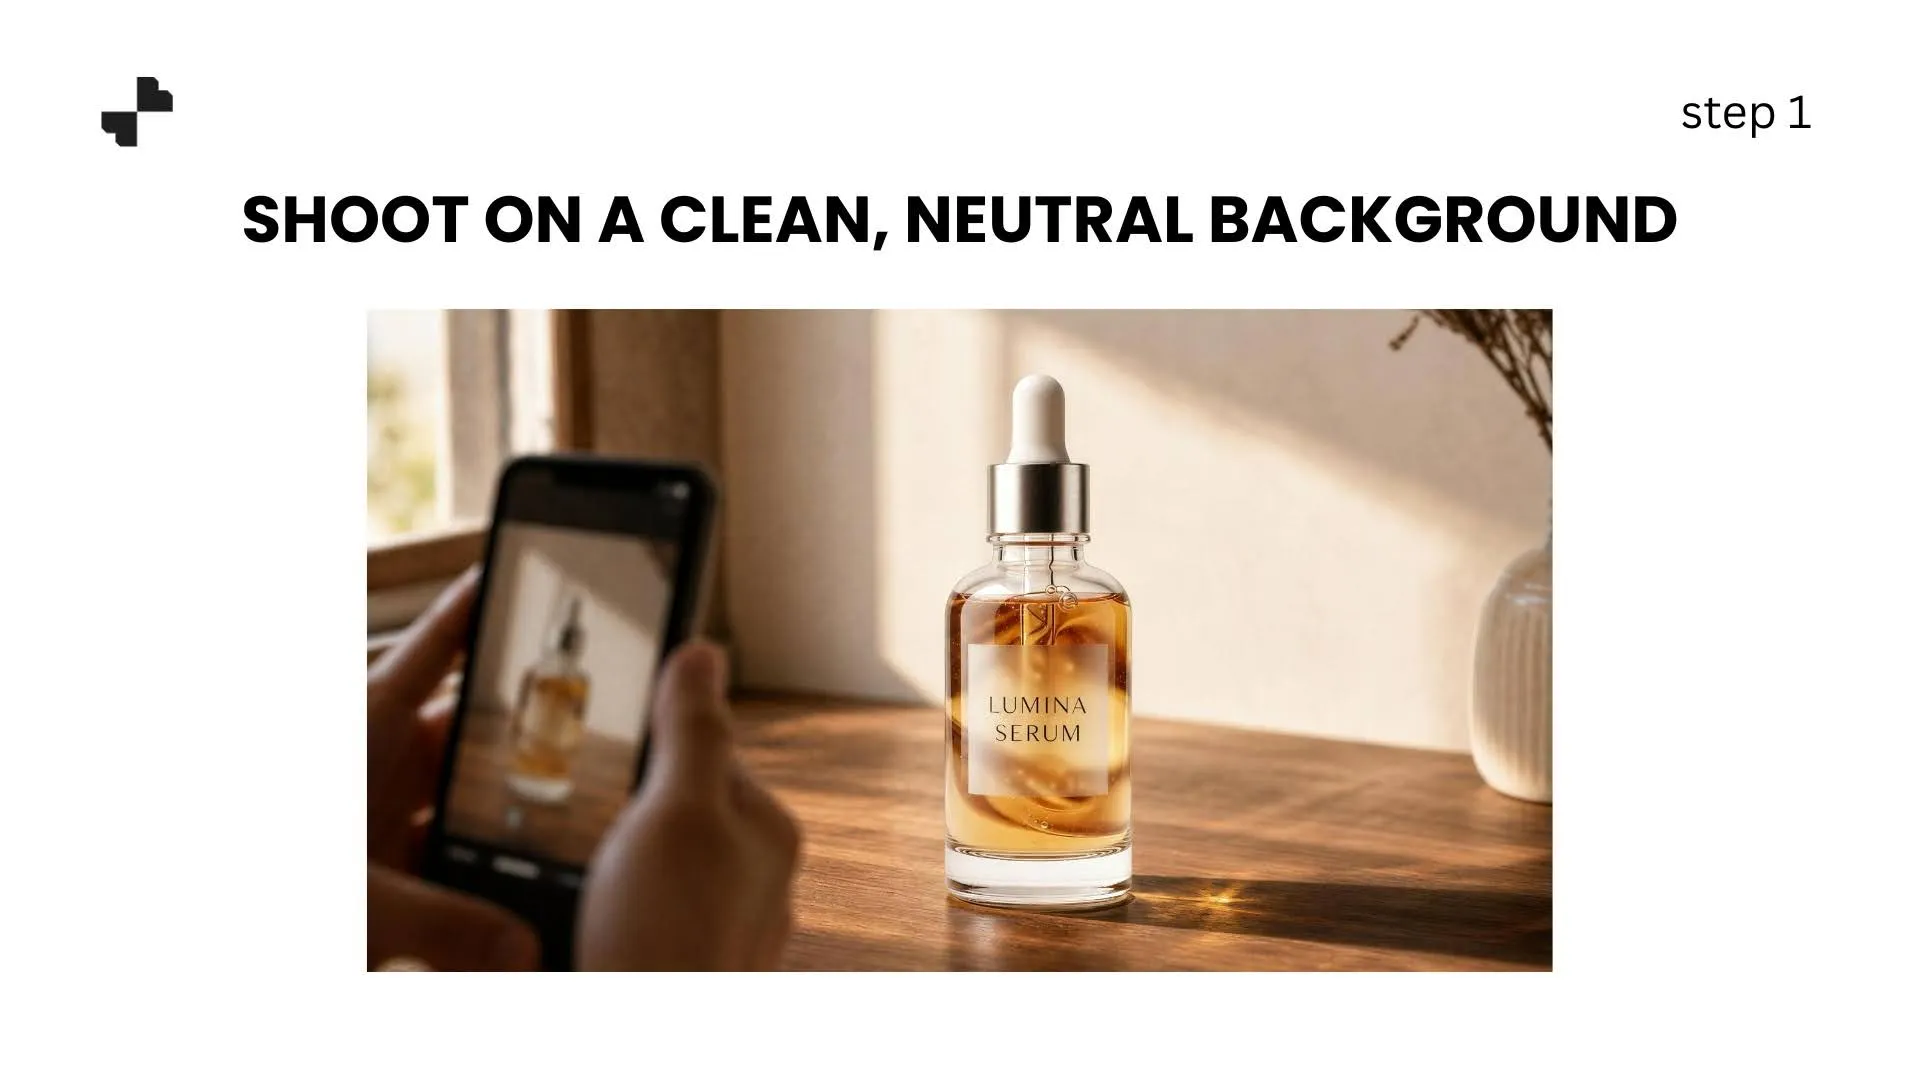
Place your product on a white or light gray surface near a window. Natural light works better than overhead fluorescents for beauty products because it picks up the texture of matte lipsticks, the sheen on glass bottles, and the true color of foundation shades. A plain white poster board behind and beneath the product is all you need.
Avoid patterned surfaces, cluttered backgrounds, or colored backdrops. The AI will remove the background later, but a clean starting image means fewer edge artifacts around caps, pumps, and transparent packaging.
[IMAGE: Phone photo of a skincare serum bottle on white poster board near a window. Clean, simple setup with natural light.]
Step 2. Capture Multiple Angles in One Session
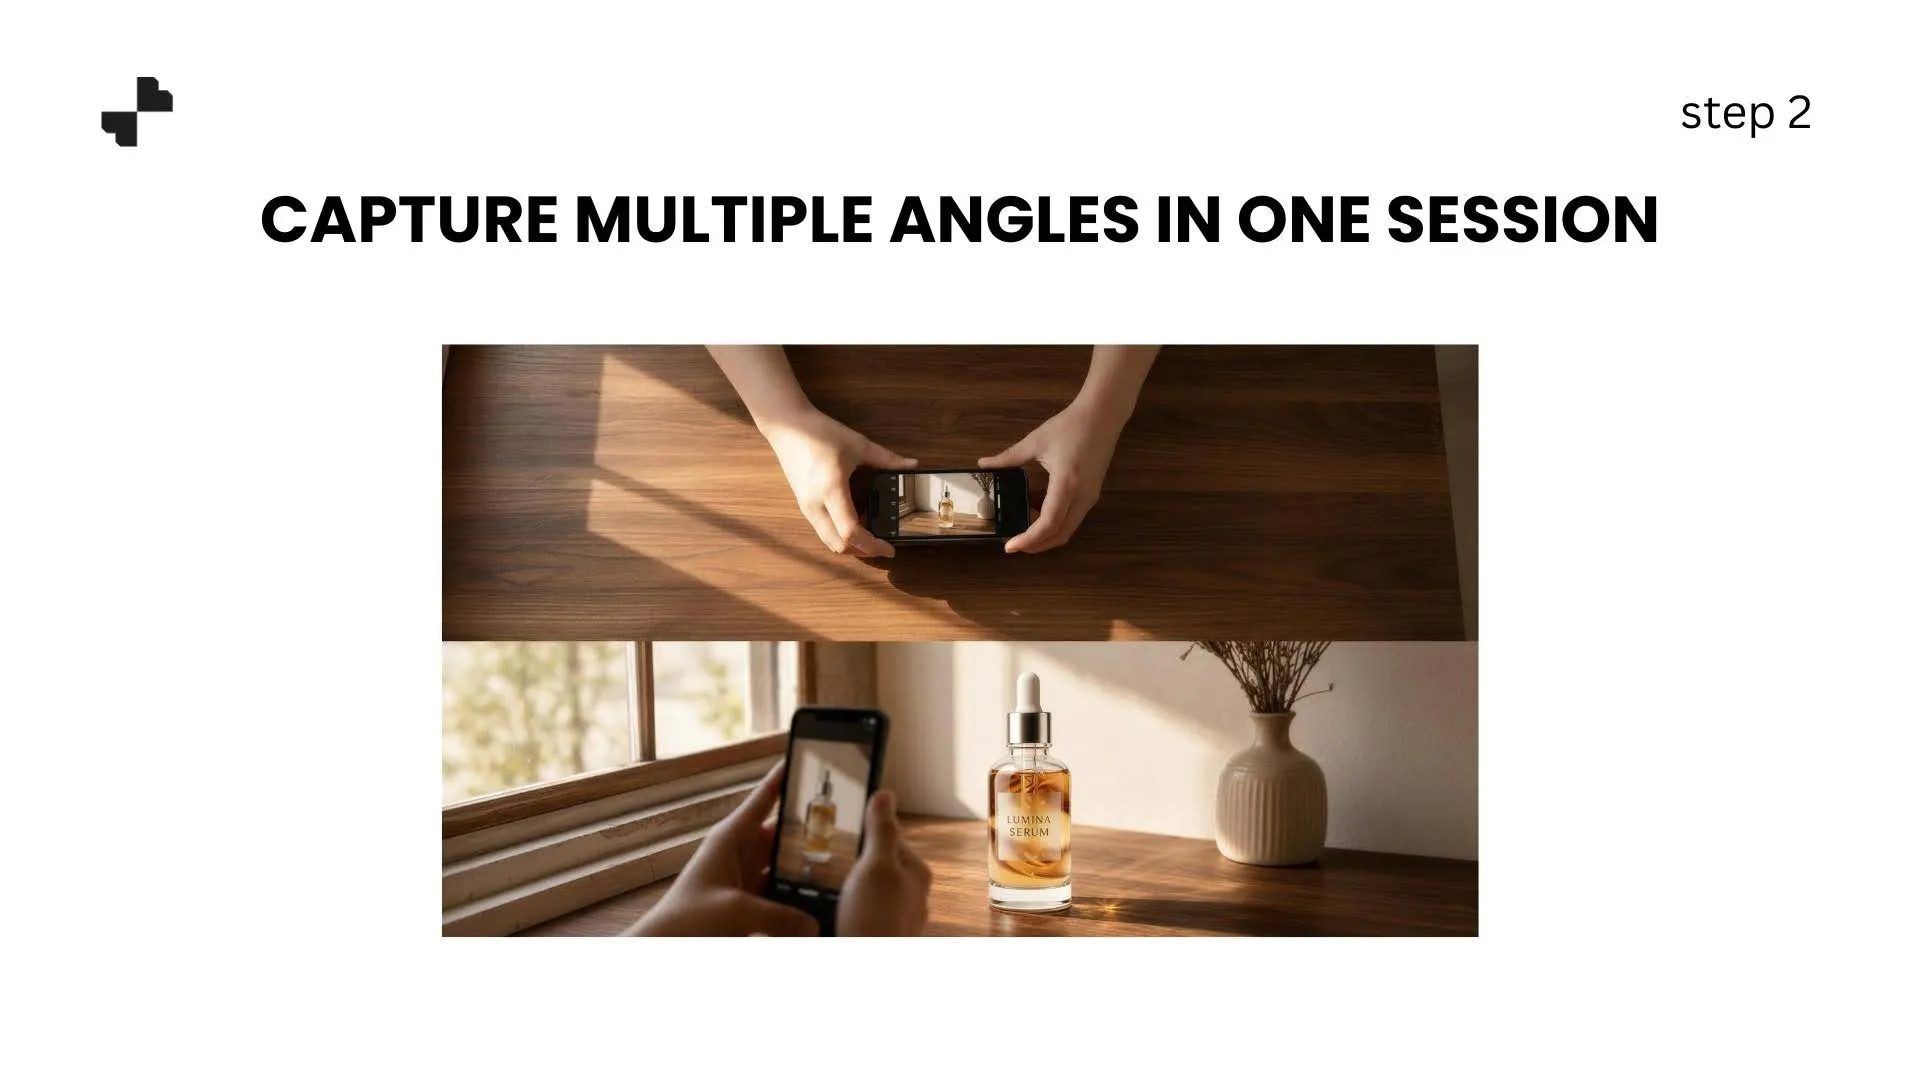
Shoot front, side, and 45-degree angles while you have the product set up. Listings and social posts need variety, and having multiple angles ready means you can run the entire set through AI editing in one batch instead of reshooting later. For palettes and compacts, include an open and closed shot.
Clean Up and Perfect the Image
Even a good phone photo will have small issues. Dust on the bottle, a slightly off-white background, a shadow that falls wrong. AI editing handles all of this in seconds.
Step 3. Remove the Background
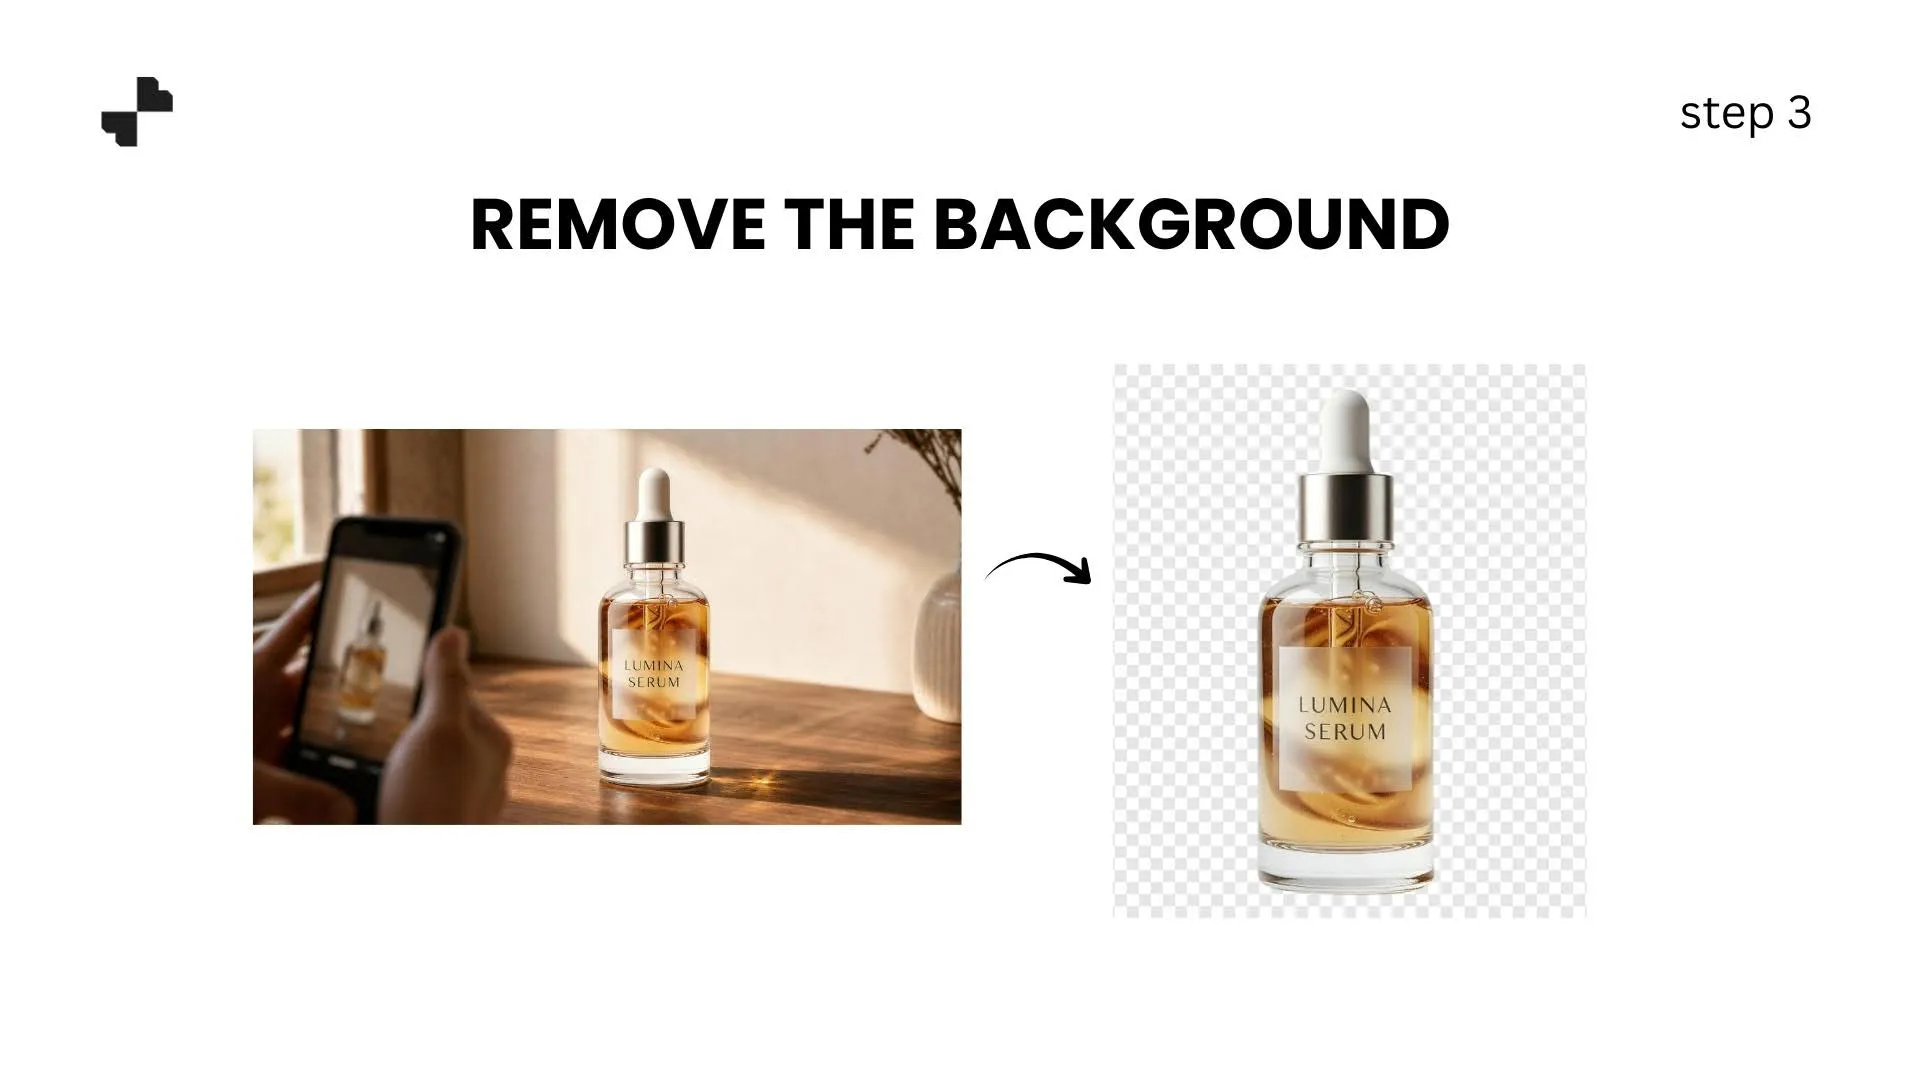
Start by stripping the background entirely. A clean cutout gives you maximum flexibility because you can drop that product into any scene, any surface, any backdrop. Most AI image editing tools handle beauty packaging well, including transparent bottles, frosted glass, and metallic caps. Upload your photo and the background disappears in one tap.
Once the background is gone, you have a product on a transparent layer. From here, you can place it on a pure white background for marketplace listings, or move to the next step and build something more interesting.
Step 4. Erase Dust, Smudges, and Label Imperfections
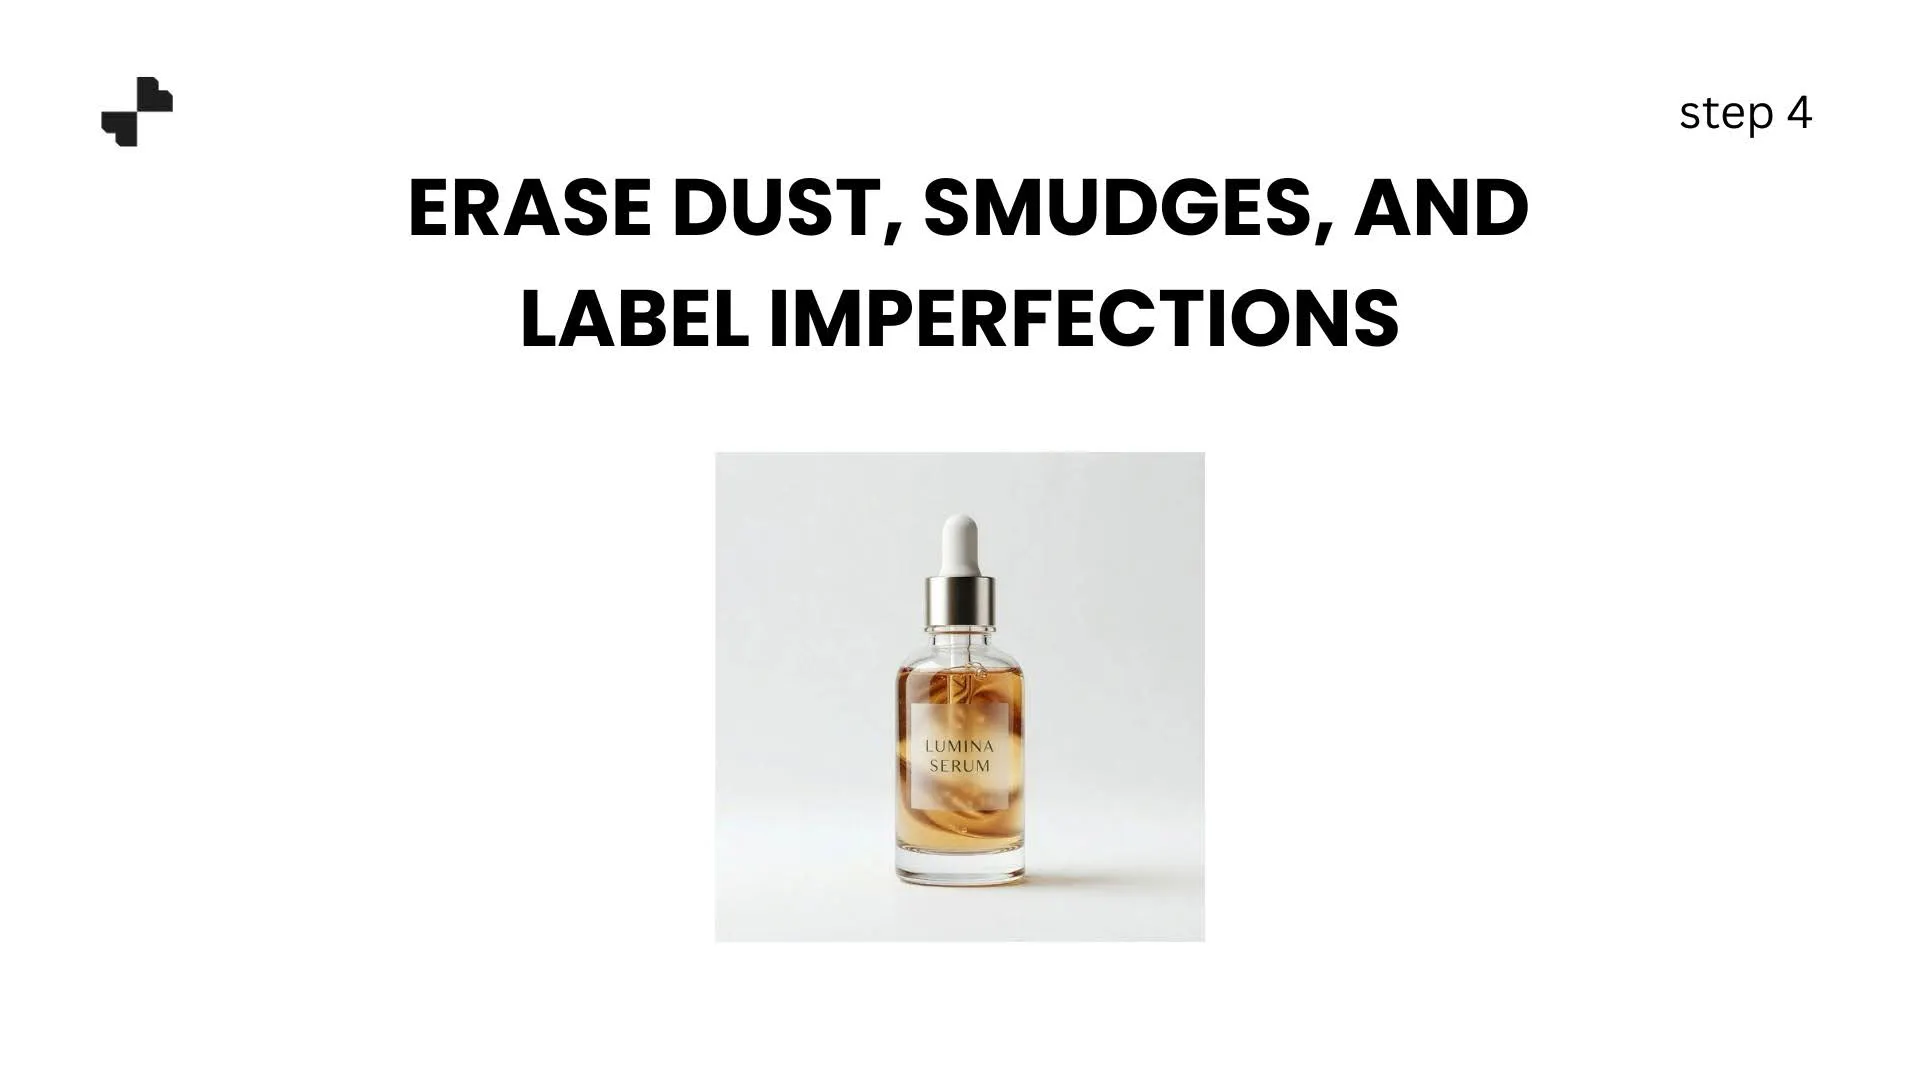
Zoom in on your cutout. Beauty products photograph every flaw. A fingerprint on a glass bottle, a tiny label crinkle, dust on a compact mirror. An AI eraser tool removes these in a few clicks. Just brush over the imperfection and the AI fills in the area to match the surrounding surface.
For skincare lines with multiple products in similar packaging, running this cleanup step across every image keeps your catalog looking polished and consistent.
Build Lifestyle and Scene Shots That Sell
Clean white-background images are table stakes for marketplace listings. But the photos that actually drive clicks and conversions on social, ads, and your own website are lifestyle shots that show the product in context.
Step 5. Place Products in Realistic Lifestyle Scenes
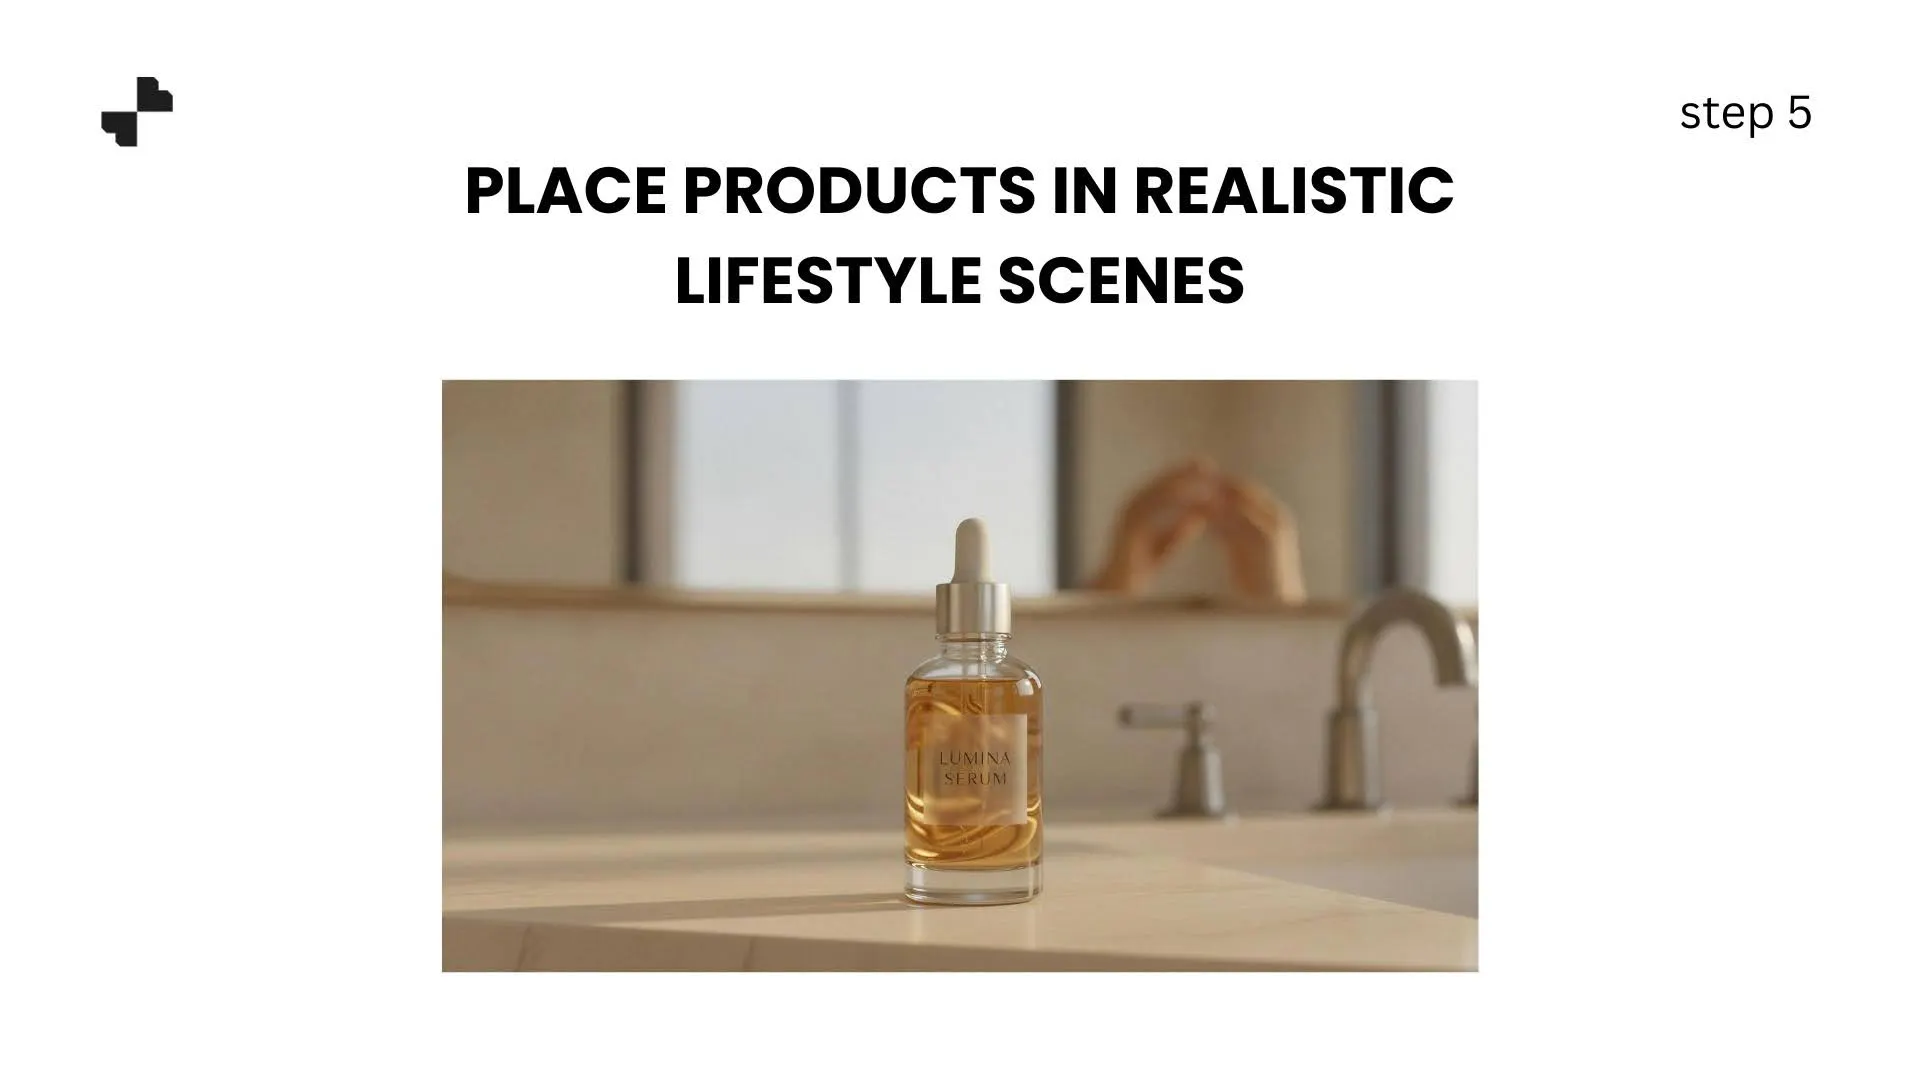
Here is where AI product photography editing gets interesting. Instead of renting a styled set and arranging props by hand, you describe the scene you want and the AI builds it around your product.
A few scene ideas that work well for beauty and cosmetics:
- A face cream on a marble bathroom vanity with soft morning light
- A lipstick collection on a minimalist dressing table with a mirror reflection
- A serum bottle surrounded by fresh botanicals on a linen surface
The product stays pixel-accurate. The AI generates the environment around it, matching shadows, reflections, and lighting to make the scene look real. For skincare photography especially, lifestyle scenes that evoke a spa or self-care routine tend to outperform plain catalog images on social platforms.
Step 6. Generate Model Shots for Skincare and Makeup
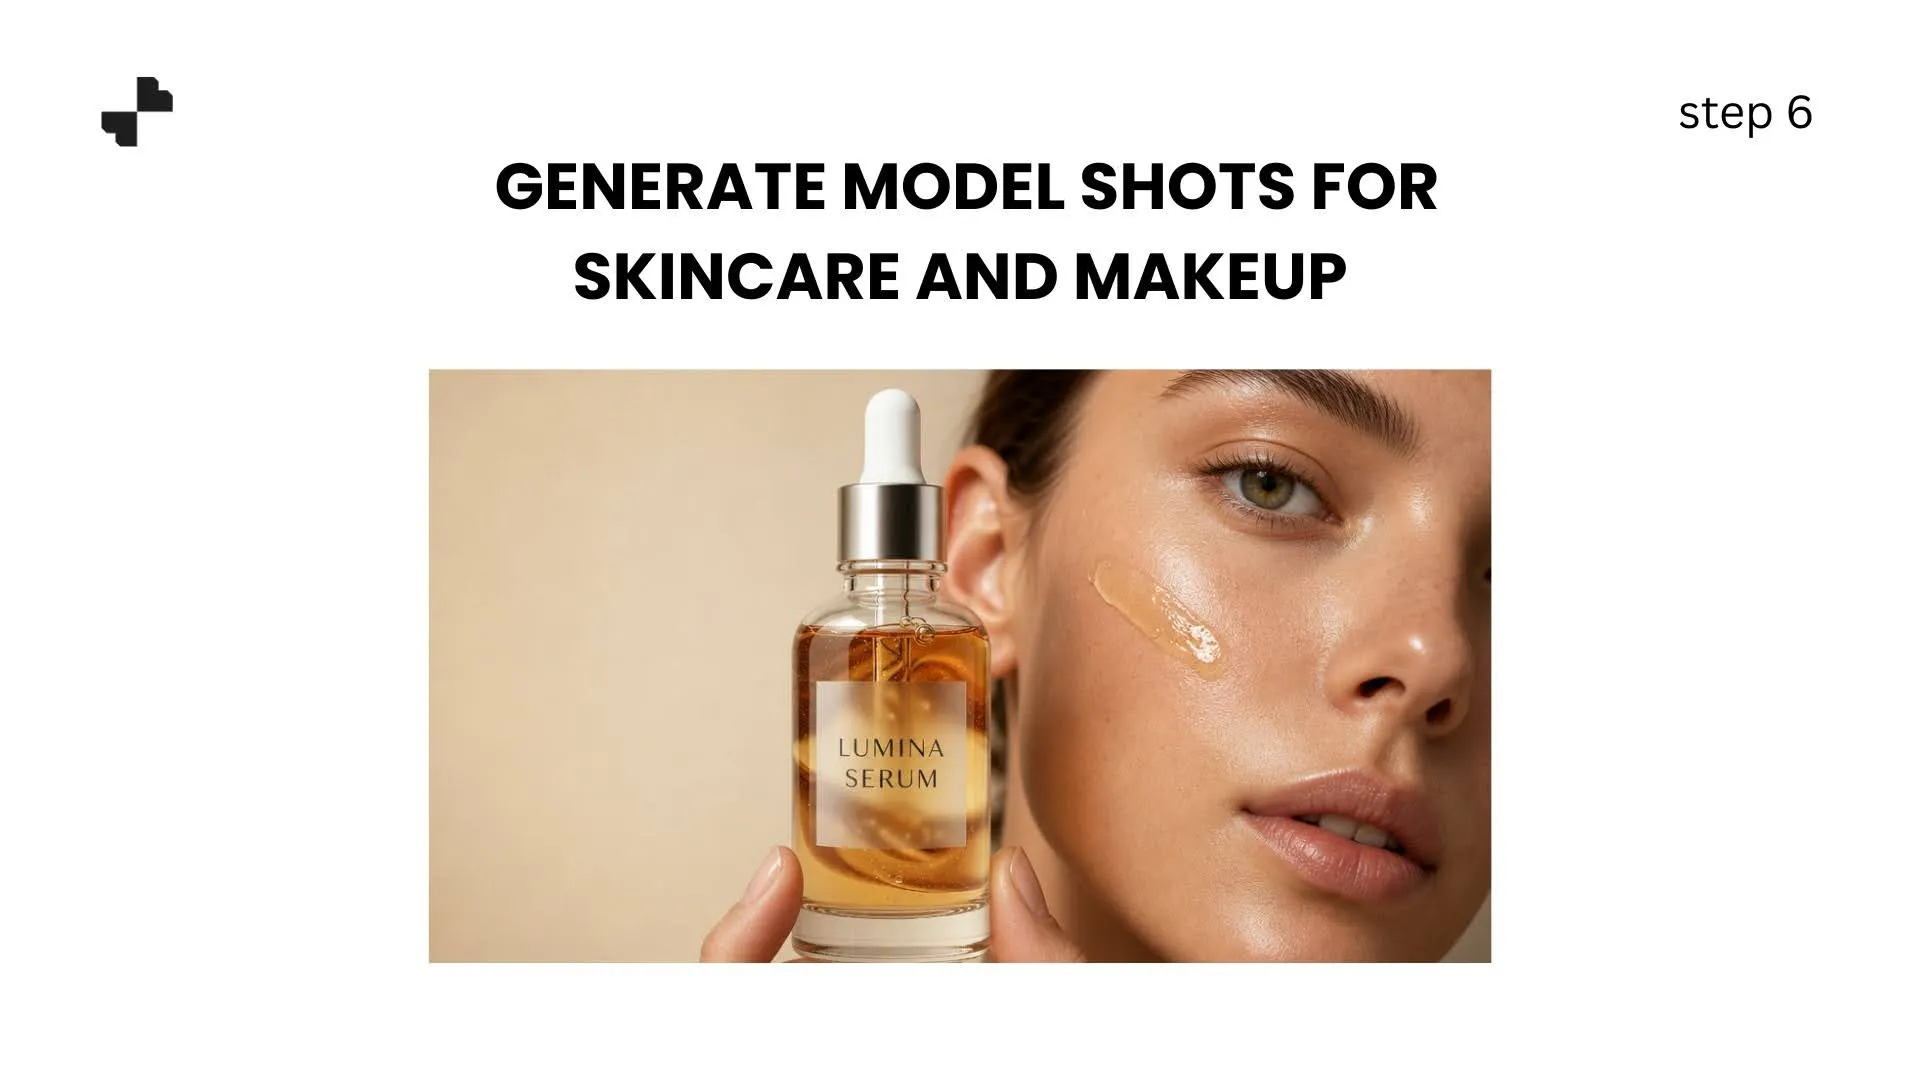
Some beauty products need to be shown in use. A moisturizer looks more compelling when someone is applying it. A lipstick shade makes more sense on a model's lips than sitting in its tube.
AI product images tools can generate realistic model shots from your product photo. For beauty brands, the ability to show diverse skin tones and model types is a major advantage. You can showcase a foundation range across multiple skin tones without booking separate model shoots for each shade.
Keep in mind that accuracy matters here. If the AI alters the product color or finish, that creates a gap between what the customer expects and what arrives. Always compare your ai generated images against the real product before publishing.
Optimize for Listings, Ads, and Social
Your images are edited, your lifestyle scenes are built, and your model shots are ready. The final step is making sure everything is formatted and optimized for where it needs to go.
Step 7. Turn Still Images into Short Product Videos
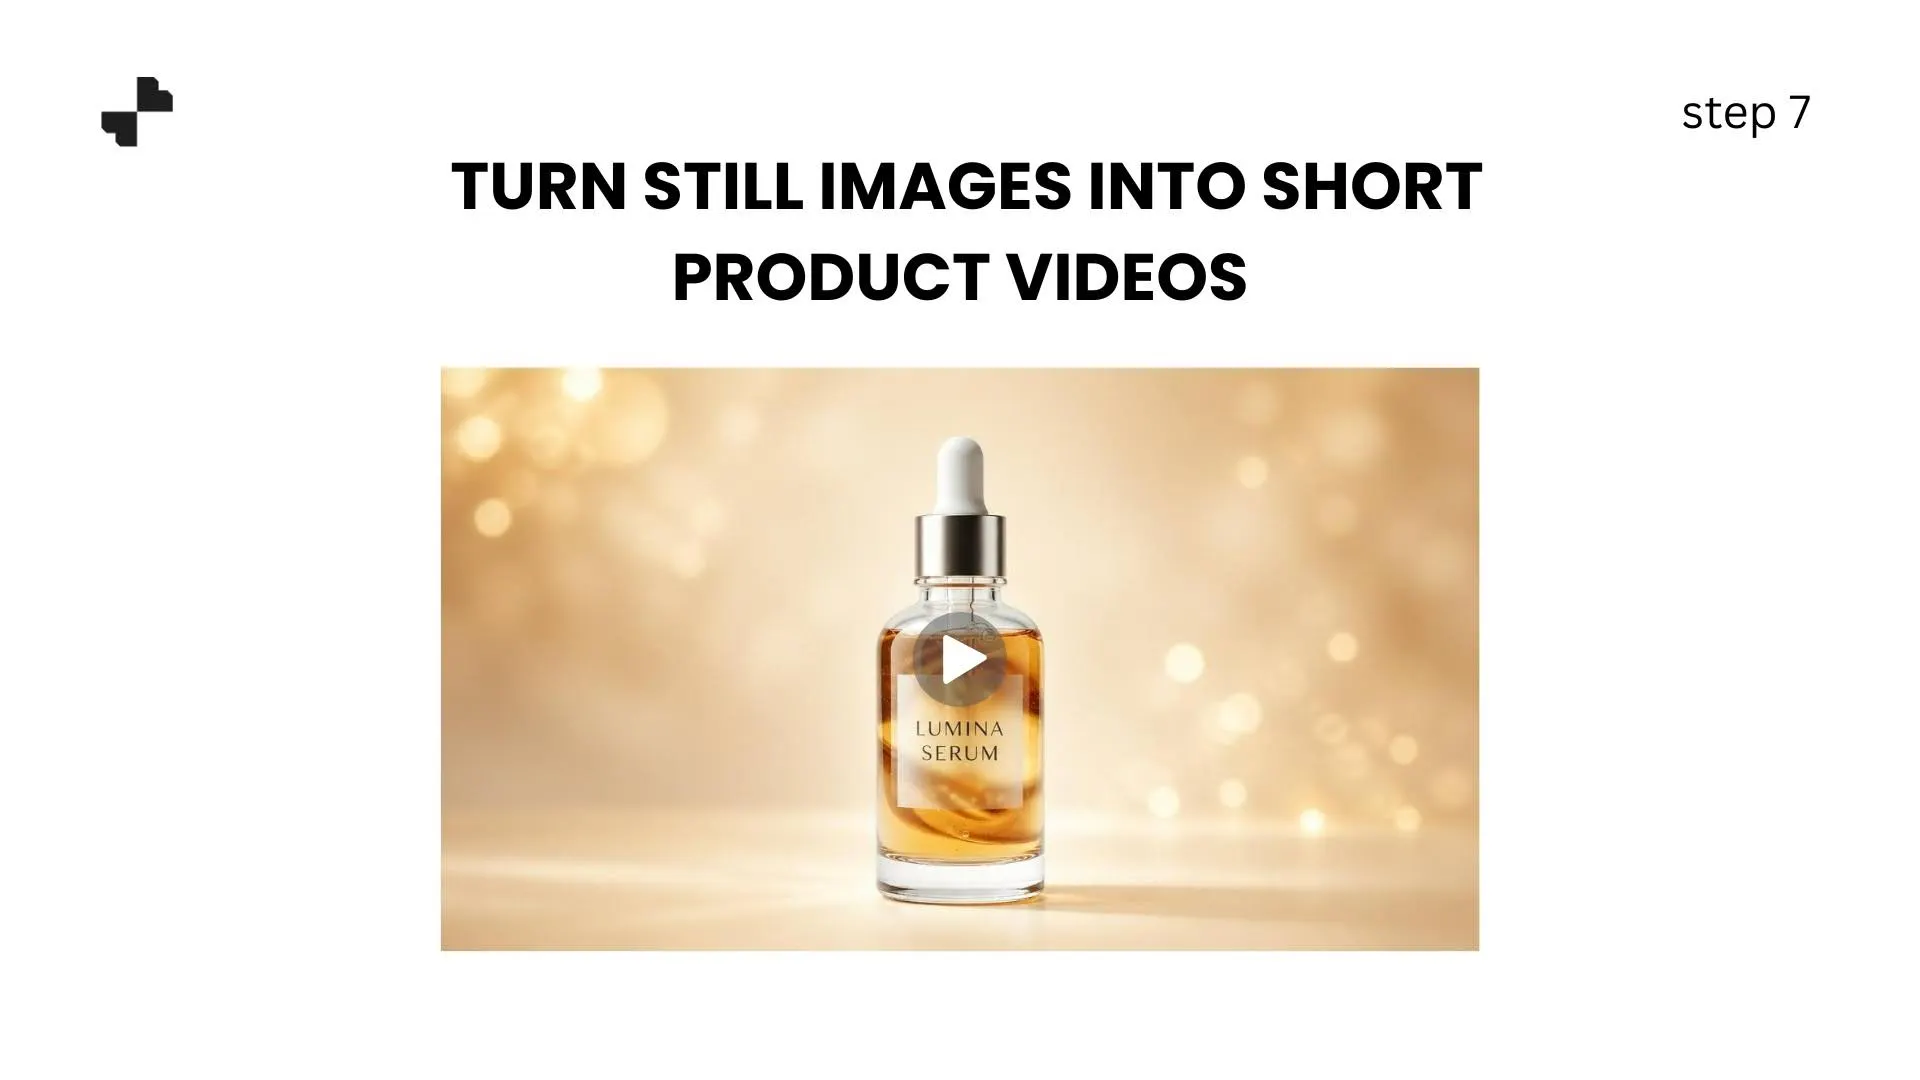
Static images get scroll-stopped by video on every platform. Short product clips, even 5 to 10 seconds, consistently outperform stills in ad performance and social engagement. AI video tools can transform your edited product photo into a short video with subtle motion, camera pans, and transitions.
For beauty brands, think about:
- A slow zoom into a serum bottle with light catching the glass
- A lipstick rotating to show the shade from different angles
- A product lineup video cycling through your full collection
All of those clips work for Instagram Reels, TikTok, Amazon product videos, and paid social ads without ever touching a video camera.
Step 8. Format for Every Platform in One Pass
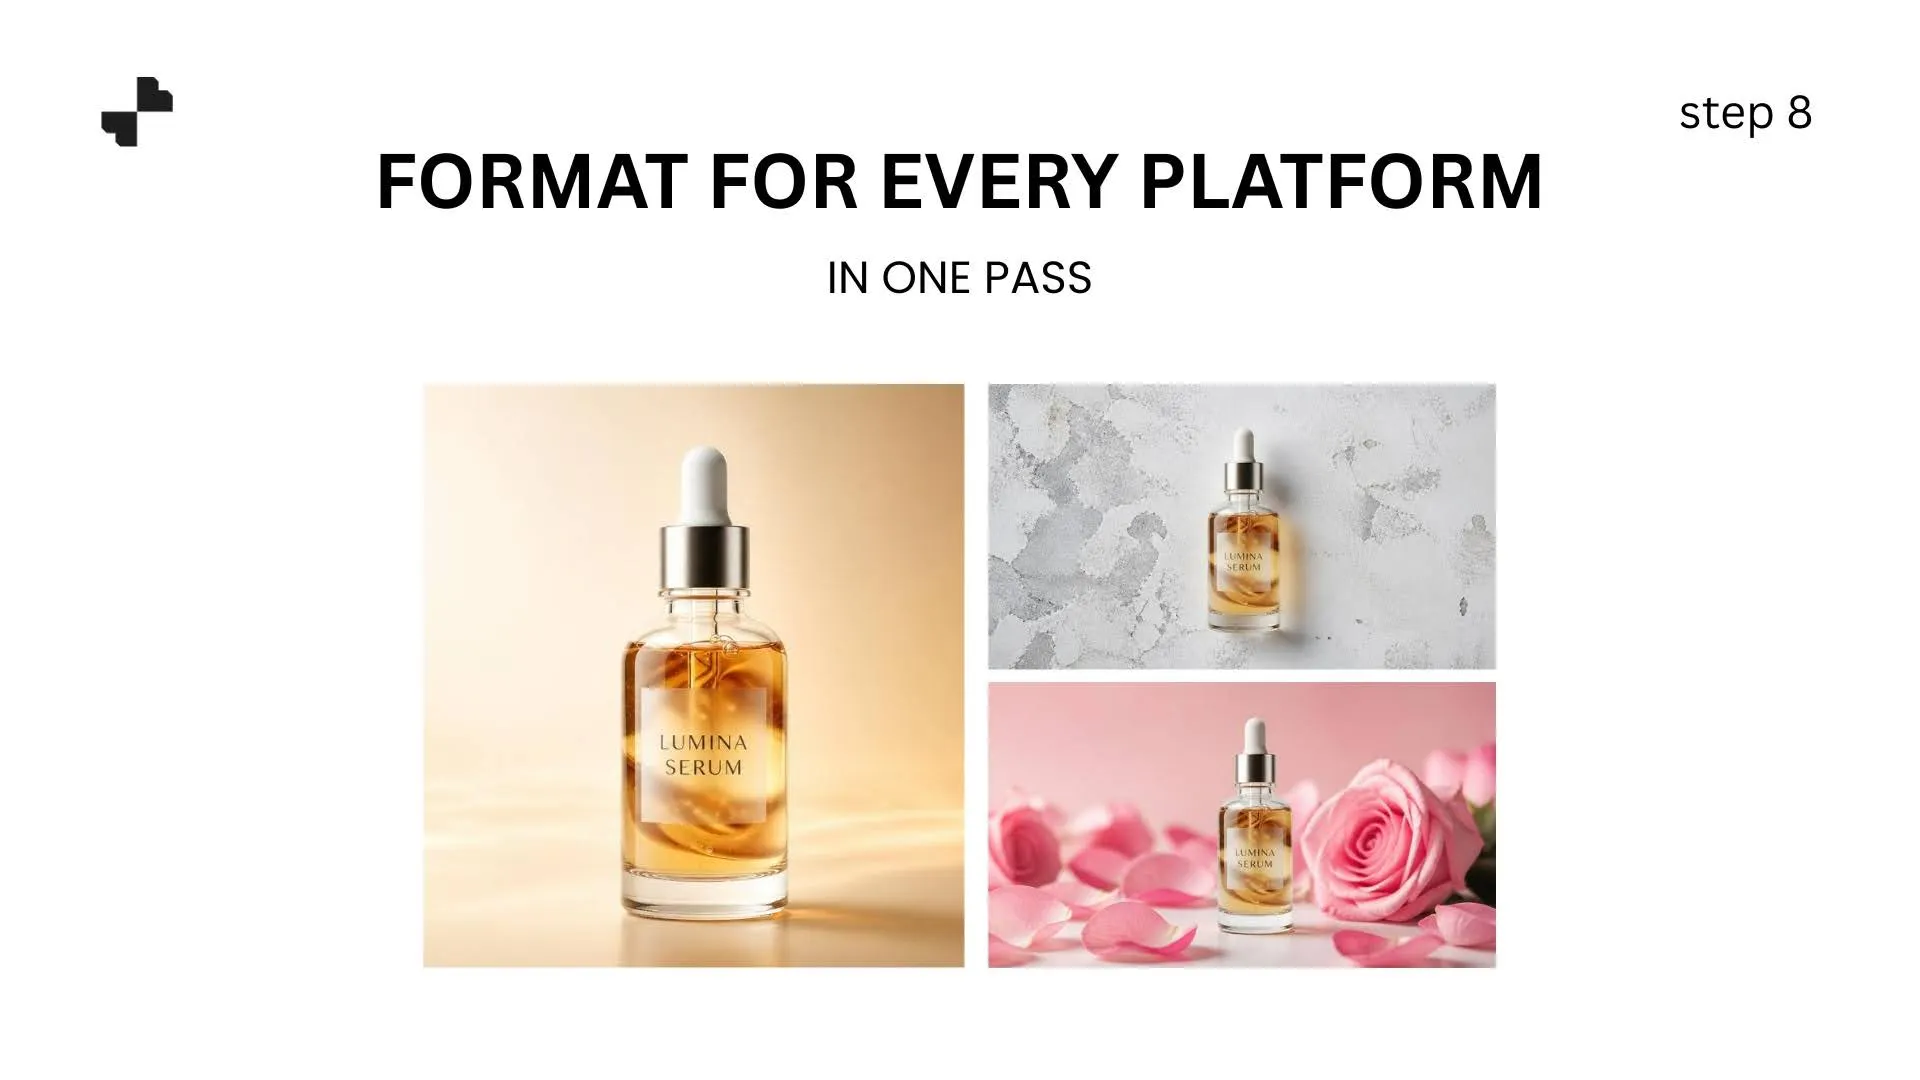
Different platforms need different specs. Amazon wants specific white-background requirements. Instagram favors square and vertical formats. Your own website might need hero banners. Rather than manually resizing each image, batch your final edits and export in the dimensions each platform requires.
Consistency across platforms matters more than most sellers realize. When a customer sees your serum on Amazon, then encounters it again on Instagram, the visual should feel like the same brand, same lighting, same aesthetic. Running all your ecommerce product images through the same AI editing pipeline keeps that consistency locked in without extra effort.
One Tool for the Entire Beauty Photo Workflow
Editing beauty product photos used to mean juggling a background remover, a retouching app, a scene generator, and a video tool. Blend puts all of those steps into one platform, from background removal and cleanup to lifestyle scenes, model shots, and product videos. Upload a phone photo of your latest launch and walk through every step in this guide without switching apps.
Frequently Asked Questions
What kind of product photo do I need to start with?
A well-lit photo on a clean background works best. Natural light near a window and a white surface are enough. You do not need professional equipment.
Can AI handle transparent or reflective beauty packaging?
Yes. Most AI background removal tools handle glass bottles, frosted packaging, and metallic caps well. Minor edge artifacts can be cleaned up with an eraser tool in seconds.
Will AI editing change the color of my product?
Good AI tools preserve color accuracy. Always compare the edited output against the real product before publishing, especially for foundation shades and lip colors where accuracy matters most.
How many photos should I edit per product?
Aim for at least 3 to 5 images per SKU. A white-background catalog shot, 1 to 2 lifestyle scenes, and a model or in-use shot give customers a complete picture.
Can I use AI-edited photos on Amazon and Shopify?
Yes. AI-edited images work on all major marketplaces and e-commerce platforms as long as they meet the platform's image guidelines, such as white-background requirements for Amazon main images.
How long does it take to edit a beauty product photo with AI?
Most individual edits take under 30 seconds. A full workflow, from background removal through lifestyle scene generation, typically takes 2 to 5 minutes per product depending on how many variations you create.