On-model product photos sell. A dress on a hanger tells shoppers what the product looks like. The same dress on a person tells them how it fits, how it drapes, and whether they can picture themselves wearing it. The problem has always been cost. Hiring models, booking studios, coordinating stylists, and managing reshoots adds up fast, especially when you are launching dozens of new products every month.
AI model photography changes that equation. Upload a flat-lay or mannequin shot, choose a model, and get a realistic on-model product photo in seconds. No studio, no casting call, no scheduling headaches. Here is how to do it step by step.
7 Steps to Create Product Photos With AI Models
The process is straightforward, but the quality of your output depends on getting a few things right. Each step below builds on the previous one, starting with your source image and ending with a full set of listing-ready visuals.
Step 1. Start With a Clean Product Image
AI model tools amplify what you feed them. A wrinkled flat-lay with uneven lighting will produce an on-model shot that looks off. A clean, well-lit product image on a plain background gives the AI the best possible starting point.
For apparel, a flat-lay on a white surface or a ghost mannequin shot works best. Make sure the entire garment is visible, with no edges cut off and no distracting creases. For jewelry, shoot on a neutral background with soft, even lighting so details like stones, clasps, and engravings come through clearly.
Step 2. Remove the Background Before Uploading
Most AI model tools work better when the product is isolated from its background. A one-tap background removal tool strips away the surface, the shadows, and any clutter, leaving you with a clean product cutout.
Starting with a transparent or white background gives the AI more flexibility to place the garment naturally on the model. Skipping this step often results in awkward edges or leftover background artifacts that make the final image look unfinished.
Step 3. Choose a Model That Matches Your Customer
One of the biggest advantages of virtual model product photography is the ability to choose exactly who wears your product. Instead of working with whoever is available on shoot day, you can select a model that reflects your actual customer base.
Blend's AI Models feature lets you customize:
- Gender, ethnicity, and age range
- Body type and skin tone
- Pose and hair style
- Background setting
If your brand targets Gen Z women, your model should look like a Gen Z woman. If you sell unisex streetwear, show the same piece on diverse body types and genders. Representation is built into the tool, not an afterthought that requires a bigger casting budget.
Step 4. Generate the On-Model Shot
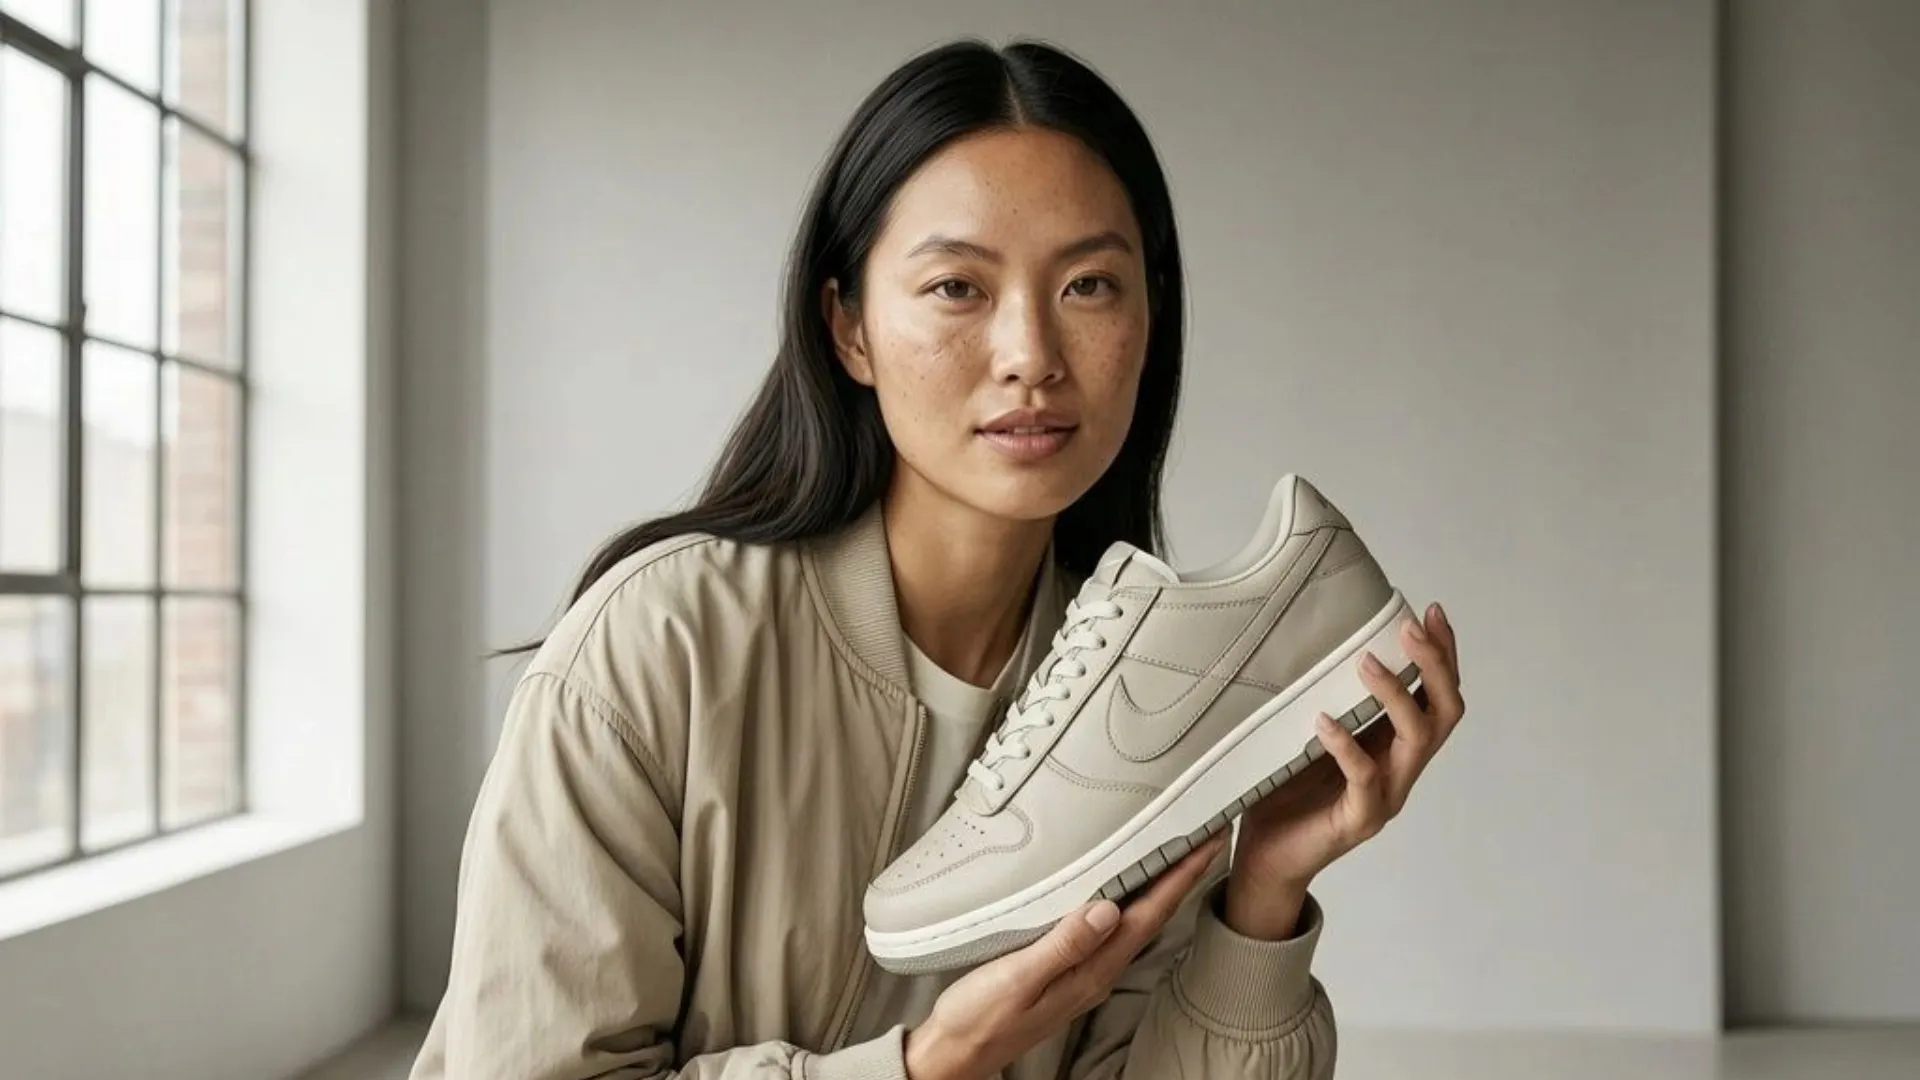
With your product image uploaded and your model selected, the AI does the rest. The tool places the garment on the model with realistic fabric drape, natural shadows, and accurate proportions. For jewelry, the output includes on-hand, on-neck, or on-ear shots that give shoppers the scale context a flat product image cannot.
Review the output before downloading. Check that logos, patterns, and fine details survived the generation. Most AI fashion model photo tools in 2026 handle these well, but a quick review catches the occasional miss.
Step 5. Place the Model in a Lifestyle Setting
A model on a white background is a good catalog shot. A model in a realistic environment is a scroll-stopper. Lifestyle scenes add context that helps shoppers picture the product in their own life, and listings that combine on-model shots with lifestyle imagery consistently outperform those that rely on plain backgrounds alone.
Blend's Lifestyle Shots feature suggests scenes tailored to your product category. A summer dress might land in a sunlit cafe. A watch could appear on a wrist at a modern office desk. You can customize the scene or provide an inspiration image to keep a consistent look across your entire catalog.
Step 6. Build a Complete Image Set for Every Listing
One on-model photo is a good start, but a strong product listing needs a full visual set. Most marketplaces recommend 5 to 7 images per product. A well-rounded set typically includes:
- A white-background hero shot using studio-quality AI backgrounds
- 1 to 2 on-model images showing fit and proportion
- A lifestyle scene for emotional context
- A detail or close-up shot highlighting texture, stitching, or hardware
Use a cleanup tool to remove any small distractions before finalizing. Running every product through the same sequence keeps your store looking cohesive and professional.
Step 7. Turn Your Best On-Model Shot Into Video
Once your still images are polished, take the strongest on-model photo and generate a short product video from it. A 5 to 15 second clip with subtle motion and transitions performs well on Instagram Reels, TikTok, and Amazon listings.
Blend's AI Videos feature handles this in three steps: upload the image, pick a video preset, choose your starting frame. The output is a polished clip ready for social, ads, or your product detail page. No filming, no editing software needed.
Skip the Studio Without Skipping the Quality
AI model photography in 2026 is not a workaround. For most small-to-mid-size e-commerce sellers, it is the faster, more affordable, and more flexible way to create the on-model product imagery that shoppers expect.
Blend puts the entire workflow in one place. Upload a product photo, remove the background, generate on-model shots with customizable AI Models, add lifestyle context, clean up imperfections, and create video. One image in, a full listing-ready visual set out. Try it free and see how your products look on a model.
Frequently Asked Questions
What product categories work best with AI model photography?
Apparel, jewelry, accessories, eyewear, and beauty products see the strongest results. Any product that benefits from being shown on a person works well with AI model tools.
Can I upload my own model's photo as a reference?
Yes. Blend's AI Models feature lets you upload your own model image (with proper consent) as a reference, in addition to choosing from built-in model options.
Do AI-generated model photos look realistic enough for marketplace listings?
The best tools in 2026 produce on-model images that are very difficult to distinguish from traditional photoshoots, especially for standard e-commerce categories like clothing and accessories.
How many on-model images should a product listing have?
One to two on-model shots per listing is a good starting point. Pair them with a white-background hero, a lifestyle scene, and a detail close-up for a complete set of 5 to 7 images.
Will AI preserve logos, patterns, and fine details on the garment?
Most modern AI model tools handle logos, prints, and stitching well. Always review the generated output before publishing and re-generate if any details look off.
Are AI model photos allowed on Amazon and Shopify?
Yes. Both platforms accept AI-generated product imagery as long as the images are accurate, high-quality, and not misleading about the product.