Taking photographs for selling a product is not as easy as it sounds. It takes time and effort to master product photography. A perfectly showcased product attracts potential customers and surges their interest in that particular product. Therefore, it is essential for a seller to portray their products to market standards. For example, if you are working on footwear photography, there are certain things that you need to keep in mind. You do not want to show unwanted items along with the product that might distract your customers.
Prepare Beforehand
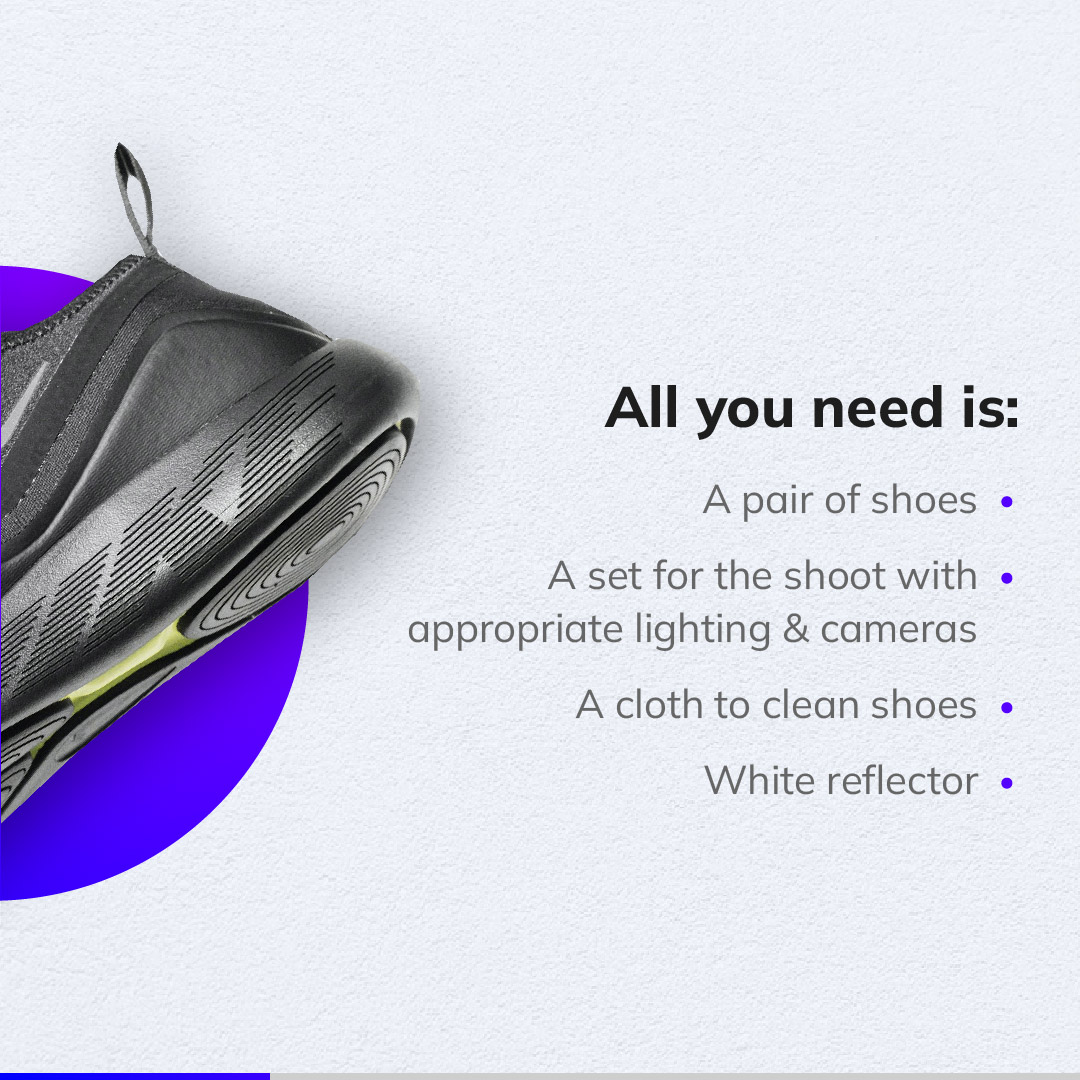
One of the most important things to do is to prepare the shoes in advance is a must. Apart from the filming setup, some other items must also be prepared beforehand to avoid unnecessary delays during the shoot. Some of those items are:
· Brushes
· Cloths for polishing
· Scissors
· Materials like tissue or paper for stuffing
· Chopsticks to straighten shoes like flats e.g.
· Canned air (for a final touch)
Add Lighting
Lighting is very important in any kind of photography so a proper filming setup must include a nice and even lighting system. Shadows must be avoided as much as possible therefore, you need to put lighting from both sides of the products. You can also use reflectors to make the details on the product visible. Exposure can be controlled while editing if necessary. The chrome should be cleaned out. Now last but not least, preparing the shoes in advance is a must.
Check the Camera Lenses
Another important thing is the lens of the camera. You should specifically choose compatible camera lenses that do not distort the product. Make sure that the photographs look exactly the same as in a real product.
Choose the Right Angles
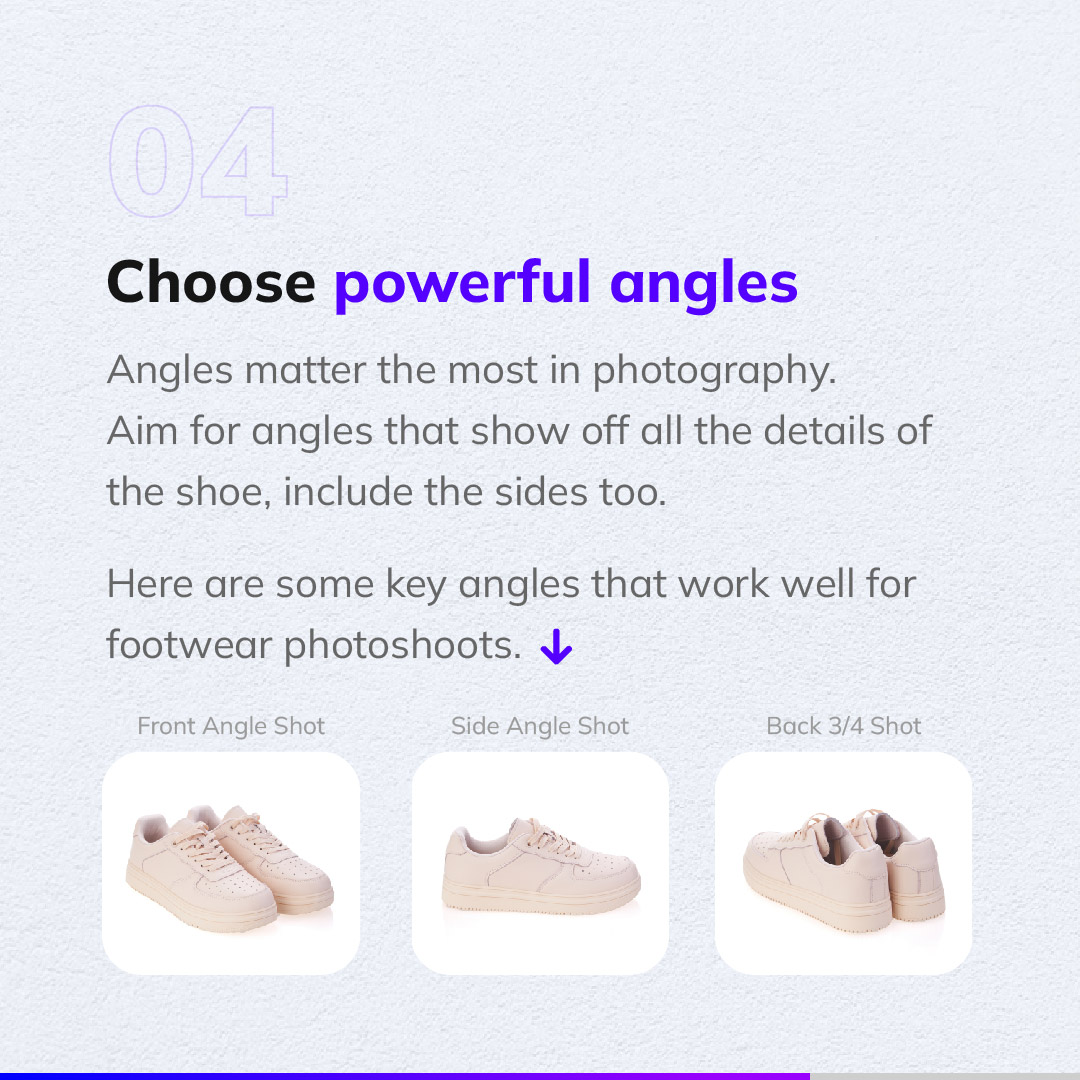
A pair of shoes can be photographed from various angles so that it will be easier for the customer to understand the features of the product. Some of the angles are:
- The single-angle shot is taken from the side of only one shoe. It can also be used as a profile shot.
- The ¾ shot is taken for both the shoes. Slightly turned to the side and focused on the first shoe.
- The back ¾ shot is a detailed shot where all the features are shown in close up so make sure to clean the shoes beforehand.
- The front angle shot is the simplest one. As the name suggests, the photograph is taken from the front of the pair of shoes.
Be Careful with the File Destination
Additionally, the file destination should also be kept in mind so that it won’t hinder further editing or the use of the photographs that are taken with great effort. You can save them as JPG if no further edit is required but if not then choosing a RAW file is recommended. Overall, if these few things are kept in mind, anyone can create stunning footwear photography and sell their products effortlessly.
During filming you can use a white or gradient background, a contrast to the product along with controlled lighting, and afterward, editing can be made as finishing touches with the help of different background erasers. You can use the product photo editing app, Blend to effortlessly erase and add new backgrounds like a pro.
Download the app from Google Play Store or Apple’s App Store.

