Imagine working hard on creating an image for days only to end up getting it stolen by a random stranger. It definitely does not feel right for any artist. Therefore, putting a watermark is very important to prevent people from stealing and tampering with your work without your permission.
Editing a watermark to your image is no hard job with the help of Blend. Here’s a simple step-by-step guide on how you can add a watermark to an original image using your smartphone.
Step 1
Download the Blend app from Google Play Store or Apple’s App Store. Sign in and upload your watermark image in the ‘Create Design ‘ section. Blend’s advanced AI technology will automatically remove the background of your image background so that you do not have to waste your time doing it manually.

Step 2
Click on the background less cutout of your watermark and tap on ‘Background’ to edit your image from your gallery.

Step 3
Edit the watermark and adjust the size. Move it around and place it in a place where it clearly visible yet not hindering the focused item on the image.

Step 4
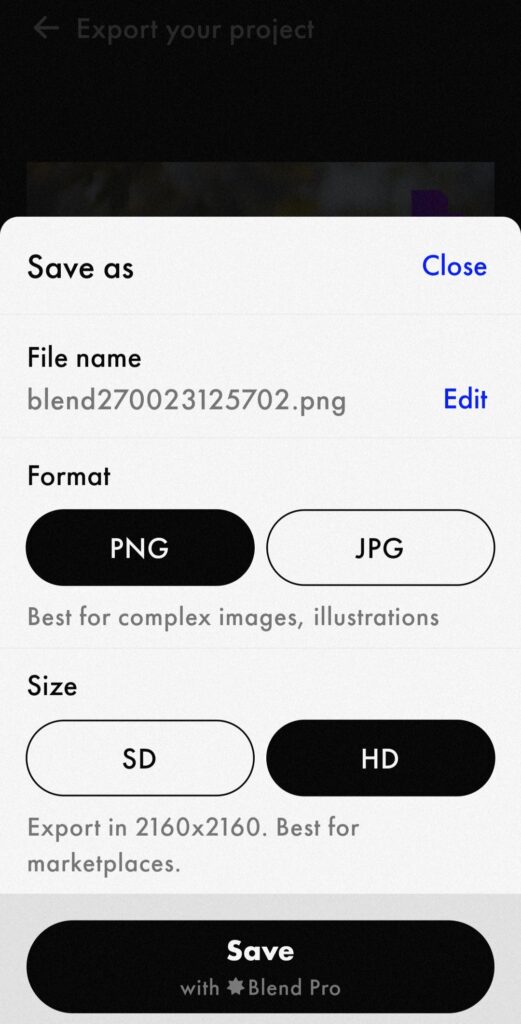
Save in JPG or PNG files. Your edit will also be automatically saved in the ‘Project’ section for future use.

Another way to add a watermark to your image is by editing it in your image as a logo. Just click on ‘Add Image’ and choose the watermark from your gallery. Adjust the size and place to get a satisfying result.

Download Blend now to get started! Click here to learn more.

